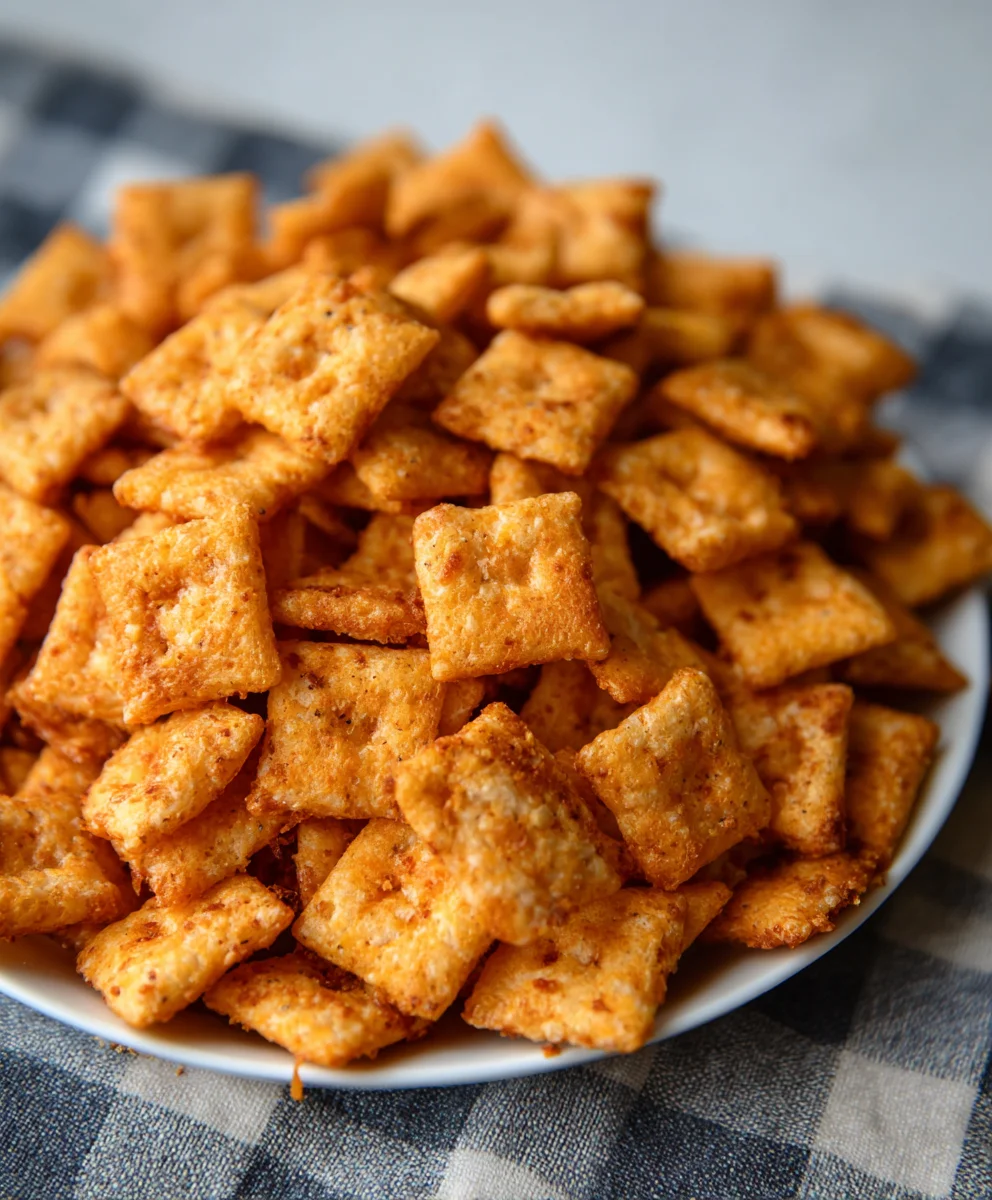
Homemade Sourdough Cheez-Its – Baked Crispy & Cheesy
Sourdough Cheez Its Recipe are more than just a snack; they’re a crunchy, tangy, cheesy revelation that takes a classic to an entirely new level. Forget those neon orange crackers from the box. We’re talking about homemade goodness that bursts with genuine cheddar flavor and the wonderfully complex tang of sourdough. If you’ve ever found yourself mindlessly munching on a sleeve of Cheez-Its, preparing for a deeply satisfying crunch and a surprisingly addictive cheesy taste, you’re going to absolutely adore this upgrade. What makes this Sourdough Cheez Its Recipe so special? It’s the magic of fermentation, the way the sourdough starter not only imparts a delightful chew and a subtle sour note but also contributes to an incredible crispness that store-bought versions simply can’t replicate. These aren’t just crackers; they’re an experience, a testament to the simple joy of baking something truly delicious from scratch, transforming humble ingredients into a beloved treat that everyone will be reaching for. Get ready to elevate your snacking game with this fantastic Sourdough Cheez Its Recipe.
Ingredients:
- 226 grams (8 ounces) sharp cheddar cheese, freshly shredded
- 100 grams (1/3 cup) active sourdough discard
- 42 grams (3 Tablespoons) cold, unsalted butter, cubed
- 140 grams (1 cup) all-purpose flour
- 1 gram (1/4 teaspoon) garlic powder
- 1 gram (1/4 teaspoon) onion powder
- 3 grams (1/2 teaspoon) salt
- Flaky sea salt, for finishing (optional)
Making Your Sourdough Cheez Its
Preparing the Dough
- In a medium-sized bowl, combine the all-purpose flour, garlic powder, onion powder, and salt. Whisk these dry ingredients together thoroughly. This ensures that the seasonings are evenly distributed throughout the dough, guaranteeing a consistent flavor in every bite. Getting the flour mixture perfectly blended at this stage is a small but crucial step for achieving that signature Cheez-It taste.
- Add the cold, cubed unsalted butter to the flour mixture. Now, you’ll want to work the butter into the flour until it resembles coarse crum extractbs. You can do this with your fingertips, a pastry blender, or even a food processor on a quick pulse setting. The goal here is to break down the butter into small pieces that are still visible, about the size of small peas. Cold butter is key to creating flaky layers and a pleasant texture, so try to work quickly to prevent it from warming up too much.
- Next, incorporate the shredded cheddar cheese into the flour and butter mixture. Use your fingertips or a spatula to gently combine everything. You want the cheese to be evenly distributed, but avoid overmixing at this point. Think of it as just bringin extractg the ingredients together loosely. This forms the base of your flavorful cheesy crackers. The sharper the cheddar you use, the more intense the cheesy flavor will be, so feel free to adjust to your preference.
- Now it’s time to introduce the sourdough discard. Add the 100 grams of active sourdough discard to the bowl. Gradually start to mix everything together. You might need to use your hands here to bring the dough together. It will likely be shaggy at first. Continue to gently knead and fold the dough until it just comes together into a cohesive ball. Be careful not to overwork the dough; we’re not looking for elasticity like in bread dough. Overworking can lead to tough crackers. The sourdough discard adds a wonderful depth of flavor and a subtle tang that distinguishes these from traditional Cheez-Its.
Chilling and Rolling the Dough
- Once the dough has come together, flatten it into a disc. This makes it easier to roll out later. Wrap the disc tightly in plastic wrap and refrigerate for at least 30 minutes, or up to 2 days. Chilling the dough is a vital step. It allows the gluten to relax, which makes rolling much easier and prevents the dough from shrinking excessively during baking. It also solidifies the butter, which is essential for achieving a crisp texture. If you’re short on time, the minimum 30 minutes is sufficient, but an overnight chill can further enhance the texture and flavor.
- After chilling, remove the dough from the refrigerator and let it sit at room temperature for about 5-10 minutes to slightly soften. This makes it more pliable for rolling. Lightly flour a clean work surface and your rolling pin. Roll out the dough to a thickness of approximately 1/8 inch. Aim for an even thickness throughout; this ensures consistent baking. If the dough becomes too soft and sticky while rolling, you can pop it back into the refrigerator for another 10-15 minutes. For that classic Cheez-It shape, try to roll the dough into a roughly rectangular shape.
Cutting and Baking
- Now for the fun part: cutting your crackers! You can use a sharp knife or a pizza cutter to cut the dough into small squares, about 1-inch by 1-inch. If you have a small square cookie cutter, that will also work wonderfully. For an authentic look, you can gently press a fork onto each cracker to create the signature holes. If you’re feeling adventurous and want that distinctive Cheez-It texture, you can even lightly score them with the back of a knife before baking. Arrange the cut crackers on a baking sheet lined with parchment paper, ensuring they are not overlapping. This allows for even air circulation and crisping.
- If you’re using flaky sea salt, lightly sprinkle it over the tops of the crackers now. This adds a delightful textural contrast and a burst of briny flavor that complements the sharp cheddar beautifully. Preheat your oven to 350°F (175°C).
- Bake the crackers for 12-18 minutes, or until they are golden brown and crisp. The baking time can vary depending on your oven and the thickness of your crackers, so keep a close eye on them. You want them to be firm to the touch and have a nice deep golden color around the edges. If some crackers are browning faster than others, you can rotate the baking sheet halfway through the baking process. The aroma filling your kitchen will be absolutely irresistible!
Cooling and Enjoying
- Once baked to perfection, remove the baking sheet from the oven. Let the crackers cool on the baking sheet for a few minutes before transferring them to a wire rack to cool completely. They will become even crispier as they cool. It’s incredibly tempting to dive in immediately, but allowing them to cool fully is crucial for achieving that perfect crunchy texture. Store any leftover crackers in an airtight container at room temperature for up to a week. They are best enjoyed within the first few days, but this storage method will help maintain their crispness.

Conclusion:
You’ve done it! You’ve successfully created your very own batch of homemade Sourdough Cheez Its Recipe. The journey from starter to perfectly crisp, cheesy cracker is incredibly rewarding, and the taste is leagues beyond anything store-bought. Imagin extracte the satisfaction of pulling a golden-brown tray of these delightful bites from your oven, their aroma filling your kitchen with the promise of pure cheesy goodness. These aren’t just crackers; they’re a testament to your baking skills and the magic of sourdough. Enjoy them plain, or get creative with how you serve them. They are perfect for snacking, entertaining, or even as a delightful accompaniment to your favorite soups and salads. Don’t be afraid to experiment with different cheeses or spices to make them uniquely yours. Happy baking!
Frequently Asked Questions about Sourdough Cheez Its Recipe
Q1: Can I use a different type of cheese for my Sourdough Cheez Its Recipe?
Absolutely! While sharp cheddar is classic, feel free to explore other hard, aged cheeses like Gruyere, Parmesan, or even a spicy Monterey Jack. Mixing cheeses can add layers of complex flavor. Just ensure the cheese is finely grated for optimal melting and incorporation into the dough.
Q2: My Sourdough Cheez Its Recipe came out too soft. What did I do wrong?
The most common reason for soft crackers is insufficient baking time. Ensure your oven is accurately calibrated and bake until the edges are deeply golden brown and firm to the touch. Overcrowding the baking sheet can also lead to uneven cooking and steaming. Bake in batches if necessary for the crispiest results.
Q3: How should I store my homemade Sourdough Cheez Its Recipe?
Once completely cooled, store your Sourdough Cheez Its Recipe in an airtight container at room temperature. They should remain delightfully crisp for up to a week. If they do lose some crispness, you can briefly reheat them in a low oven for a few minutes to refresh them.
Homemade Sourdough Cheez-Its – Baked Crispy & Cheesy
Crispy, cheesy, and tangy homemade crackers made with sourdough discard for an extra depth of flavor. A delicious copycat of your favorite snack!
Ingredients
-
226 grams sharp cheddar cheese, freshly shredded
-
100 grams active sourdough discard
-
42 grams cold, unsalted butter, cubed
-
140 grams all-purpose flour
-
1 gram garlic powder
-
1 gram onion powder
-
3 grams salt
-
Flaky sea salt, for finishing (optional)
Instructions
-
Step 1
In a medium-sized bowl, combine the all-purpose flour, garlic powder, onion powder, and salt. Whisk these dry ingredients together thoroughly to ensure even distribution. -
Step 2
Add the cold, cubed unsalted butter to the flour mixture. Work the butter into the flour until it resembles coarse crumbs, about the size of small peas. This can be done with fingertips, a pastry blender, or a food processor. -
Step 3
Incorporate the shredded cheddar cheese into the flour and butter mixture. Gently combine everything with your fingertips or a spatula, avoiding overmixing. -
Step 4
Add the active sourdough discard. Gradually mix until the dough just comes together into a cohesive ball. Be careful not to overwork the dough. -
Step 5
Flatten the dough into a disc, wrap tightly in plastic wrap, and refrigerate for at least 30 minutes, or up to 2 days. -
Step 6
After chilling, let the dough sit at room temperature for 5-10 minutes. Lightly flour a work surface and roll out the dough to approximately 1/8 inch thickness. Aim for an even thickness. -
Step 7
Cut the dough into small squares, about 1-inch by 1-inch. For authentic look, press a fork onto each cracker to create holes. Arrange on a parchment-lined baking sheet. -
Step 8
Preheat oven to 350°F (175°C). Sprinkle with flaky sea salt if desired. -
Step 9
Bake for 12-18 minutes, or until golden brown and crisp. Rotate baking sheet halfway through if needed. -
Step 10
Let crackers cool on the baking sheet for a few minutes, then transfer to a wire rack to cool completely before enjoying. Store in an airtight container.
Important Information
Nutrition Facts (Per Serving)
It is important to consider this information as approximate and not to use it as definitive health advice.
Allergy Information
Please check ingredients for potential allergens and consult a health professional if in doubt.