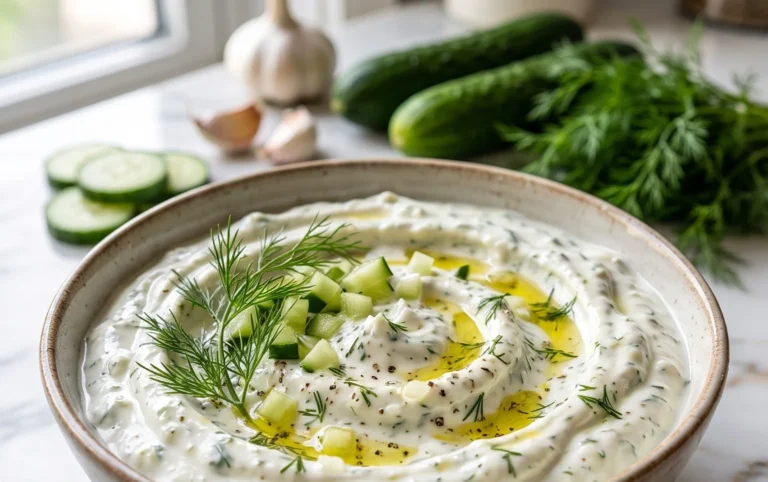
Easy Garlic Aioli Sauce – Creamy Dip Perfection
Garlic aioli sauce is a culinary marvel, a simple yet profoundly flavorful condiment that elevates everyday dishes to extraordinary heights. Have you ever found yourself pondering the secret behind that irresistible creamy swirl on your fries, or the zesty punch that makes your grilled chicken sing? More often than not, the magic lies in a perfectly crafted garlic aioli sauce. It’s this emulsified dream of garlic, oil, and often a touch of lemon or Dijon, that has captivated palates worldwide. People adore it for its versatility; it’s the ultimate dipping sauce, a luxurious sandwich spread, and an indispensable partner to seafood. What makes this particular garlic aioli sauce so special is its ability to harmonize bold garlic notes with a silken texture, creating a symphony of taste that’s both comforting and exciting. Get ready to unlock the secrets to making your own, and prepare for your taste buds to thank you!
Ingredients:
- 1/3 cup mayonnaise
- 2 tablespoons olive oil
- 2 cloves garlic, finely minced (approximately 2 teaspoons)
- 1 teaspoon fresh lemon juice
- 1/4 teaspoon freshly ground black pepper
Making Your Perfect Garlic Aioli Sauce
This Garlic Aioli Sauce recipe is incredibly simple and remarkably versatile. It elevates everything from a simple roasted chicken to a basket of crispy fries. The key is the freshness of the ingredients and a little bit of patience during the emulsification process, which is surprisingly straightforward. We’re going to break down each step to ensure you achieve a rich, creamy, and wonderfully garlicky aioli every single time.
Phase 1: Preparing the Aromatics
The foundation of any great aioli is well-prepared garlic. For this recipe, we’re using fresh garlic cloves. The first crucial step is to finely mince them. You can achieve this with a sharp knife and a cutting board, or if you prefer, a garlic press. When mincing, aim for a very fine consistency. This ensures the garlic flavor is evenly distributed throughout the sauce and avoids any overpowering chunks. If using a garlic press, be sure to scrape out all the pressed garlic. We want every bit of that pungent flavor to meld into our mayonnaise base. The amount specified, 2 cloves, which equates to about 2 teaspoons when minced, is a good starting point. You can adjust this slightly to your personal preference for garlic intensity, but this amount provides a robust and satisfying garlicky punch without being overwhelming.
Phase 2: Building the Base
Now, let’s bring our ingredients together. In a medium-sized bowl, you’ll start with the mayonnaise. This is the creamy backbone of our aioli. Use a good quality mayonnaise for the best results; a full-fat variety will yield a richer, more stable sauce. Add the finely minced garlic directly into the mayonnaise. Next, we’ll incorporate the olive oil. While some traditional aioli recipes involve whisking oil into egg yolks, this simplified version uses mayonnaise as the emulsion base, making it much quicker and less prone to breaking. The olive oil will contribute to the smoothness and add a subtle fruity note that complements the garlic beautifully.
Phase 3: Flavor Infusion and Emulsification
Once your mayonnaise and garlic are combined, it’s time to add the other essential flavor components. Pour in the fresh lemon juice. The acidity from the lemon juice is vital. It not only brightens the overall flavor profile but also helps to further emulsify the sauce, creating a smoother texture. Be sure to use fresh lemon juice, as bottled versions can sometimes have a more artificial taste. Following that, season with the ground pepper. Freshly ground black pepper will offer a more complex and vibrant peppery note than pre-ground pepper. Now, begin extract to whisk the ingredients together. Start slowly, gently mixing the minced garlic and lemon juice into the mayonnaise. As you whisk, you’ll notice the mixture will start to become more uniform. Continue whisking vigorously for about 1 to 2 minutes. The goal here is to create a cohesive sauce where the garlic is fully incorporated and the flgin extractrs begin to meld.
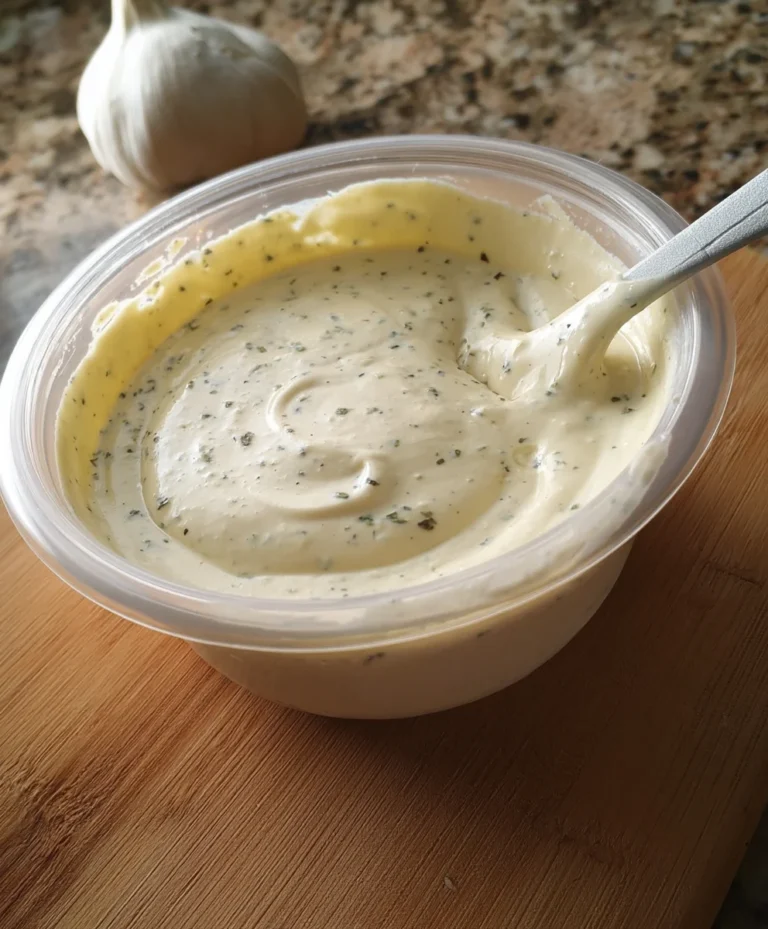
Phase 4: Resting and Refining
After the initial whisking, cover the bowl with plastic wrap or a lid. It’s crucial to let the aioli rest. This resting period, ideally for at least 15 to 30 minutes, allows the flavors to meld and deepen. The garlic’s potency will mellow slightly, and its flavor will infuse more thoroughly into the mayonnaise and olive oil mixture. This step is often overlooked, but it makes a significant difference in the final taste. You’ll find that the aioli becomes more homogenous and develops a more complex flavor profile after this resting period. Before serving, give the aioli another good whisk. This will ensure it’s perfectly smooth and creamy. If you find the consistency is a little too thick for your liking after resting, you can whisk in another teaspoon of olive oil or a tiny splash more lemon juice until you reach your desired texture. Taste and adjust seasoning if needed; you might want a pinch more pepper or a touch more lemon juice depending on your preference.
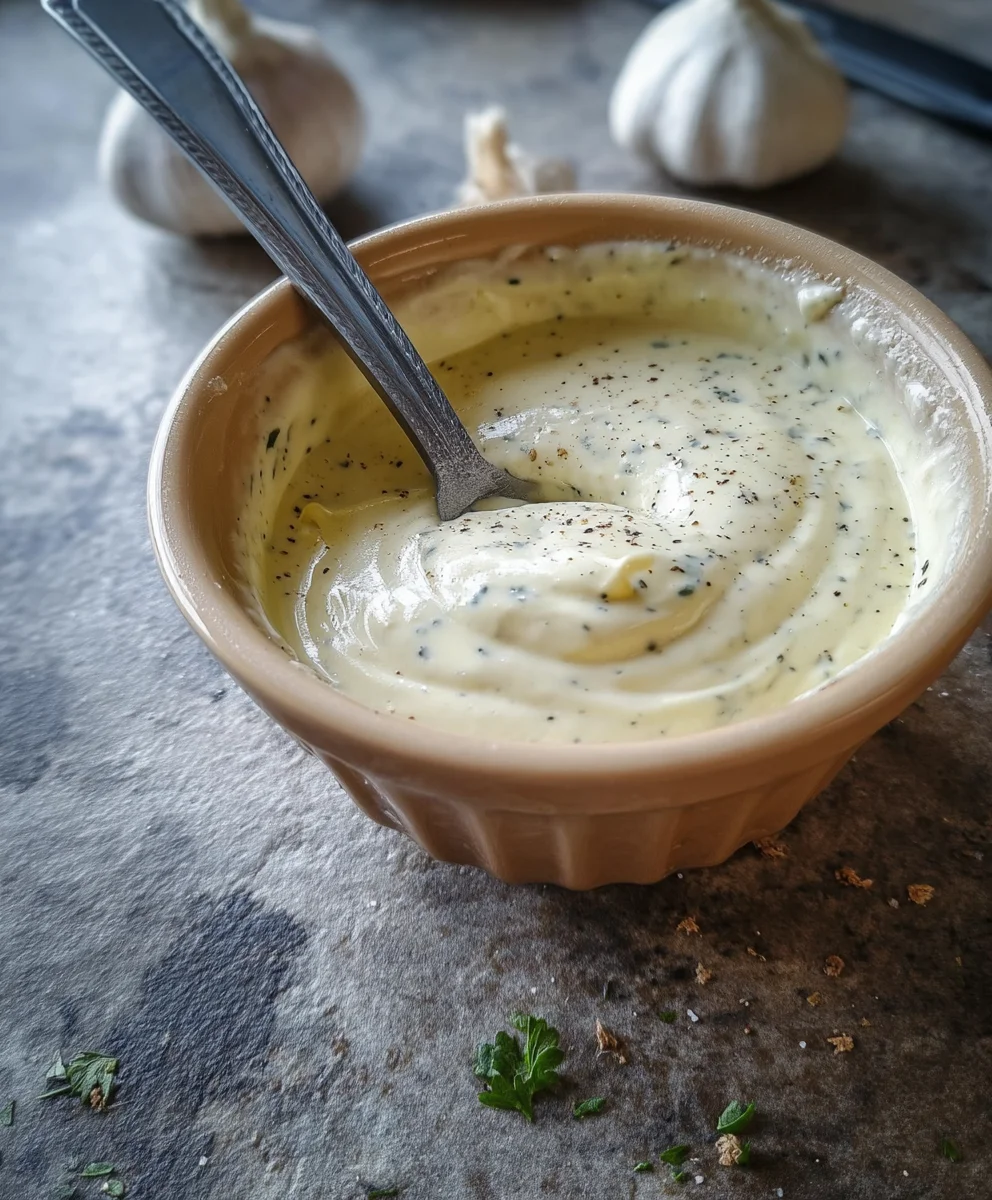
Phase 5: Serving Suggestions and Storage
Your delicious Garlic Aioli Sauce is now ready to be enjoyed! It’s perfect as a dip for sweet potato fries, regular French fries, or even onion rings. Dollop it onto burgers, sandwiches, or wraps for an instant flavor upgrade. It’s also a fantastic accompaniment to grilled or roasted meats and seafood, adding a creamy, garlicky richness. For storage, transfer any leftover aioli to an airtight container and keep it in the refrigerator. Due to the fresh garlic and mayonnaise base, it’s best consumed within 3 to 5 days. Always use a clean spoon to retrieve the aioli from the container to maintain its freshness and prevent contamination. This simple recipe is a game-changer for elevating everyday meals with minimal effort and maximum flavor.
Conclusion:
Congratulations! You’ve now mastered the art of creating the most incredible Garlic Aioli Sauce right in your own kitchen. This rich, creamy, and intensely flavorful sauce is surprisingly simple to make and elevates a multitude of dishes from ordinary to extraordinary. We’ve covered the foundational recipe, and now the delicious possibilities are endless!
For serving suggestions, think beyond the usual. Drizzle your Garlic Aioli Sauce over grilled fish or chicken, use it as a decadent dip for crispy fries or roasted vegetables, or spread it generously on sandwiches and burgers for an instant flavor upgrade. It’s also fantastic with seafood like shrimp or calamari.
Feeling adventurous? Explore variations! Consider adding a pinch of smoked paprika for a smoky depth, a squeeze of fresh lemon juice for brightness, or even a touch of sriracha for a spicy kick. The beauty of homemade Garlic Aioli Sauce is its adaptability. So go forth, experiment, and enjoy every delicious bite!
Frequently Asked Questions about Garlic Aioli Sauce:
Q1: How long will my Garlic Aioli Sauce last in the refrigerator?
When stored in an airtight container in the refrigerator, your homemade Garlic Aioli Sauce should stay fresh for about 3 to 5 days. Always check for any off-smells or changes in texture before using.
Q2: Can I make a vegan version of this Garlic Aioli Sauce?
Absolutely! To make a vegan Garlic Aioli Sauce, simply substitute the egg yolk with silken tofu or a combination of aquafaba (the liquid from a can of chickpeas) and a touch of cornstarch or xanthan gum for emulsification. You’ll achieve a similar creamy texture with plant-based ingredients.
Easy Garlic Aioli Sauce – Creamy Dip Perfection
An incredibly simple and versatile garlic aioli sauce that elevates any dish with its rich, creamy, and wonderfully garlicky flavor.
Ingredients
-
1/3 cup mayonnaise
-
2 tablespoons olive oil
-
2 cloves garlic, finely minced (approximately 2 teaspoons)
-
1 teaspoon fresh lemon juice
-
1/4 teaspoon freshly ground black pepper
Instructions
-
Step 1
Finely mince the fresh garlic cloves using a sharp knife or a garlic press, aiming for a very fine consistency for even flavor distribution. -
Step 2
In a medium-sized bowl, combine the mayonnaise, finely minced garlic, and olive oil. Whisk gently to start incorporating. -
Step 3
Add the fresh lemon juice and freshly ground black pepper to the bowl. Whisk vigorously for 1 to 2 minutes until the sauce becomes cohesive and the flavors begin to meld. -
Step 4
Cover the bowl and let the aioli rest in the refrigerator for at least 15 to 30 minutes to allow the flavors to deepen and meld. -
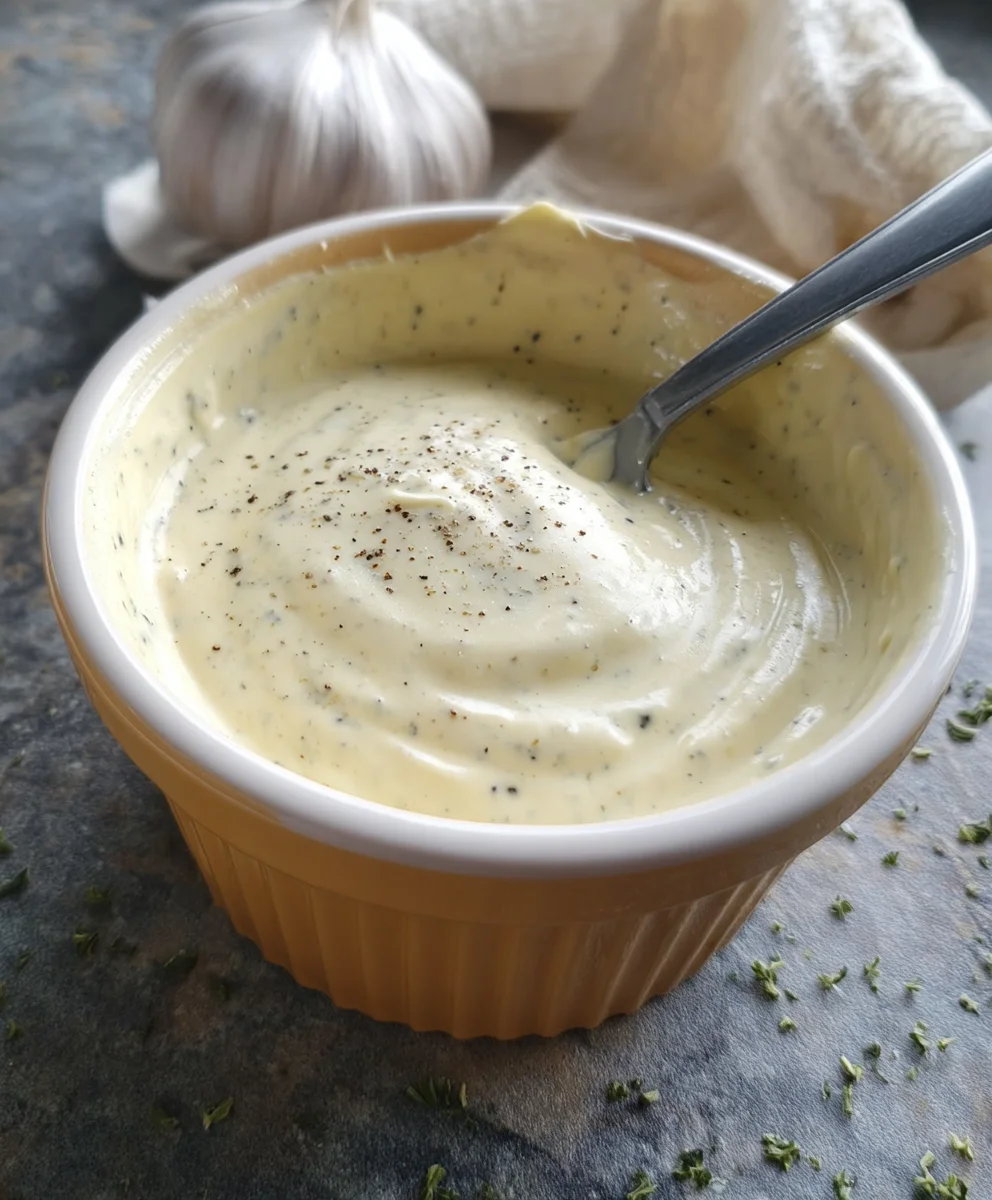
Step 5
Before serving, whisk the aioli again until smooth and creamy. Adjust seasoning with more pepper or lemon juice if desired, or add a teaspoon of olive oil if a thinner consistency is preferred.
Important Information
Nutrition Facts (Per Serving)
It is important to consider this information as approximate and not to use it as definitive health advice.
Allergy Information
Please check ingredients for potential allergens and consult a health professional if in doubt.