Decadent Chocolate Peanut Butter Pizza Recipe
Chocolate Peanut Butter Pizza is not just a dessert; it’s a symphony of pure indulgence, a culinary creation that transforms familiar flavors into something truly extraordinary. Imagin extracte a sweet, chewy crust kissed with richness, then generously slathered with the creamy, nutty embrace of peanut butter, and finally, crowned with glistening swirls of decadent chocolate. It’s the ultimate fusion of two beloved classigin extract bringing together the comforting allure of peanut butter cups and the universally adored joy of pizza, but with a sweet twist that redefines what a “pizza night” can be. People adore this treat because it taps into our deepest comfort food cravings, offering an immediate escape into a world of deliciousness. What makes this Chocolate Peanut Butter Pizza so incredibly special is its playful simplicity paired with its surprisingly sophisticated flavor profile – it’s the perfect crowd-pleaser for any occasion, from casual gatherings to a special treat just for yourself.

Ingredients:
- 1 (18-oz) roll refrigerated chocolate chip cookie dough
- 3/4 cup creamy peanut butter
- 1 cup semi-sweet chocolate morsels
- 1/2 cup bite-size chocolate peanut butter cups, roughly chopped
- 1/4 cup miniature candy-coated chocolate pieces
- 1/4 cup salted peanuts, chopped
- Chocolate sauce for drizzling (optional)
Preparing the Pizza Base
The foundation of our delicious Chocolate Peanut Butter Pizza starts with a ready-made cookie dough. This makes the whole process incredibly simple and quick, perfect for a last-minute treat or a fun family baking activity. Begin extract by preheating your oven to the temperature recommended on the chocolate chip cookie dougin extractpackaging, typically around 350°F (175°C). While the oven heats up, unroll the refrigerated chocolate chip cookie dough onto a lightly greased or parchment-lined baking sheet. You’ll want to use a baking sheet that’s large enough to accommodate the dough spread out into a circular pizza shape. Gently press and spread the cookie dough with your hands or a lightly floured rolling pin to form a round, pizza-like crust. Aim for an even thickness across the entire surface to ensure consistent baking. A diameter of about 10-12 inches is usually ideal. Don’t worry if it’s not perfectly round; rustic charm is part of the appeal of a homemade pizza! Pricking the dough lightly with a fork in a few spots can help prevent large air bubbles from forming during baking, although it’s not strictly necessary for this sweet treat.
Baking the Cookie Crust
Now it’s time to give our cookie crust its initial bake. Carefully place the baking sheet with the spread cookie dough into the preheated oven. Bake for the time indicated on the cookie dough package, or until the edges are lightly golden brown and the center appears set but still slightly soft. This usually takes about 10-15 minutes. You’re aiming for a sturdy base that can hold all the delicious toppings without becoming soggy, but you don’t want to overbake it to the point of being hard and crum extractbly. Once baked, remove the cookie crust from the oven and let it cool on the baking sheet for about 5-10 minutes. This brief cooling period allows it to firm up a bit more before we move on to the next exciting stage of adding our rich toppings.
Creating the Peanut Butter Layer
With our cookie crust nicely baked and slightly cooled, we can now prepare the luscious peanut butter layer. This acts as the savory and slightly salty binder for all our sweet chocolate components. In a microwave-safe bowl, warm the creamy peanut butter for about 30-60 seconds on medium power. The goal is to make it more spreadable, not to cook it. Stir the peanut butter thoroughly after heating to ensure it’s smooth and free of lumps. If it’s still too thick, you can microwave it in 10-second increments, stirring in between, until it reaches a wonderfully smooth and pourable consistency. Once the peanut butter is perfectly spreadable, generously spoon it over the warm cookie crust. Using an offset spatula or the back of a spoon, carefully spread the peanut butter evenly across the entire surface of the cookie crust, right up to the edges. Ensure a complete and even coating, as this will provide a delightful peanut butter flavor in every bite and help the subsequent toppings adhere.
Adding the Chocolate Toppings
This is where our Chocolate Peanut Butter Pizza truly comes to life! We’re going to load it up with a fantastic combination of chocolatey goodness. First, sprinkle the 1 cup of semi-sweet chocolate morsels evenly over the warm peanut butter layer. The residual heat from the cookie crust and peanut butter wigin extracthelp these begin to soften and melt slightly, creating a wonderful base for our other toppings. Next, scatter the 1/2 cup of roughly chopped bite-size chocolate peanut butter cups over the chocolate morsels. The combination of the smooth semi-sweet chocolate and the rich, creamy centers of the peanut butter cups will be divine. Don’t be shy; distribute them as evenly as possible to ensure you get a burst of peanut butter cup flavor with almost every slice. Follow this by sprinkling the 1/4 cup of miniature candy-coated chocolate pieces. These add a delightful pop of color and a satisfying crunch, as well as another layer of chocolatey flavor. Finally, sprinkle the 1/4 cup of chopped salted peanuts over everything. The saltiness of the peanuts will beautifully complement the sweetness of the chocolate and peanut butter, adding a lovely textural contrast and a sophisticated savory note.
Final Touches and Serving
Before serving, you have the option to enhance the visual appeal and flavor with a drizzle of chocolate sauce. If you’re using it, warm the chocolate sauce slightly if it’s too thick, then use a spoon or a piping bag to create a zigzag pattern or decorative swirls over the entire pizza. This adds an extra layer of indulgence and makes your Chocolate Peanut Butter Pizza look like it came straight from a gourmet dessert shop. Allow the pizza to cool for at least 15-20 minutes before slicing. This resting period is crucial; it allows the toppings to meld together and the cookie crust to set further, making it much easier to cut clean slices. If you try to cut it while it’s too warm, the toppings might slide off, and the crustrum extractuld crumble. Once cooled sufficiently, use a sharp knife or a pizza cutter to slice your masterpiece into wedges. Serve immediately and enjoy the incredible combination of chewy cookie crust, creamy peanut butter, and an abundance of chocolatey, peanutty goodness. This Chocolate Peanut Butter Pizza is perfect for dessert, a snack, or even a fun breakfast treat!
Conclusion:
And there you have it! Your very own delicious Chocolate Peanut Butter Pizza is ready to be devoured. We hope you enjoyed the process as much as we did. This delightful dessert is surprisingly simple to make and offers a fantastic balance of rich chocolate and creamy peanut butter, all on a sweet, chewy crust. It’s perfect for movie nights, birthday parties, or just a sweet treat to brighten your day. Feel free to experiment with the toppings; a sprinkle of sea salt or some extra chopped peanuts can add another layer of flavor. Don’t be afraid to get creative and make this Chocolate Peanut Butter Pizza your own! We’re confident that once you try it, it will become a new family favorite.
Frequently Asked Questions:
Can I make the crust ahead of time?
Yes, absolutely! You can prepare the pizza crust up to 24 hours in advance. Once cooled, wrap it tightly in plastic wrap and store it at room temperature. When you’re ready to assemble your Chocolate Peanut Butter Pizza, simply unwrap the crust and proceed with the topping instructions.
What are some other topping ideas for the Chocolate Peanut Butter Pizza?
The possibilities are endless! Beyond the classic chocolate chips and peanut butter, consider adding a drizzle of honey, some sliced bananas, crushed pretzels for a salty crunch, or even a sprinkle of shredded coconut. A dusting of powdered sugar can also add a beautiful finish.
Is this Chocolate Peanut Butter Pizza suitable for people with nut allergies?
This specific recipe for Chocolate Peanut Butter Pizza contains peanuts, so it is not suitable for individuals with nut allergies. If you need an allergy-friendly option, you would need to modify the recipe significantly, perhaps by using a seed butter alternative and a dairy-free chocolate.
Decadent Chocolate Peanut Butter Pizza Recipe
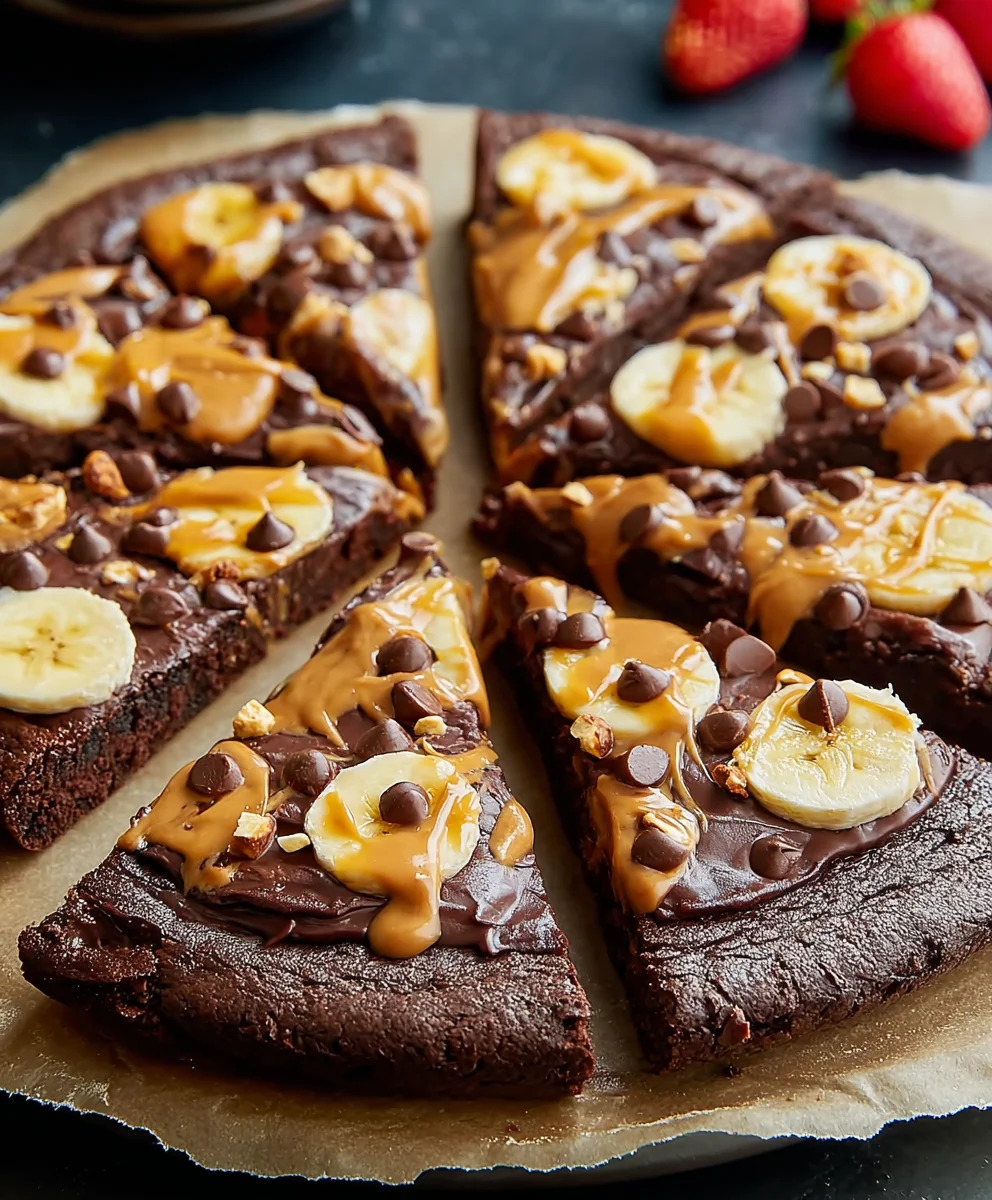
A rich and indulgent dessert pizza featuring a chocolate chip cookie crust, creamy peanut butter layer, and a generous topping of chocolate morsels, peanut butter cups, candy-coated chocolate pieces, and chopped peanuts.
Ingredients
-
1 (18-oz) roll refrigerated chocolate chip cookie dough
-
3/4 cup creamy peanut butter
-
1 cup semi-sweet chocolate morsels
-
1/2 cup bite-size chocolate peanut butter cups, roughly chopped
-
1/4 cup miniature candy-coated chocolate pieces
-
1/4 cup salted peanuts, chopped
-
Chocolate sauce for drizzling (optional)
Instructions
-
Step 1
Preheat your oven to 350°F (175°C). Unroll the refrigerated chocolate chip cookie dough onto a lightly greased or parchment-lined baking sheet. Spread the dough into a circular pizza shape, about 10-12 inches in diameter, ensuring even thickness. -
Step 2
Bake the cookie crust for 10-15 minutes, or until the edges are lightly golden brown and the center appears set. Remove from oven and let cool on the baking sheet for 5-10 minutes. -
Step 3
In a microwave-safe bowl, warm the creamy peanut butter for 30-60 seconds on medium power until spreadable. Stir well. Spoon the warmed peanut butter over the slightly cooled cookie crust and spread evenly to the edges. -
Step 4
Sprinkle the semi-sweet chocolate morsels evenly over the peanut butter layer. Scatter the chopped chocolate peanut butter cups and miniature candy-coated chocolate pieces over the morsels. -
Step 5
Sprinkle the chopped salted peanuts over all the toppings. If desired, drizzle with warmed chocolate sauce. -
Step 6
Allow the pizza to cool for at least 15-20 minutes before slicing. This helps the toppings set for easier cutting. Slice into wedges and serve.
Important Information
Nutrition Facts (Per Serving)
It is important to consider this information as approximate and not to use it as definitive health advice.
Allergy Information
Please check ingredients for potential allergens and consult a health professional if in doubt.