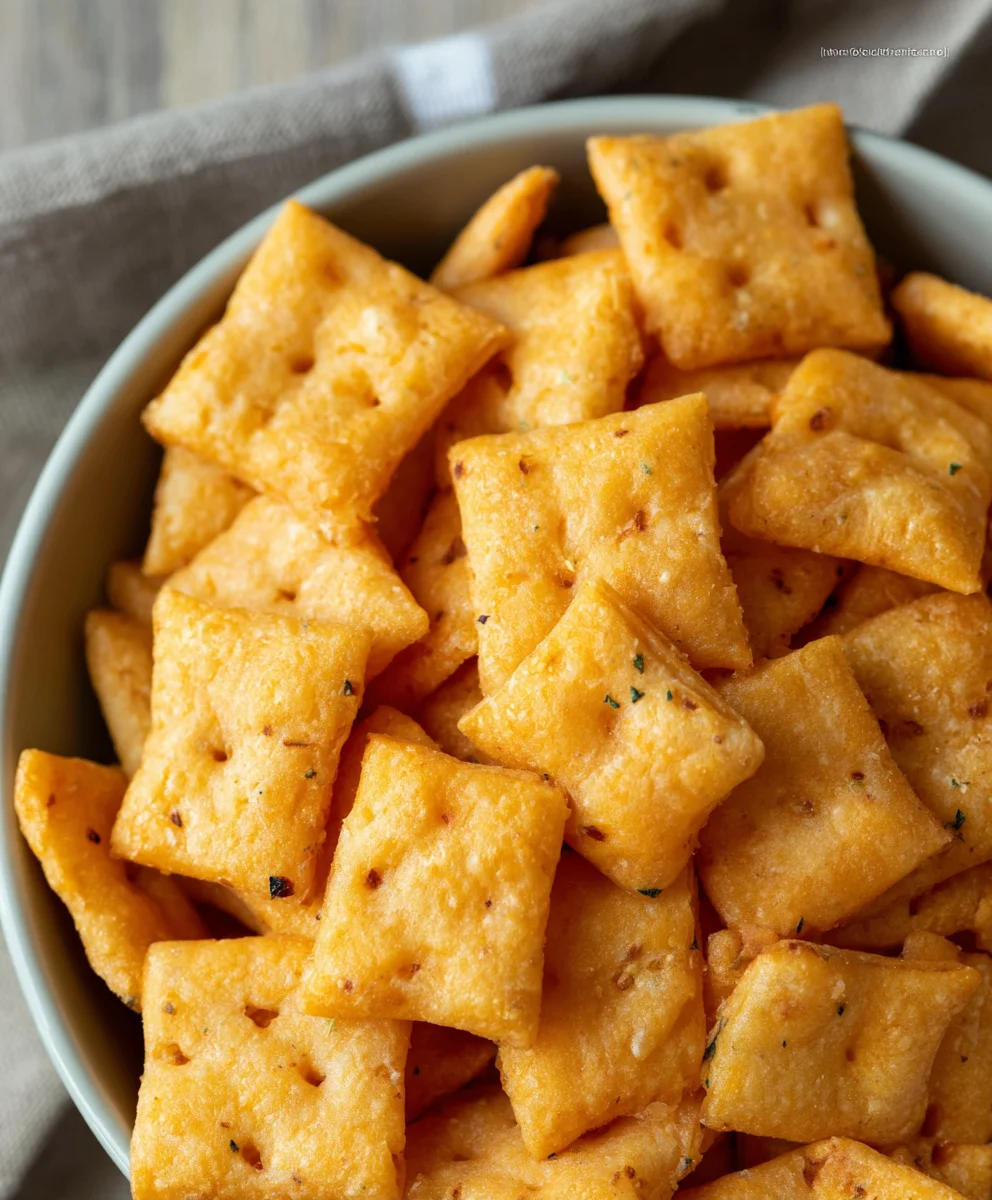
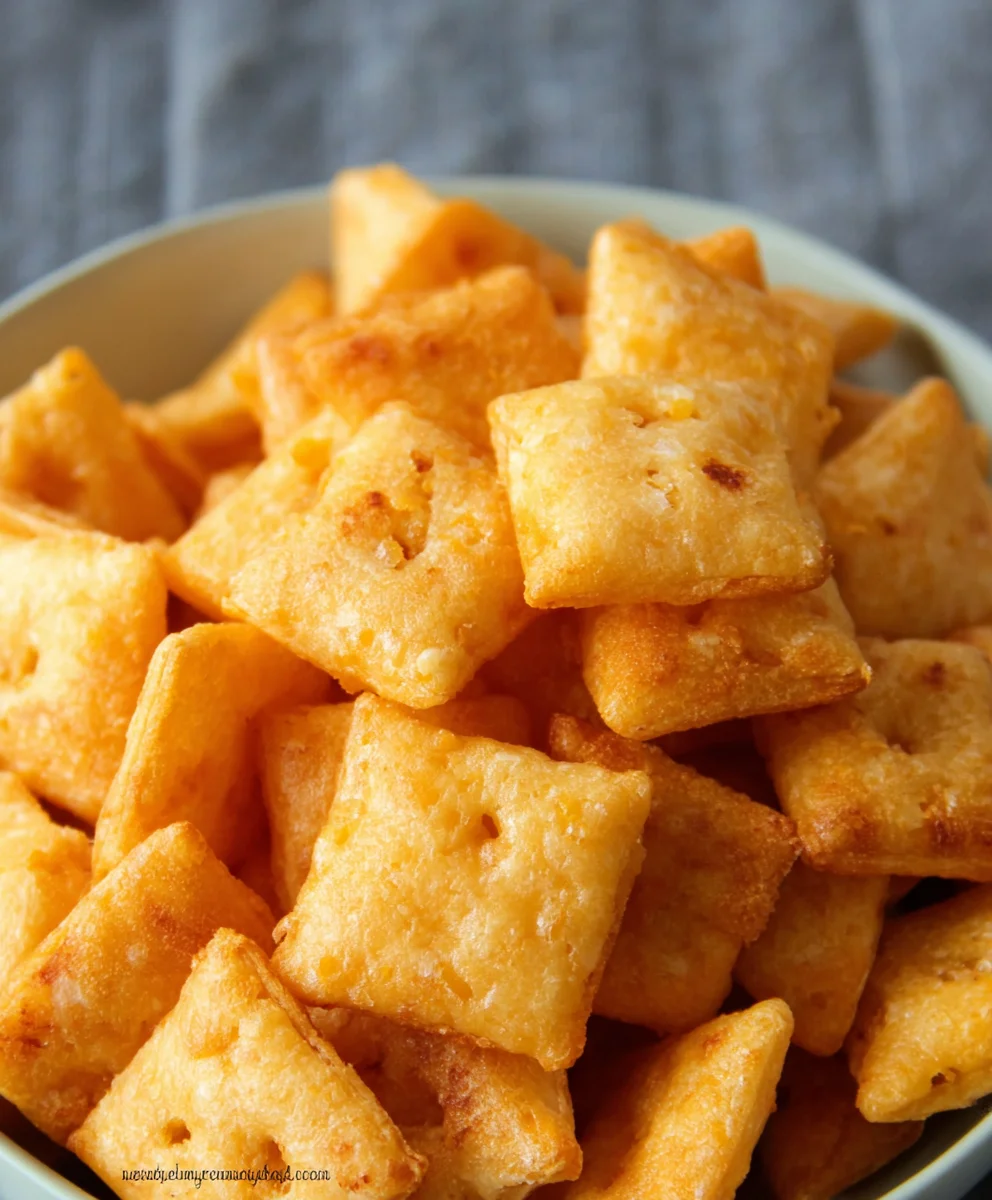
Gluten-Free Cheez-Its – Cheesy Snack Perfection
Gluten Free Cheez Its are a revelation for anyone navigating a gluten-free lifestyle but still craving that iconic, cheesy, baked snack. For years, the world of crunchy, savory crackers seemed off-limits, a tantalizing memory for many. But no more! This recipe unlocks the secret to recreating that impossibly addictive flavor and satisfying texture right in your own kitchen. What is it about these little orange squares that captivates us? It’s the perfect balance of sharp cheddar, the subtle hint of paprika, and that irresistible crunch that makes them impossible to eat just one. Whether you’re dealing with celiac disease, gluten sensitivity, or simply choosing a healthier path, you deserve a delicious snack that doesn’t compromise. This isn’t just a substitute; these homemade Gluten Free Cheez Its are a superior experience, bursting with fresh, wholesome ingredients and made with love.
What Makes These Gluten Free Cheez Its Special?
The magic lies in our carefully selected blend of gluten-free flours and high-quality cheese. We’ve experimented to find the perfect combination that mimics the authentic taste and texture you adore. Forget grainy or crum extractbly disappointments. These Gluten Free Cheez Its deliver a delicate crispness that gives way to a molten, cheesy interior. The ease of preparation means you can whip up a batch whenever that craving strikes, ensuring you always have a safe and incredibly tasty snack on hand. Get ready to rediscover your favorite childhood treat, reimagin extracted for a gluten-free world!
Ingredients:
- 8 ounces cheddar cheese, finely shredded (mild or sharp, your preference!)
- 4 tablespoons unsalted butter, softened
- 1 cup gluten-free flour blend (*Ensure your blend is suitable for baking and doesn’t contain xanthan gum if you plan to add it separately, though many blends have it included.)
- 1/2 teaspoon salt
- 1/8 teaspoon garlic powder
- 3 tablespoons cold water
- 1 teaspoon coarse salt (like sea salt or kosher salt, for topping)
- 1/8 teaspoon onion powder
Making Your Gluten Free Cheez-Its
This recipe is designed to bring you all the cheesy, salty goodness of your favorite snack crackers, but in a gluten-free format. We’ll be creating a simple dough that comes together quickly, then chilling it to make it easier to handle and roll out thinly for that signature crispiness. Get ready to impress yourself (and anyone lucky enough to share!).
Phase 1: Bringin extractg the Dough Together
The first step in crafting these delightful Gluten Free Cheez-Its is to get our dough base ready. In a medium-sized mixing bowl, combine your gluten-free flour blend, 1/2 teaspoon of salt, the garlic powder, and the onion powder. Whisk these dry ingredients together thoroughly. This ensures that all the seasonings are evenly distributed throughout the flour, which is crucial for consistent flavor in every bite.
Next, add the softened butter to the dry ingredients. Using a pastry blender, your fingertips, or even a food processor on a pulse setting, work the butter into the flour mixture until it resembles coarse crum extractbs. You want to break down the butter into small pieces that are coated with flour. This process creates pockets of fat within the dough, which contribute to a tender and flaky texture in the finished crackers. It’s important that the butter isn’t completely melted, as we want those distinct pieces.
Now comes the cheese. Add the finely shredded cheddar cheese to the flour and butter mixture. Gently mix it in until it’s evenly distributed. The cheese will start to bind everything together a bit. At this stage, the mixture will still berum extractite crumbly.
Phase 2: Hydrating and Chilling the Dough
It’s time to add the liquid. Gradually add the cold water, one tablespoon at a time, mixing gently after each addition. You might not need all three tablespoons, or you might need a tiny bit more, depending on the humidity and the specific flour blend you’re using. The goal is to bring the dough together into a cohesive ball. Don’t overmix at this point; we’re just aiming for the ingredients to clump together. As soon as it starts to form a dough, stop adding water.
Once the dough has just come together, gently gather it into a disc. Wrap this disc tightly in plastic wrap and refrigerate it for at least 30 minutes, or up to 2 days. Chilling the dough is a critical step. It allows the gluten-free flours to hydrate fully, which improves the texture of the final cracker. It also firms up the butter, making the dough much easier to roll out thinly without sticking. Patience here will reward you with much better results.
Phase 3: Rolling and Cutting Your Crackers
When you’re ready to bake, preheat your oven to 350°F (175°C). Line two baking sheets with parchment paper. This prevents sticking and makes for easy cleanup.
Take the chilled dough out of the refrigerator. It will be firm. Lightly flour a clean work surface with a bit of your gluten-free flour blend, or you can roll the dough between two sheets of parchment paper to minimize sticking and the need for extra flour. Roll the dough out as thinly as possible, aiming for about 1/16th of an inch. The thinner you roll it, the crispier your Gluten Free Cheez-Its will be. Think almost translucent! If the dough cracks, you can gently press it back together.
Once your dough is rolled out thinly, you have a couple of options for cutting. For classic square shapes, use a pizza cutter or a sharp knife to cut the dough into small squares, about 1 inch by 1 inch. Alternatively, you can use a small square cookie cutter. For extra authenticity, you can use a toothpick to gently poke a small hole in the center of each cracker, just like the store-bought versions.
Phase 4: Baking to Perfection
Carefully transfer the cut dough squares onto your prepared baking sheets. Leave a little space between them, though they won’t spread significantly. Now, for that irresistible finishing touch: sprinkle the tops of the crackers generously with the coarse salt. This coarse salt provides a delightful crunch and a burst of savory flavor that is characteristic of excellent cheese crackers.
Bake the crackers in the preheated oven for 12-18 minutes. The baking time will vary depending on how thinly you rolled the dough and the specific characteristics of your oven. Keep a close eye on them, especially towards the end of the baking period. You want them to be golden brown around the edges and lightly browned all over. They should feel firm to the touch and sound crisp when tapped.
Phase 5: Cooling and Enjoying
Once the crackers have reached a beautiful golden hue and are crisp, remove the baking sheets from the oven. Let the Gluten Free Cheez-Its cool on the baking sheets for a few minutes. This allows them to firm up further as they cool. Then, carefully transfer the crackers to a wire rack to cool completely. They will become even crisper as they reach room temperature. Once fully cooled, store your homemade Gluten Free Cheez-Its in an airtight container at room temperature for up to a week. Enjoy the satisfying crunch and cheesy flavor you created yourself!
Conclusion:
Congratulations! You’ve successfully embarked on the delicious journey of creating your own homemade Gluten Free Cheez Its. This recipe offers a satisfying crunch and cheesy flavor that rivals the store-bought classic, all while being free from gluten. We hope you enjoyed the process as much as we did! These delightful crackers are perfect for snacking straight from the oven, packing into lunchboxes, or serving as a crowd-pleasing appetizer at your next gathering. Don’t be afraid to experiment with different cheeses for a unique twist – sharp cheddar, Monterey Jack, or even a spicy pepper jack can elevate your Gluten Free Cheez Its to a whole new level. You can also add a pinch of smoked paprika or garlic powder to the dough for an extra layer of flavor. Enjoy every bite and feel proud of your culinary accomplishment!
Frequently Asked Questions:
What is the best gluten-free flour blend for these Gluten Free Cheez Its?
We recommend a good quality all-purpose gluten-free flour blend that contains xanthan gum. Brands like Bob’s Red Mill 1-to-1 Baking Flour or King Arthur Baking Gluten-Free Measure for Measure Flour work exceptionally well and provide a consistent texture for your Gluten Free Cheez Its.
Can I freeze the dough for Gluten Free Cheez Its?
Yes, absolutely! You can prepare the dough for your Gluten Free Cheez Its, wrap it tightly in plastic wrap, and then place it in a freezer-safe bag or container. It can be stored in the freezer for up to 2-3 months. When you’re ready to bake, simply thaw the dough in the refrigerator overnight and proceed with the recipe as usual.
My Gluten Free Cheez Its are too crum extractbly, what went wrong?
If your Gluten Free Cheez Its arum extracttoo crumbly, it might be due to the ratio of dry to wet ingredients. Ensure you are accurately measuring your gluten-free flour blend. Sometimes, gluten-free doughs require a little more moisture. You can try adding an extra teaspoon or two of milk or water to the dough if it feels too dry and won’t come together.
Gluten-Free Cheez-Its – Cheesy Snack Perfection
Homemade gluten-free cheese crackers that deliver all the cheesy, salty goodness of the classic snack.
Ingredients
-
8 ounces cheddar cheese, finely shredded
-
4 tablespoons unsalted butter, softened
-
1 cup gluten-free flour blend
-
1/2 teaspoon salt
-
1/8 teaspoon garlic powder
-
3 tablespoons cold water
-
1 teaspoon coarse salt
-
1/8 teaspoon onion powder
Instructions
-
Step 1
In a bowl, whisk together gluten-free flour blend, 1/2 tsp salt, garlic powder, and onion powder. Cut in softened butter until mixture resembles coarse crumbs. -
Step 2
Gently mix in shredded cheddar cheese until evenly distributed. The mixture will be crumbly. -
Step 3
Gradually add cold water, one tablespoon at a time, mixing until a cohesive dough ball forms. Do not overmix. -
Step 4
Shape the dough into a disc, wrap tightly in plastic wrap, and refrigerate for at least 30 minutes. -
Step 5
Preheat oven to 350°F (175°C). Line baking sheets with parchment paper. Roll out chilled dough thinly (about 1/16th inch) on a floured surface or between parchment paper. Cut into small squares and poke a hole in the center of each. -
Step 6
Transfer cut dough to prepared baking sheets. Sprinkle generously with coarse salt. Bake for 12-18 minutes, or until golden brown and crisp. -
Step 7
Let crackers cool on baking sheets for a few minutes, then transfer to a wire rack to cool completely. Store in an airtight container.
Important Information
Nutrition Facts (Per Serving)
It is important to consider this information as approximate and not to use it as definitive health advice.
Allergy Information
Please check ingredients for potential allergens and consult a health professional if in doubt.