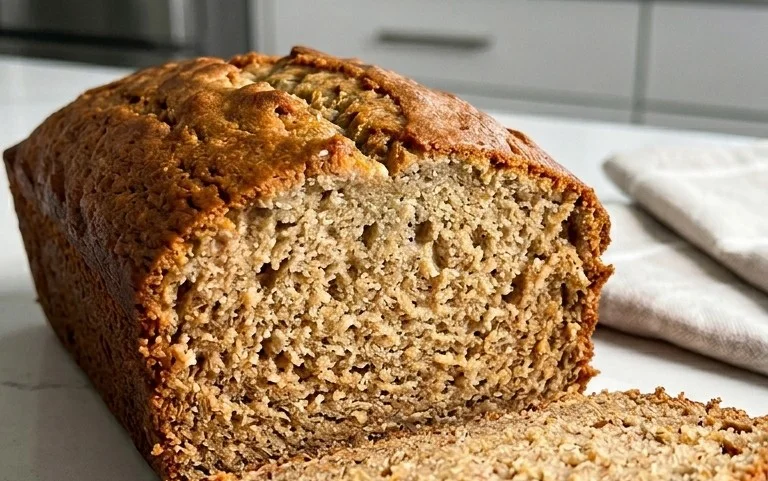
Amish White Bread Recipe-Soft & Simple Homemade Loaf
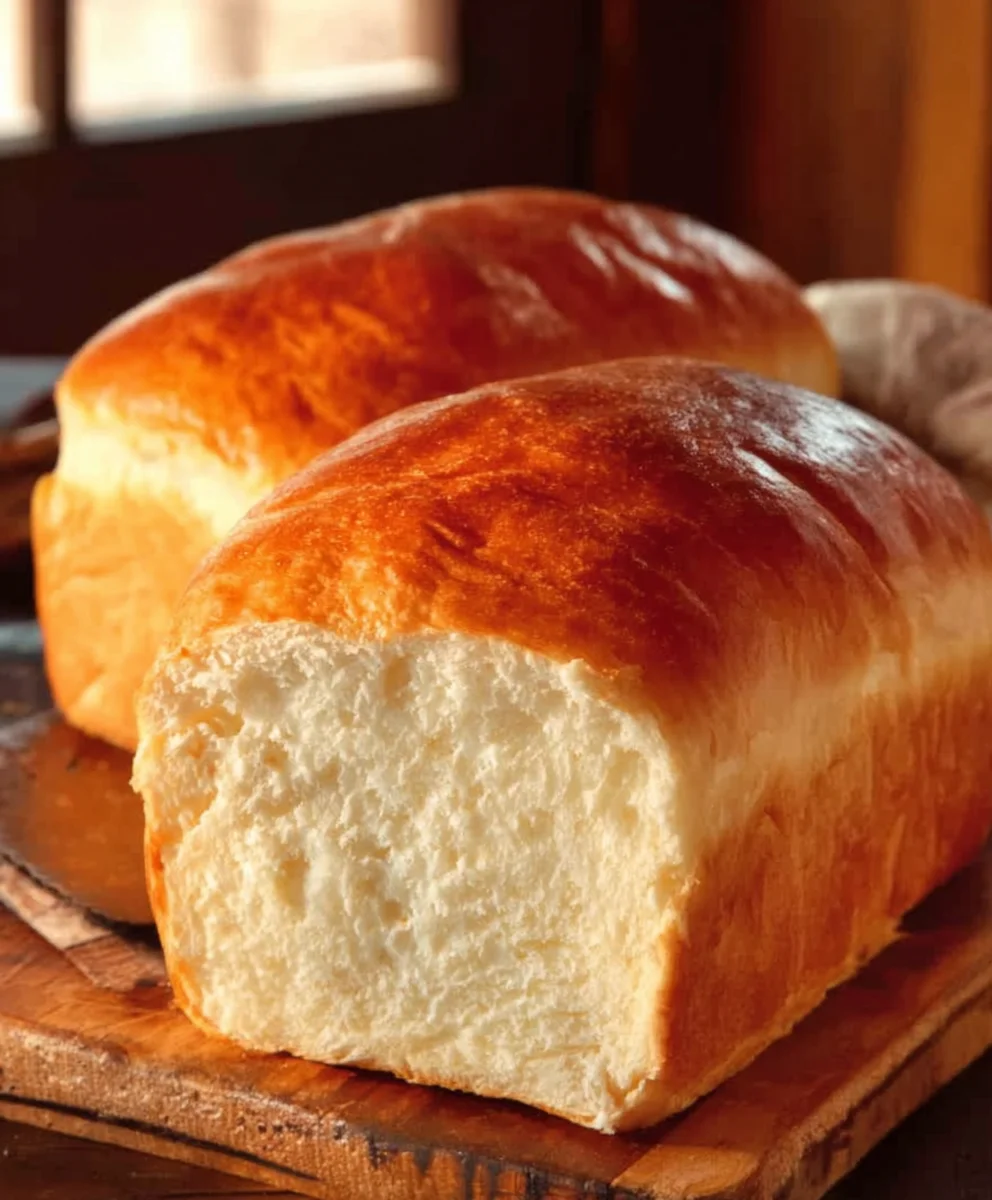
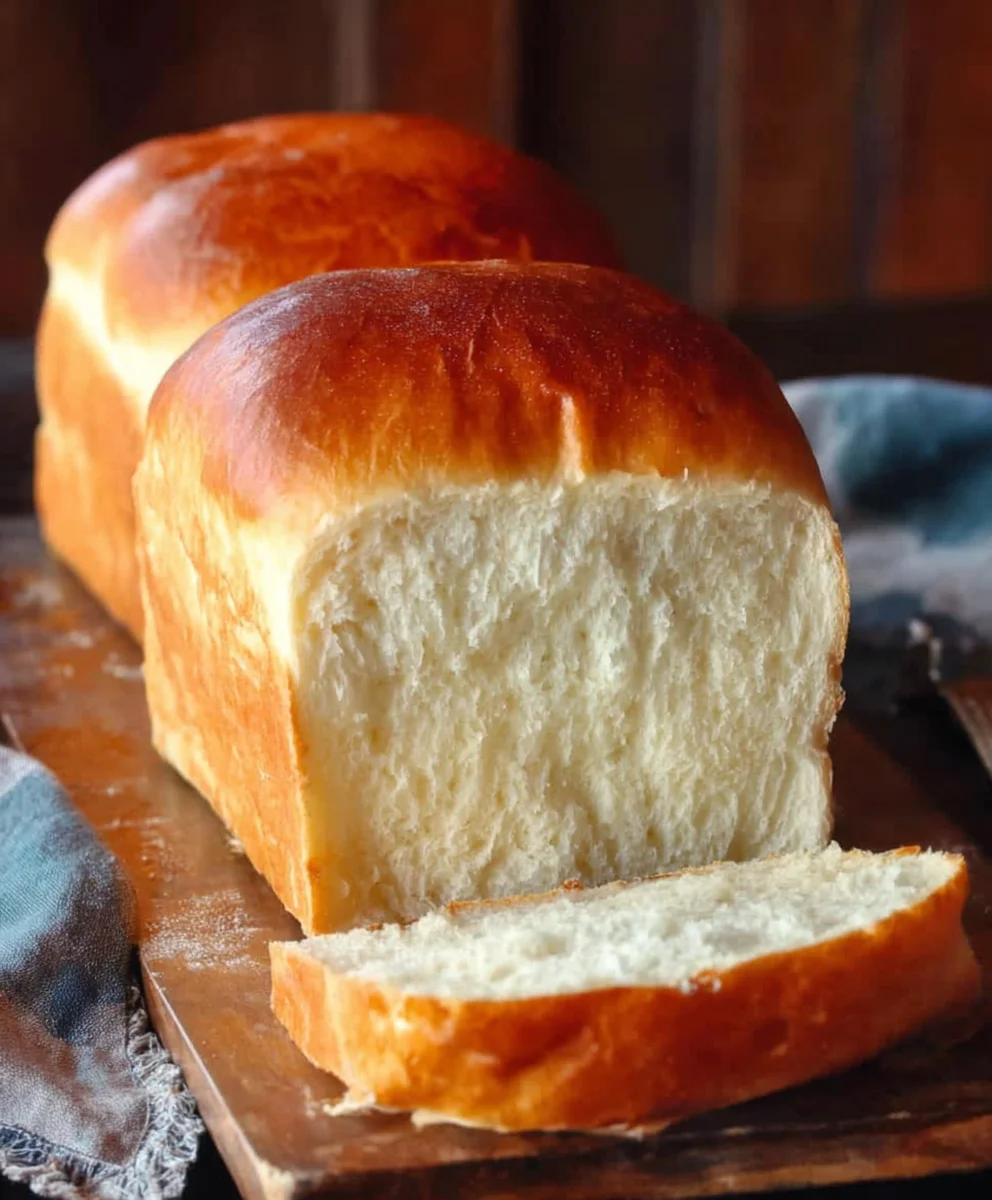
Amish White Bread Recipe. There’s a comforting warmth that radiates from a perfectly baked loaf of homemade bread, a smell that instantly transports us to simpler times and cozy kitchens. For many, the ultimate expression of this tradition is the classic Amish white bread recipe. It’s a recipe that has been passed down through generations, cherished for its incredible simplicity and its unbelievably delicious results. What is it about this particular white bread that captures our hearts and our appetites? It’s the incredibly soft, cloud-like interior, the slightly chewy, golden-brown crust, and that subtle, sweet flavor that’s so pure and satisfying. This isn’t just bread; it’s a foundation for countless meals and cherished memories, perfect for slathering with butter, dipping into soup, or transforming into the most delightful toast you’ve ever tasted. Get ready to bake a loaf that will fill your home with an aroma you’ll never forget.
Ingredients:
- 1 cup water (warmed to 110F)
- 1 pinch ground gin extractger (optional, but it helps awaken the yeast)
- 1 cup milk (warmed to 110F)
- 2/3 cup granulated sugar (feel free to reduce this if you prefer a less sweet bread)
- 1 1/2 tablespoons active dry yeast
- 1 1/2 teaspoons salt
- 1/4 cup vegetable oil (or 1/4 cup melted and cooled coconut oil, or 1/4 cup melted butter)
- 5-1/2 cups bread flour (you might need slightly more or less depending on humidity and flour type)
- 2 tablespoons butter (melted, for greasing the pan and optionally for brushing the top)
Preparing the Dough
Activating the Yeast
First, let’s get our yeast ready to work its magic. In a large mixing bowl, combine the warm water (around 105-115F is ideal; too hot will kill the yeast, too cool won’t activate it) and the warm milk. Sprinkle the active dry yeast over the liquid. If you’re using the optionalgin extractound ginger, adgin extracthat now. The ginger acts as a little boost to help the yeast get going. Let this mixture sit undisturbed for about 5 to 10 minutes. Yougin extractould see the yeast begin to foam and bubble on the surface; this indicates that your yeast is alive and ready to make a fluffy loaf. If you don’t see any activity, your yeast might be old or the liquid was too hot or too cold, and you’ll need to start over with fresh yeast.
Building the Dough Base
Once your yeast is foamy and active, it’s time to add the other wet ingredients and some of the dry. To the yeast mixture, add the granulated sugar and the salt. Stir gently to dissolve the sugar and salt. Now, pour in your chosen fat: either the vegetable oil, the melted and cooled coconut oil (ensure it’s cooled to about 100F so it doesn’t cook the yeast), or the melted butter. Stir everything together until well combined. Gradually add about 4 cups of the bread flour to the wet ingredients. Mix with a wooden spoon or a sturdy spatula until a shaggy dough starts to form. It will be sticky at this stage, and that’s perfectly normal.
Kneading the Dough
Developing Gluten
Now comes the fun part: kneading! Lightly flour a clean work surface. Turn the shaggy dough gin extract onto the floured surface. Begin to knead the dough by pushing it away from you with the heels of your hands, then folding it back towards you. Rotate the dough a quarter turn and repeat. You’ll want to add just enough additional bread flour, a tablespoon at a time, to prevent the dough from sticking excessively to your hands and the work surface. The dough is properly kneaded when it becomes smooth, elastic, and springs back when gently poked. This process develops the gluten, which gives the bread its structure and chegrape juicess. This kneading process typically takes about 8 to 10 minutes. If you have a stand mixer with a dough hook, you can knead it on medium-low speed for about 6-8 minutes until the dough pulls away from the sides of the bowl and is smooth and elastic.
First Rise
Proofing the Dough
Once your dough is smooth and elastic, shape it into a ball. Lightly grease a clean, large bowl with a little bit of the melted butter or oil. Place the dough ball into the greased bowl, turning it to coat all sides with the fat. This prevents the dough from drying out as it rises. Cover the bowl tightly with plastic wrap or a clean kitchen towel. Place the bowl in a warm, draft-free spot in your kitchen to rise. A good place is in a slightly warm oven (turned off!) or near a sunny window. Let the dough rise for about 1 to 1.5 hours, or until it has doubled in size. This first rise allows the yeast to produce carbon dioxide gas, creating those lovely air pockets that make bread light and airy.
Shaping and Second Rise
Preparing for Baking
Once the dough has doubled in size, gently punch it down to release the air. Turn the dough out onto a lightly floured surface again. You can either shape it into one large loaf or divide it into two smaller loaves. For a single loaf, gently shape the dough into a smooth oblong or round shape, depending on your baking pan. For two loaves, divide the dough in half and shape each piece. Grease two 9×5 inch loaf pans with the melted butter or oil, ensuring the bottoms and sides are well coated. Place the shaped dough into the prepared loaf pans. You can also use a round cake pan if you prefer a boule-style loaf.
The Final Proof
Cover the loaf pans loosely with plastic wrap or clean kitchen towels. Let the dough rise again in a warm place for another 30 to 45 minutes, or until the dough has visibly increased in volume and almost reached the top of the pans. This second rise is crucial for a beautiful, well-risen loaf. While the dough is on its final rise, preheat your oven to 375F (190C). If you like a shiny crust, you can brush the tops of the loaves lightly with a little bit of the extra melted butter just before baking.
Baking the Bread
Golden Brown Perfection
Place the loaf pans into the preheated oven. Bake for 30 to 35 minutes for two loaves, or 40 to 45 minutes for a single large loaf, or until the bread is golden brown on top and sounds hollow when tapped on the bottom. The internal temperature of the bread should reach 190-200F (88-93C) on an instant-read thermometer. If the crust starts to brown too quickly before the inside is cooked, you can loosely tent the loaves with aluminum foil.
Cooling and Enjoying
Once baked, carefully remove the bread from the oven. Immediately invert the loaves onto a wire rack to cool completely. This allows air to circulate around the bread, preventing a soggy bottom crust. Resist the temptation to slice into it right away; letting it cool completely ensures the interior structure sets properly. Once fully cooled, slice and enjoy your homemade Amish White Bread!
Conclusion:
And there you have it – your very own delicious batch of Amish White Bread Recipe! We hope you enjoyed this journey into simple, wholesome baking. This recipe truly embodies the spirit of traditional, no-fuss bread making, delivering a light, fluffy interior with a perfectly golden crust. It’s a versatile staple that will quickly become a favorite in your household. Imagin extracte slathering it with butter, dipping it into your favorite soup, or using it to create the ultimate sandwich. The aroma filling your kitchen as it bakes is an experience in itself, and the taste is pure comfort.
Feel free to get creative with your servings! It’s fantastic toasted for breakfast, perfect for impromptu tea time with jam, or as the base for garlic bread. For variations, consider adding a touch of honey to the dough for a subtle sweetness, or incorporating a sprinkle of herbs like rosemary or chives for a savory twist. You could even try a sprinkle of seeds on top before baking for added texture and flavor. Don’t be afraid to experiment and make this Amish White Bread Recipe your own!
Frequently Asked Questions about Amish White Bread Recipe:
Q1: How can I ensure my Amish White Bread Recipe has a soft crust?
To achieve a softer crust, you can lightly brush the top of the loaf with melted butter or milk immediately after it comes out of the oven. Covering the bread loosely with a clean kitchen towel for the first 10-15 minutes of cooling also helps to steam the crust and keep it tender.
Q2: Can I freeze the Amish White Bread Recipe?
Absolutely! Once completely cooled, you can wrap the Amish White Bread Recipe tightly in plastic wrap and then in aluminum foil or place it in a freezer-safe bag. It will keep well in the freezer for up to 3 months. Thaw it at room temperature or gently warm slices in the oven or toaster.
Amish White Bread Recipe-Soft & Simple Homemade Loaf
A soft and simple homemade Amish white bread loaf, perfect for any occasion.
Ingredients
-
1 cup water, warmed to 110F
-
1 pinch ground ginger (optional, for yeast activation)
-
1 cup milk, warmed to 110F
-
2/3 cup granulated sugar
-
1 1/2 tablespoons active dry yeast
-
1 1/2 teaspoons salt
-
1/4 cup vegetable oil
-
5-1/2 cups bread flour
-
2 tablespoons butter, melted
Instructions
-
Step 1
In a large mixing bowl, combine warm water and warm milk. Sprinkle yeast over the liquid, add optional ginger, and let sit for 5-10 minutes until foamy. -
Step 2
To the foamy yeast mixture, add sugar, salt, and your chosen fat (vegetable oil, melted and cooled coconut oil, or melted butter). Stir to combine. Gradually add about 4 cups of bread flour and mix until a shaggy dough forms. -
Step 3
Turn the dough onto a lightly floured surface and knead for 8-10 minutes until smooth and elastic, adding flour as needed. If using a stand mixer, knead for 6-8 minutes. -
Step 4
Shape the dough into a ball, place in a greased bowl, turn to coat, cover, and let rise in a warm place for 1-1.5 hours, or until doubled in size. -
Step 5
Punch down the dough, shape into one or two loaves, and place in greased loaf pans. Cover and let rise again for 30-45 minutes until almost at the top of the pans. Preheat oven to 375F (190C). -
Step 6
Bake for 30-35 minutes for two loaves, or 40-45 minutes for a single loaf, until golden brown and hollow-sounding when tapped. Internal temperature should be 190-200F (88-93C). -
Step 7
Remove from oven and invert onto a wire rack to cool completely before slicing and enjoying.
Important Information
Nutrition Facts (Per Serving)
It is important to consider this information as approximate and not to use it as definitive health advice.
Allergy Information
Please check ingredients for potential allergens and consult a health professional if in doubt.