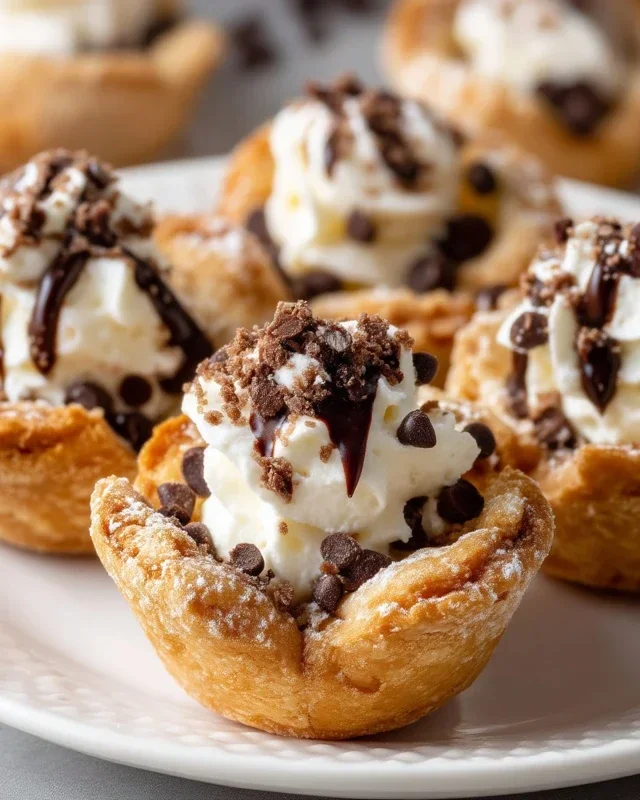
No Bake Oreo Nutella Cheesecake Delight
No Bake Oreo Nutella Cheesecake: if that doesn’t instantly make your mouth water, then you, my friend, are missing out on pure dessert perfection! We all have those days where the craving for something decadent hits hard, but the thought of preheating the oven feels like too much effort. This is where the magic of a No Bake Oreo Nutella Cheesecake truly shines. It’s the ultimate crowd-pleaser, a glorious symphony of creamy cheesecake filling, rich Nutella, and the irresistible crunch of Oreo cookies, all without the need for any baking whatsoever. Imagin extracte a dessert that’s both incredibly easy to make and unbelievably delicious – that’s exactly what this creation delivers. It’s the perfect treat for a casual get-together, a special occasion, or simply when you need a serious dose of happiness in dessert form. Get ready to fall head over heels for this no-bake wonder.
No Bake Oreo Nutella Cheesecake
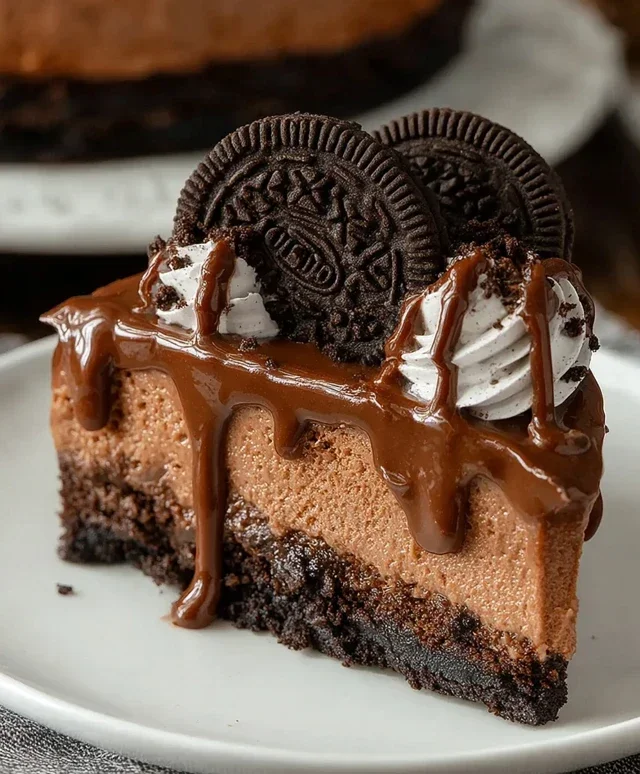
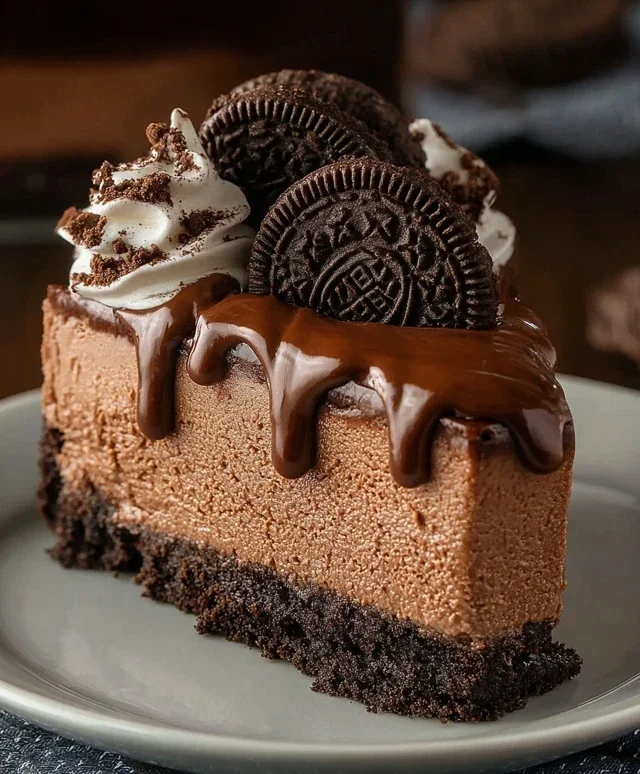
Get ready to indulge in a truly decadent dessert that requires absolutely no oven time! This No Bake Oreo Nutella Cheesecake is a dream come true for anyone who loves the classic combination of chocolatey Oreos and creamy, hazelnut-infused Nutella. It’s incredibly easy to make, making it perfect for impromptu gatherings or when you simply need a serious treat. The beauty of this recipe lies in its simplicity, allowing the rich flavours to shine without any fuss. We’re talking about a crunchy, buttery Oreo crust that gives way to a lusciously smooth cheesecake filling packed with Nutella, all crowned with more chocolatey goodness. Let’s get started!
Ingredients:
Creating the Irresistible Crust
The foundation of any great cheesecake is a fantastic crust, and this one is no exception. We’re starting with a simple yet incredibly satisfying Oreo base.
Whipping Up the Dreamy Filling
This is where the magic truly happens, transforming simple ingredients into a luxuriously smooth and flavourful cheesecake filling.
Assembling and Chilling Perfection
With the crust chilled and the filling ready, it’s time to bring it all together.
Once your No Bake Oreo Nutella Cheesecake has had ample time to chill and set, carefully release the sides of your springform pan. Slice and serve this absolute masterpiece. You’ll be amazed at how quickly it disappears! Enjoy every single chocolatey, hazelnutty, creamy bite.
Conclusion:
There you have it – a truly sensational No Bake Oreo Nutella Cheesecake that’s guaranteed to impress! This recipe is a triumph because it delivers incredible flavor and a luxurious texture without the fuss of baking. The irresistible combination of crunchy Oreos, creamy Nutella, and a rich cheesecake filling makes this dessert a showstopper for any occasion. It’s wonderfully simple to prepare, making it a perfect choice for begin extractners or when you need a delicious dessert in a hurry.
Serving this beauty is easy; it’s fantastic on its own, but consider topping it with extra whipped cream, a drizzle of more Nutella, or even a scattering of chopped hazelnuts for an added textural delight. For variations, feel free to experiment! You could swap out the Oreos for another cookie like grabeef ham crackers or even Biscoff for a different flavor profile. A swirl of raspberry jam through the Nutella layer would also be divine. I truly hope you give this No Bake Oreo Nutella Cheesecake a try. It’s such a crowd-pleaser and a joy to make!
Frequently Asked Questions:
How long does this cheesecake need to chill?
For the best results and a firm set, I recommend chilling your No Bake Oreo Nutella Cheesecake for at least 4-6 hours in the refrigerator. Overnight chilling is even better!
Can I make this cheesecake ahead of time?
Absolutely! This cheesecake is perfect for making a day in advance. In fact, the flavors meld together beautifully when it has ample time to chill. Just be sure to keep it covered in the refrigerator.
What if I don’t have a springform pan?
No problem! You can still make this cheesecake in a regular pie dish or a square baking dish. Just ensure you line it with parchment paper, leaving some overhang on the sides to help you lift it out easily.
No Bake Oreo Nutella Cheesecake
A decadent no-bake cheesecake combining the classic flavors of Oreo and Nutella, perfect for any occasion.
Ingredients
-
200g crushed Oreos
-
50g melted butter
-
500g cream cheese, softened
-
200g Nutella
-
200g heavy whipping cream (35%)
-
50g sugar
-
100g chopped Oreos
-
100g Nutella
-
100g Nutella, warmed for drizzling
-
5 crushed Oreos (no filling)
-
6 whole Oreos for garnish
Instructions
-
Step 1
For the crust: Combine crushed Oreos and melted butter. Press firmly into the base of a springform pan. -
Step 2
In a large bowl, beat the softened cream cheese until smooth. Gradually beat in the Nutella until well combined. -
Step 3
In a separate bowl, whip the heavy whipping cream and sugar until stiff peaks form. -
Step 4
Gently fold the whipped cream into the cream cheese and Nutella mixture until just combined. Fold in the chopped Oreos and crushed Oreos (no filling). -
Step 5
Pour the cheesecake filling over the prepared crust and smooth the top. -
Step 6
Drizzle the warmed Nutella over the top of the cheesecake. Decorate with whole Oreos. -
Step 7
Chill in the refrigerator for at least 4 hours, or until firm.
Important Information
Nutrition Facts (Per Serving)
It is important to consider this information as approximate and not to use it as definitive health advice.
Allergy Information
Please check ingredients for potential allergens and consult a health professional if in doubt.