Homemade Pâtes de Fruits – No Corn Syrup
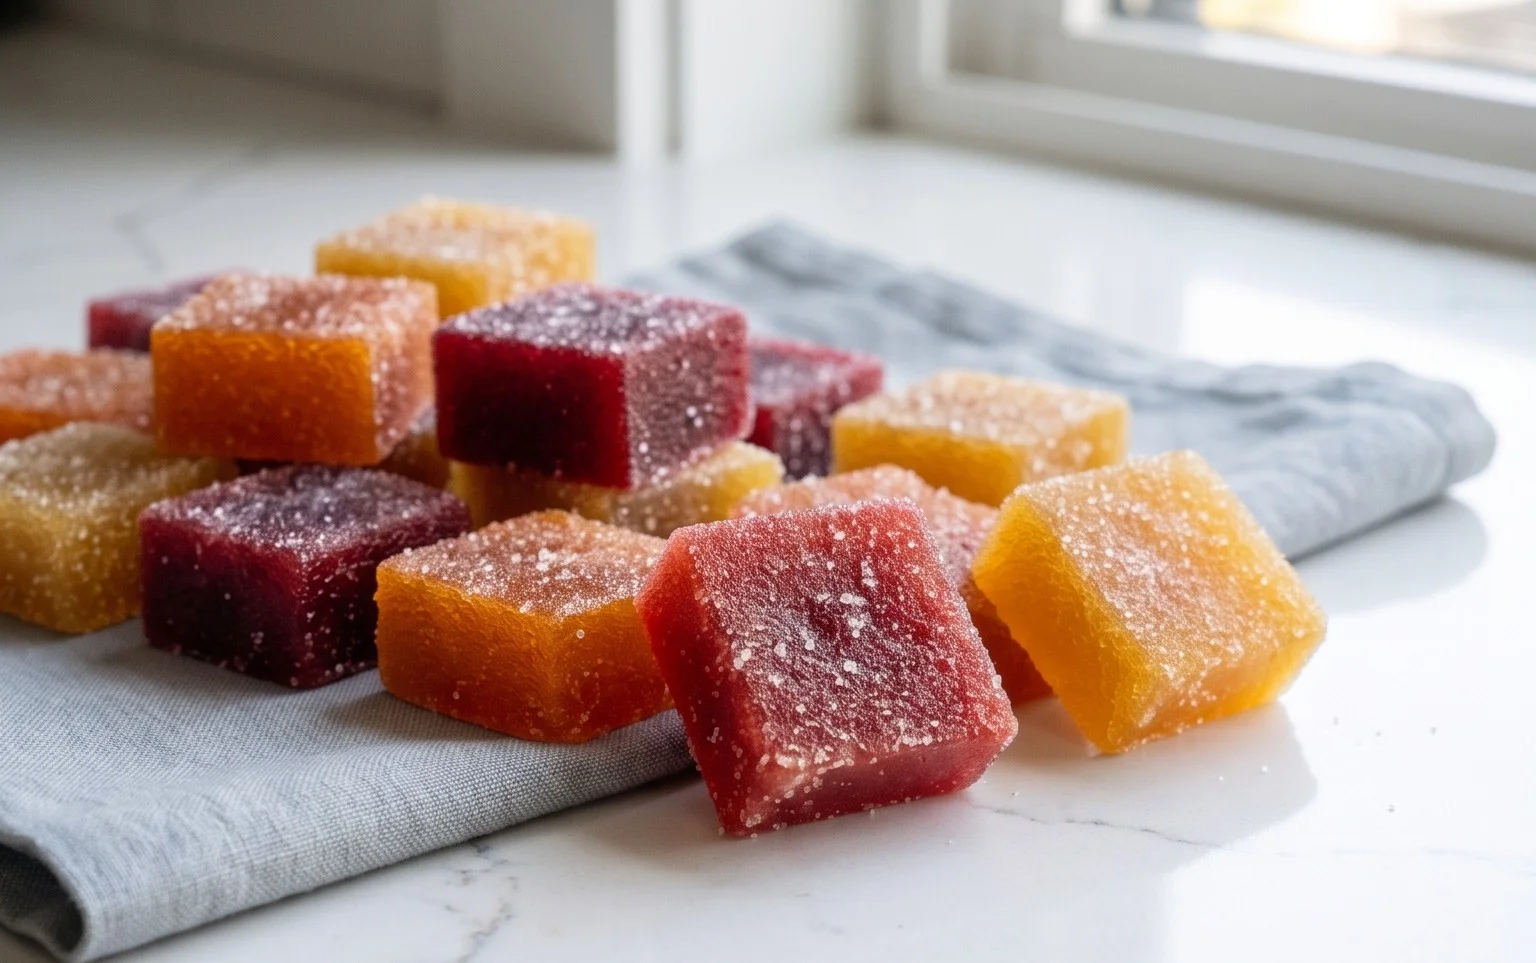
Homemade Pâtes de Fruits (no corn syrup) are a delightful artisanal treat that brings a touch of Parisian patisserie right to your kitchen. Forget those store-bought versions that often rely on corn syrup for their texture and flavor. We’re going back to basics, creating vibrant, intensely fruity jellies bursting with pure, unadulterated fruit essence. The magic of making your own pâtes de fruits lies in their exquisite chegrape juicess, a perfect balance between firm and yielding, and the concentrated natural sweetness that only fresh fruit can provide. They’re more than just candy; they’re little jewels of flavor, a testament to the beauty of simple, high-quality ingredients and a little patience. Imagin extracte biting into a sunshine-yellow lemon square or a ruby-red raspberry jewel – it’s an experience that truly elevates your sweet cravings. This recipe for homemade pâtes de fruits (no corn syrup) unlocks that authentic, refined taste you’ve been searching for.
Homemade Pâtes de Fruits (no corn syrup)
There’s something incredibly satisfying about creating your own little jewels of concentrated fruit flavor. Pâtes de fruits, those delightful chewy candies, are often seen as a confection that requires complex techniques or less-than-ideal ingredients like corn syrup. But I’m here to tell you that you can achieve wonderfully vibrant and delicious pâtes de fruits right in your own kitchen, without a drop of corn syrup in sight! We’re going to focus on pure fruit flavor, elevated by simple, good-quality ingredients.
The magic behind achieving that perfect set and delightful chew lies in pectin. While corn syrup is often used to prevent sugar crystallization and control texture, we’ll be relying on a good quality pectin for that job. This recipe is adaptable to your favorite fruit juices, offering a world of flavor possibilities. Today, we’re using a bright and beautiful blend of orange and pomegranate, a combination that sings with both sweetness and a touch of tartness.
Ingredients:
*Note on Pectin: For best results, I highly recommend using a classic, unflavored pectin. Avoid “low-sugar” or “no-sugar-needed” pectin, as these are formulated with different sugar ratios and might affect the outcome. You can usually find classic pectin in the canning aisle of your grocery store or at specialty baking shops. Make sure it’s fresh, as older pectin can lose its gelling power.
Cooking Instructions
This process, while requiring a bit of attention, is wonderfully straightforward. The key is to ensure everything is properly incorporated to achieve that beautiful, firm yet yielding texture.
1. Preparing Your Workspace and Juices:
Before you even turn on the stove, it’s crucial to have everything ready. This recipe moves relatively quickly once you start cooking. First, prepare your molds. You can use small silicone candy molds, or for a more traditional presentation, line a small baking dish (like an 8×8 inch square) with parchment paper, leaving some overhang on the sides for easy lifting. Make sure the parchment paper is well-greased with a neutral oil or cooking spray. In a medium bowl, measure out your 2 cups of fruit juice. If you’re using a blend like we did, now is the time to combine them. Ensure your lemon juice is freshly squeezed; bottled lemon juice can have a slightly different flavor profile and might not be as potent in its acidity.
2. Combining Dry Ingredients:
In a separate, larger bowl (this will be your mixing bowl for the pectin and sugar), combine the 1 cup of granulated sugar with the 3 tablespoons of classic pectin. Whisk them together thoroughly. It’s important to mix the pectin and sugar well before adding them to the liquid. This prevents clumps of pectin from forming, which can lead to an uneven set. Imagin extracte tiny pockets of pure pectin that don’t disperse properly – that’s what we want to avoid! A good whisking here ensures the pectin is evenly distributed throughout the sugar, ready to do its job.
3. Introducing the Pectin Mixture to the Juice:
Now, pour about 1/2 cup of your fruit juice into the sugar-pectin mixture. Whisk vigorously until you have a smooth paste. This initial step helps to hydrate the pectin and further prevent clumping when you add it to the main batch of juice. Once you have a smooth paste, gradually add this mixture to the remaining 1.5 cups of fruit juice in your large bowl, whisking constantly. Keep whisking until everything is completely dissolved and there are no visible clumps of pectin or sugar. This might take a minute or two of persistent whisking.
4. Cooking the Mixture to the Setting Point:
Pour the entire juice and pectin mixture into a medium, heavy-bottomed saucepan. Why heavy-bottomed? It distributes heat more evenly, reducing the risk of scorching, which can easily happen with sugary mixtures. Place the saucepan over medium-high heat. Stir constantly with a whisk or silicone spatula, scraping the bottom and sides of the pan to prevent sticking. Bring the mixture to a rolling boil that cannot be stirred down. Once it reaches this state, continue to boil, stirring constantly, for exactly 1 minute. This is the crucial cooking time to activate the pectin’s gelling properties. After the 1-minute boil, remove the pan from the heat. Stir in the 1 tablespoon of freshly squeezed lemon juice. The lemon juice not only adds a bright, fresh flavor but also helps the pectin to set properly.
5. Pouring and Setting:
Immediately after adding the lemon juice and giving it a final stir, carefully pour the hot liquid into your prepared molds or lined baking dish. If using a baking dish, spread the mixture evenly. Work quickly, as the mixture will start to thicken as it cools. Let the pâtes de fruits sit undisturbed at room temperature for about 30 minutes to an hour to start setting. Then, transfer the dish or molds to the refrigerator and chill for at least 3-4 hours, or preferably overnight, until they are firm and fully set. They should be firm enough to cut into shapes or pop out of molds without being sticky or gooey.
6. Cutting and Coating:
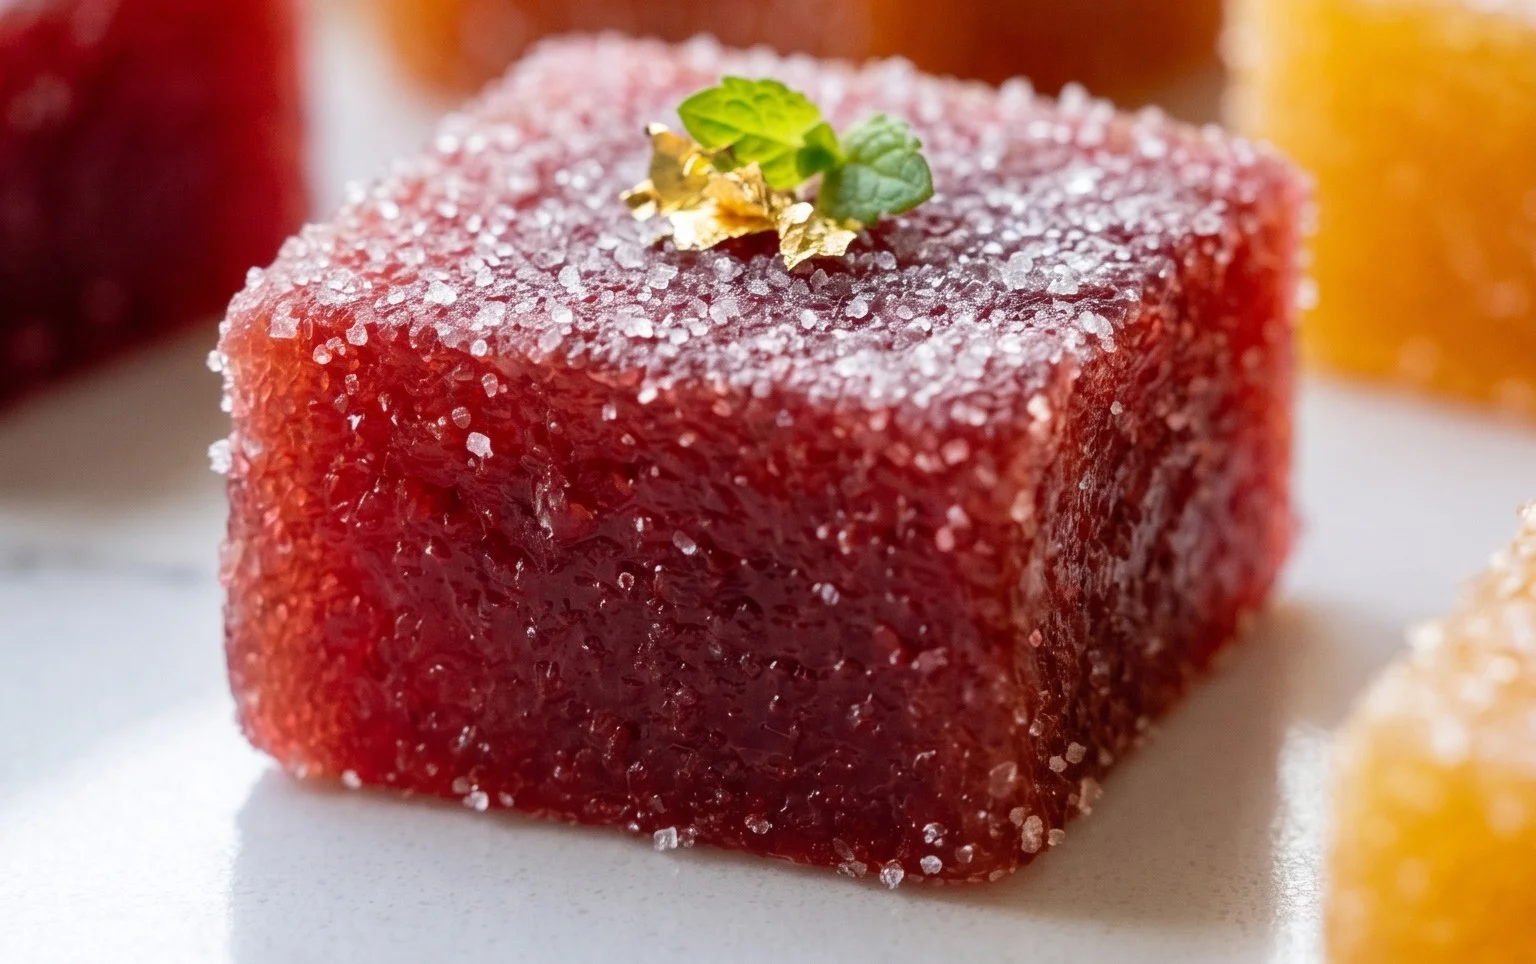
Once completely set, if you used a baking dish, lift the slab of pâtes de fruits out using the parchment paper overhang. Place it on a cutting board lightly dusted with granulated sugar. Use a sharp knife or pizza cutter to cut the slab into your desired shapes – squares, rectangles, or even fun cookie-cutter shapes. If you used molds, simply unmold the pâtes de fruits. Now comes the fun part: coating! Pour a generous amount of granulated sugar onto a plate. Roll each piece of pâte de fruits in the sugar, coating all sides. This prevents them from sticking together and adds a lovely sweet crunch. Shake off any excess sugar. Store your beautiful homemade pâtes de fruits in an airtight container at room temperature for up to a week, or in the refrigerator for a slightly longer shelf life. Enjoy these little bursts of pure fruit joy!
Conclusion:
You’ve done it! You’ve mastered the art of creating beautiful, flavorful homemade pâtes de fruits without the need for corn syrup. This recipe is a testament to the fact that you can achieve that perfect chewy texture and vibrant fruity taste using simple, wholesome ingredients. The absence of corn syrup means you’re enjoying a purer fruit experience, allowing the natural sweetness and aroma of your chosen fruits to truly shine. These delightful little candies are incredibly versatile and make a wonderful homemade gift or a sophisticated treat to share with friends and family.
Now that you have your delicious pâtes de fruits, how should you enjoy them? They are simply divine on their own, a perfect little burst of flavor. Consider serving them alongside a cheese board for an unexpected sweet counterpoint, or use them to add a pop of color and taste to a dessert platter. For variations, don’t be afraid to experiment! Mango, raspberry, apricot, and kiwi are all fantastic choices, but feel free to explore exotic fruits or even try combinations like strawberry-basil or peach-gin extractger. The possibilities are truly endless!
I truly encourage you to try this recipe. It’s a rewarding process that yields incredibly satisfying results, and the pride you’ll feel serving your own homemade pâtes de fruits is immense. Enjoy the journey of creating these exquisite confections!
Frequently Asked Questions:
Why are my pâtes de fruits not setting properly?
This is often due to not reaching the correct temperature. Using a candy thermometer is crucial. For firm pâtes de fruits, aim for around 220-225°F (104-107°C). If the mixture is too thin, it won’t set. Ensure your fruit purée is also well-drained to avoid excess moisture.
How long do homemade pâtes de fruits last?
When stored properly in an airtight container at room temperature, your homemade pâtes de fruits can last for up to 2-3 weeks. They might become slightly firmer over time, but the flavor will remain excellent. Avoid refrigerating them, as this can make them too hard.
Can I use store-bought fruit purée?
Yes, you can use high-quality, unsweetened store-bought fruit purée. However, for the best flavor and to control the ingredients, making your own from fresh or frozen fruit is highly recommended. If using store-bought, ensure it’s very thick and strain it to remove any excess liquid.
Homemade Pâtes de Fruits (No Corn Syrup)
Delicious fruit jellies made from scratch without corn syrup, offering a vibrant fruity flavor and chewy texture. Perfect for candy making.
Ingredients
-
2 cups fruit juice (e.g., orange and pomegranate)
-
1 cup granulated sugar, plus more for coating
-
3 tablespoons classic pectin
-
1 tablespoon freshly squeezed lemon juice
Instructions
-
Step 1
In a medium saucepan, whisk together the fruit juice and pectin until well combined. Let it sit for 5 minutes. -
Step 2
Add the granulated sugar and lemon juice to the saucepan. Stir to combine. -
Step 3
Place the saucepan over medium-high heat and bring the mixture to a boil, stirring constantly. Once boiling, continue to cook for 1-2 minutes, stirring continuously, until thickened. -
Step 4
Pour the hot mixture into a shallow, parchment-lined pan (an 8×8 inch pan works well). Smooth the top with a spatula. -
Step 5
Let the mixture cool at room temperature for about 30 minutes until it starts to set, then refrigerate for at least 2-3 hours, or until completely firm. -
Step 6
Once firm, turn the slab out onto a cutting board. Cut into desired shapes (squares or rectangles are common). Roll each piece in granulated sugar to coat.
Important Information
Nutrition Facts (Per Serving)
It is important to consider this information as approximate and not to use it as definitive health advice.
Allergy Information
Please check ingredients for potential allergens and consult a health professional if in doubt.