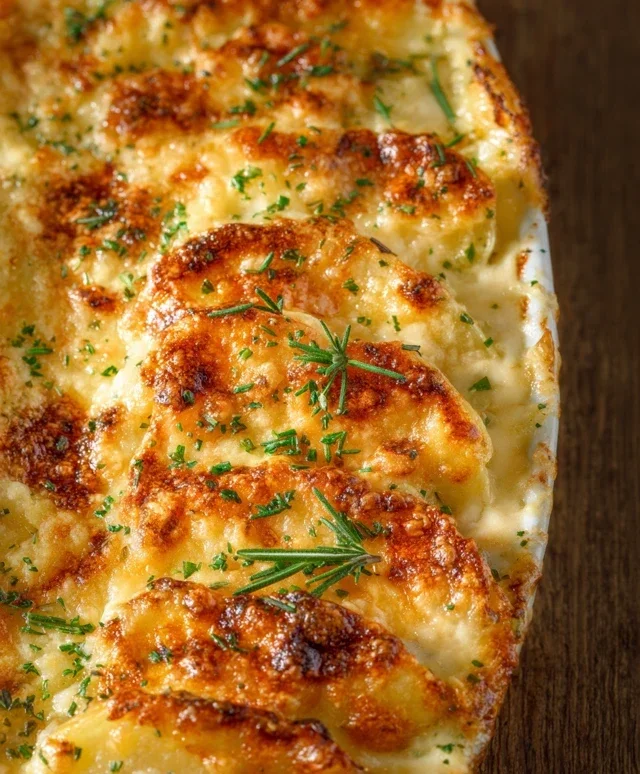
Easy No Yeast Pizza Dough – Quick Homemade Pizza
An excellent No Yeast Pizza Dough is your secret weapon for spontaneous pizza nights! Have you ever craved that warm, cheesy goodness of homemade pizza, only to be met with the time-consuming hassle of yeast proofing? Well, those days are over! This recipe is designed for those moments when a pizza craving strikes with little notice, transforming your kitchen into a pizzeria in under an hour. What makes this no yeast pizza dough so special is its incredible simplicity and speed, delivering a wonderfully tender yet slightly chewy crust that’s the perfect canvas for all your favorite toppings. Forget pre-made bases or waiting for dough to rise; this is about pure, unadulterated pizza joy, made easy. We’ll show you how to whip up an excellent no yeast pizza dough that will have everyone beggin extractg for seconds, proving that delicious homemade pizza doesn’t need to be complicated.
An Excellent No Yeast Pizza Dough – Quick Easy Homemade Pizza!
There’s something incredibly satisfying about making pizza from scratch. The aroma that fills your kitchen, the joy of topping your own creation, and of course, the delicious final product. But let’s be honest, sometimes the idea of yeast proofing and waiting for dough to rise can feel like a bit of a commitment, especially when a pizza craving strikes! That’s where this recipe for an excellent no-yeast pizza dough comes in. It’s a game-changer for those busy weeknights or spontaneous pizza parties. This recipe delivers a wonderfully tender and slightly chewy crust with minimal fuss. No waiting, no kneading for ages – just pure, unadulterated pizza goodness in a fraction of the time. Get ready to impress yourself and anyone lucky enough to share your pizza!
Ingredients:
Instructions:
Let’s get started on creating your fantastic no-yeast pizza dough. The beauty of this recipe is its simplicity, making it accessible even for complete begin extractners. You’ll be amazed at how quickly you can go from pantry staples to a ready-to-bake pizza base.
Step 1: Combine the Dry Ingredients
In a medium-sized mixing bowl, add your 1 1/3 cups of bread flour. If you don’t have bread flour, don’t worry, all-purpose flour (plain flour) will work perfectly well, although bread flour can give a slightly chewier texture. To the flour, add the 2 teaspoons of baking powder. This is our leavening agent, working its magic without yeast. Next, sprinkle in the 3/4 teaspoon of salt for flavor and the 3/4 teaspoon of sugar. Sugar not only adds a subtle sweetness but also helps to achieve a lovely golden-brown crust during baking. Whisk these dry ingredients together thoroughly with a fork or a small whisk. Ensuring they are evenly distributed is important for consistent results.
Step 2: Incorporate the Wet Ingredients
Once your dry ingredients are well combined, it’s time to add the wet ingredients. Create a little well in the center of your dry ingredients and pour in the 2 teaspoons of olive oil. Olive oil contributes to the tenderness and flavor of the dough. Then, gradually add the 1/2 cup of cold tap water. It’s best to add the water a little at a time, mixing as you go. You might not need all of it, or you might need a tiny bit more depending on the humidity and your flour. The goal is to create a shaggy dough that just comes together. Avoid overmixing at this stage; we want to keep it tender.
Step 3: Forming and Kneading the Dough
Once the ingredients have started to form a cohesive mass, turn the dough out onto a lightly floured surface. Use your extra 1 tablespoon of flour for dusting your surface and your hands. Now, it’s time for a very brief kneading session. We’re not looking for a long, intensive knead like you would with yeast dough. Just gently fold and press the dough for about 1-2 minutes. The goal is to bring it together into a smooth, elastic ball. If the dough feels too sticky, add a tiny bit more flour, no more than a teaspoon at a time. If it feels too dry and crum extractbly, dampen your hands slightly with water. You should end up with a dough that is soft and pliable, not sticky or tough.
Step 4: Resting the Dough (Optional but Recommended)
While this dough doesn’t require proofing like yeast dough, allowing it to rest for about 10-15 minutes can significantly improve its texture. Cover the dough loosely with a clean kitchen towel or plastic wrap and let it sit at room temperature. This resting period allows the gluten to relax, making the dough easier to roll out and resulting in a more tender crust. It’s a small step that makes a big difference in the final texture of your pizza base.
Step 5: Shaping Your Pizza Base
After the brief rest, your dough is ready to be shaped. You can either gently roll it out with a rolling pin on a lightly floured surface to your desired thickness and shape (round or rectangular), or you can use your hands to stretch and press it out. For a more rustic look, I often find that using my hands to press and stretch the dough from the center outwards creates a lovely edge for the crust. Aim for a thickness that suits your preference – thinner for a crispier base, or slightly thicker for a more substantial bite.
Step 6: Adding Your Toppings and Baking
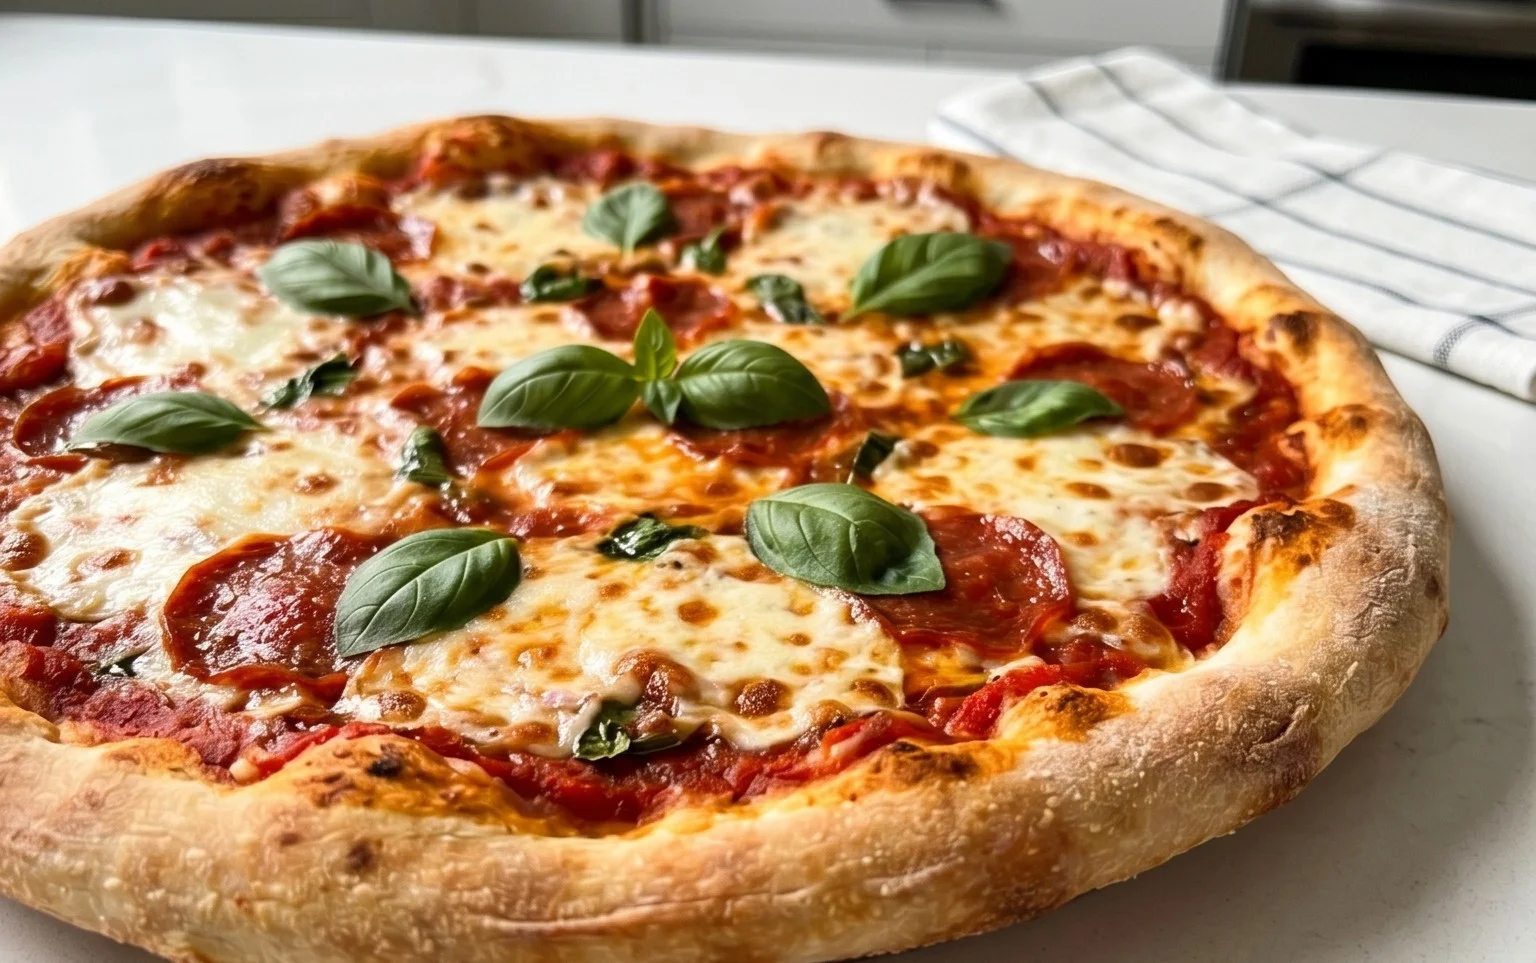
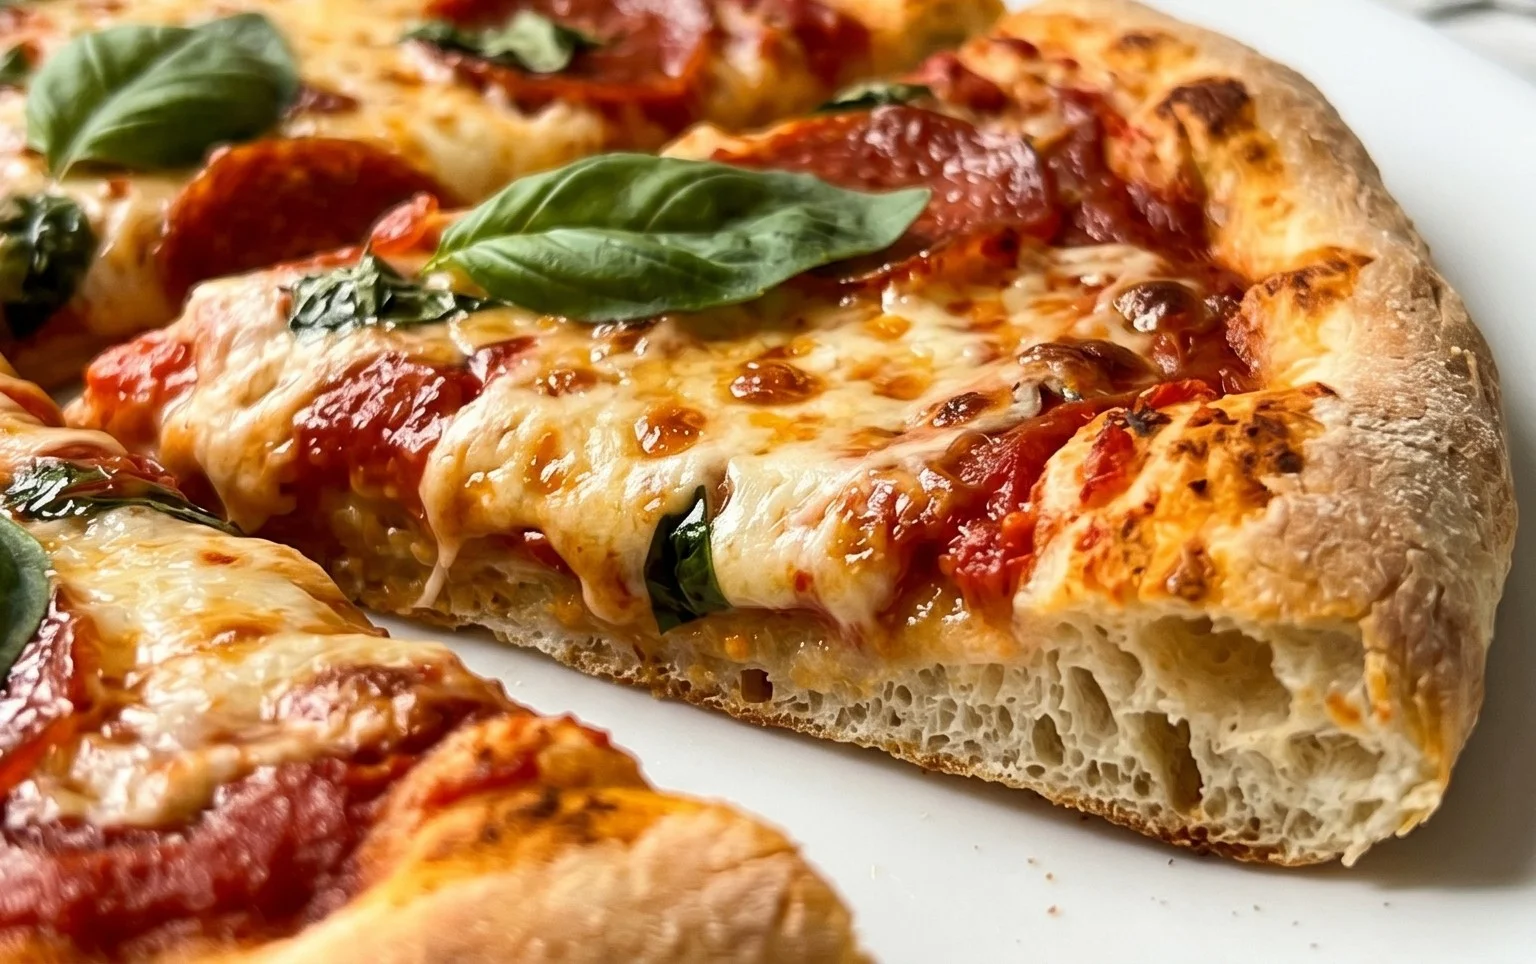
Preheat your oven to a hot temperature, ideally 475°F (245°C) or as high as your oven goes. If you have a pizza stone or steel, place it in the oven while it preheats. Carefully transfer your shaped pizza dough to a pizza peel dusted with cornmeal or onto a baking sheet lined with parchment paper. Now comes the fun part – add your favorite pizza sauce, cheese, and toppings! Be generous, but don’t overload it, as this can make the crust soggy. If you’re using the optional vegetable oil, you can brush the edges of your crust with the 2 teaspoons of vegetable oil (or canola, or other neutral oil) for a beautifully golden and slightly crispy finish. Slide your pizza onto the preheated pizza stone or place the baking sheet directly into the oven. Bake for 10-15 minutes, or until the crust is golden brown and the cheese is bubbly and melted. Keep an eye on it, as oven temperatures can vary.
Enjoy your delicious, homemade, no-yeast pizza! It’s a testament to how simple ingredients and a few easy steps can create something truly special. This recipe is perfect for those moments when you crave pizza but don’t have the time or inclination for traditional yeast dough. Experiment with different toppings, and you’ll find yourself reaching for this recipe again and again.
Conclusion:
And there you have it – a foolproof way to create delicious, quick, and easy homemade pizza without any yeast! This no yeast pizza dough recipe is a game-changer for busy weeknights or spontaneous pizza cravings. Its simplicity means you can whip up a fantastic base in minutes, perfect for topping with all your favorite ingredients. The result is a wonderfully chewy yet slightly crisp crust that holds up beautifully to generous amounts of sauce and toppings. I truly hope you give this recipe a try; it’s become a staple in my kitchen, and I know you’ll love the convenience and incredible flavor.
Serve this versatile dough with classic marinara and mozzarella, or get creative with gourmet toppings like beef prosciutto and arugula, roasted vegetables, or even a pesto base. It’s also a fantastic canvas for dessert pizzas! Don’t be afraid to experiment with different flours or herbs to customize your perfect pizza dough. Let this recipe empower your inner pizzaiolo – you’ll be amazed at what you can create right at home!
Frequently Asked Questions:
Why is this recipe ‘quick and easy’?
This no yeast pizza dough recipe is quick and easy because it skips the traditional proofing time required for yeast-based doughs. Instead, it uses a leavening agent like baking powder, which activates immediately, allowing you to mix, shape, and bake your pizza in a fraction of the time.
Can I make this dough ahead of time?
While this dough is best made fresh for optimal texture, you can prepare it a few hours in advance and refrigerate it. However, it won’t rise further in the fridge. For the best results, let it come to room temperature for about 20-30 minutes before shaping and baking.
What kind of toppings work best with this dough?
This dough is wonderfully adaptable! It pairs well with everything from simple beef pepperoni and cheese to more complex combinations like BBQ chicken, veggie supreme, or even a white pizza with ricotta and spinach. Just ensure your toppings aren’t overly wet, as this can affect the crispness of the crust.
An excellent No Yeast Pizza Dough – quick easy homemade pizza!
A fast and simple no-yeast pizza dough recipe perfect for a quick and easy homemade pizza. No proofing required!
Ingredients
-
1 1/3 cups bread flour
-
2 tsp baking powder
-
3/4 tsp salt
-
3/4 tsp sugar
-
2 tsp olive oil
-
1/2 cup water
-
1 tbsp Extra Flour (, for dusting)
-
2 tsp vegetable oil
Instructions
-
Step 1
In a large bowl, whisk together the bread flour, baking powder, salt, and sugar. -
Step 2
Add the olive oil and water to the dry ingredients. -
Step 3
Mix with a spoon or your hands until a shaggy dough forms. -
Step 4
Turn the dough out onto a lightly floured surface and knead for 2-3 minutes until smooth and elastic. -
Step 5
Shape the dough into your desired pizza crust. If not using immediately, cover and refrigerate for up to 24 hours. For immediate use, proceed to topping and baking. -
Step 6
Optional: Brush the crust edges with vegetable oil before baking for a golden finish.
Important Information
Nutrition Facts (Per Serving)
It is important to consider this information as approximate and not to use it as definitive health advice.
Allergy Information
Please check ingredients for potential allergens and consult a health professional if in doubt.