Easy Chocolate Protein Pudding Recipe-Healthy Dessert
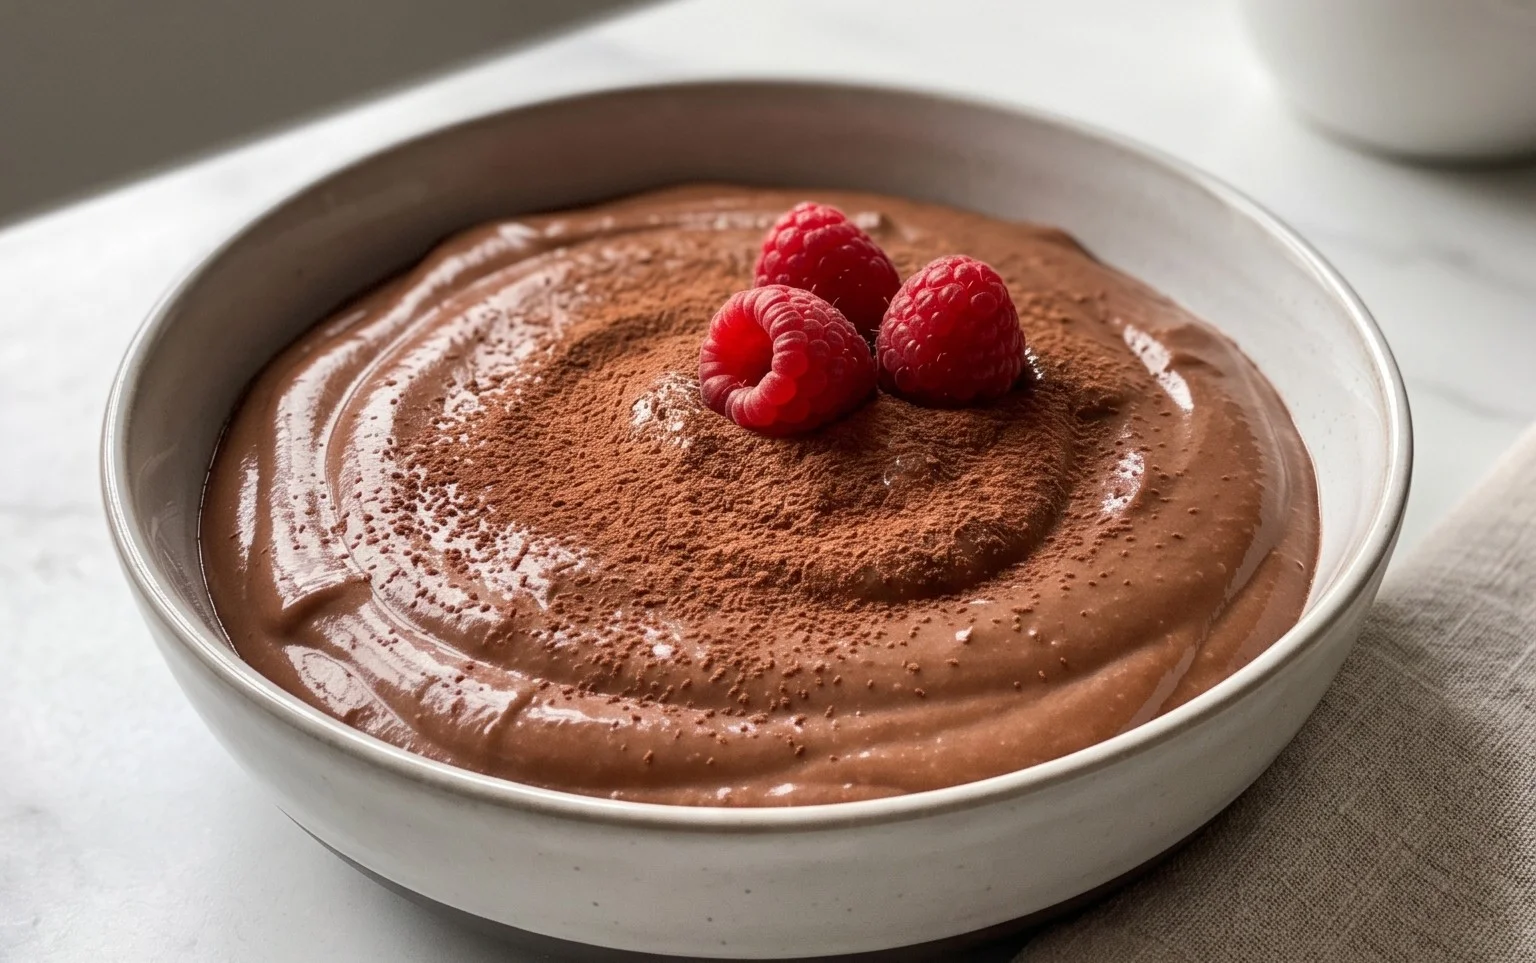
Chocolate Protein Pudding isn’t just a dessert; it’s a guilt-free revelation! We’ve all been there – craving something rich, decadent, and deeply chocolatey, but trying to stay on track with our health goals. This is where our incredible Chocolate Protein Pudding Recipe swoops in to save the day. Forget those chalky, bland protein snacks. This pudding is a creamy, dreamy, intensely chocolatey delight that you’ll actually look forward to eating. It’s perfect for a post-workout treat, a healthy afternoon pick-me-up, or even a sophisticated dessert that satisfies your sweet tooth without derailing your progress. What makes it truly special? It’s astonishingly simple to make, requires minimal ingredients, and delivers a luxurious texture that rivals any traditional pudding, all while packing a powerful protein punch. Get ready to experience your new favorite healthy indulgence.
The Ultimate Chocolate Protein Pudding Recipe: Guilt-Free Indulgence
Are you craving a decadent dessert that also fuels your body? Look no further! This Chocolate Protein Pudding recipe is a game-changer. It’s unbelievably creamy, intensely chocolatey, and packed with protein to keep you feeling satisfied and energized. Forget those store-bought puddings loaded with sugar and artificial ingredients. We’re talking about a homemade masterpiece that you can whip up in minutes, perfect for a post-workout treat, a healthy snack, or even a light dessert. I love that this recipe is incredibly versatile – you can adjust the sweetness to your liking and add your favorite toppings for an extra layer of deliciousness. It’s the perfect solution for those sweet cravings without derailing your health goals.
This recipe is designed to be simple enough for even novice cooks, yet impressive enough to serve to guests. The secret lies in the quality of ingredients and a few simple techniques that ensure a smooth, luscious texture. Let’s dive into what you’ll need to create this delightful treat.
Ingredients:
Instructions:
Phase 1: Gathering and Measuring
Before you begin extract mixing, it’s always a good idea to have all your ingredients pre-measured and ready to go. This makes the process much smoother and prevents any last-minute scrambling. Ensure your Greek yogurt is at room temperature or slightly softened if it’s been refrigerated for a while, as this will help it blend more easily. The type of Greek yogurt you choose can subtly influence the flavor; plain will give you more control over the sweetness, while vanilla will add a hint of extra flavor. For the protein powder, I recommend using a good quality chocolate whey, casein, or plant-based protein that you enjoy the taste of, as it will be a dominant flavor. The amount of protein powder can vary depending on its density, so aim for the specified number of scoops, but you can always add a little more if you desire a thicker pudding or a stronger protein boost.
Phase 2: Combining the Base
1. In a large mixing bowl, add the 5 cups of Greek yogurt. If you’re using plain Greek yogurt and want a sweeter pudding, you can start by adding the full 2 tablespoons of maple syrup at this stage. If you’re using vanilla Greek yogurt or prefer a less sweet dessert, you might start with 1 tablespoon and add more later to taste.
2. Add the 3 to 4 tablespoons of unsweetened cocoa powder to the bowl with the yogurt. Using unsweetened cocoa powder is crucial for controlling the sweetness and achieving a rich, deep chocolate flavor. The more cocoa powder you use, the more intense your chocolate flavor will be. Start with 3 tablespoons if you prefer a milder chocolate taste, and add the fourth tablespoon if you’re a true chocoholic.
3. Pour in the 1 teaspoon of vanilla extract. Vanilla extract enhances the overall flavor profile and complements the chocolate beautifully.
Phase 3: Incorporating the Protein Powder
4. Now it’s time to add the star ingredient: the chocolate protein powder. Add all 4 scoops to the mixing bowl. It’s important to note that the consistency of the protein powder can vary significantly between brands and types. Some are more powdery and fine, while others are denser. If your protein powder is particularly clumpy or dense, you might find it helpful to break up any large chunks before adding it to the yogurt.
Phase 4: Achieving Pudding Perfection
5. Begin extract mixing all the ingredients together. You can use a whisk, a spatula, or an electric hand mixer for this step. Start by gently folding the ingredients to incorporate the dry powders into the wet yogurt. Once the initial dry ingredients are mostly combined, you can start mixing more vigorously. The key to a smooth pudding is to mix until all the ingredients are fully incorporated and there are no visible streaks of cocoa powder or protein powder. This might take a few minutes of consistent mixing.
If you’re using an electric mixer on a low speed, this process will be significantly faster and easier. For those using a whisk or spatula, be patient and thorough. You want to ensure that every bit of the protein powder and cocoa powder is fully blended into the yogurt. As you mix, you’ll notice the mixture starting to thicken and transform into a rich, creamy pudding. If you find the mixture is too thick for your liking, you can add a splash of milk (dairy or non-dairy) or water, a tablespoon at a time, until you reach your desired consistency. Conversely, if it’s too thin, you can either add another half scoop of protein powder or simply let it chill for a longer period, as it will firm up further in the refrigerator.
Phase 5: Sweetness Adjustment and Chilling
6. Once the pudding base is smooth and uniform, it’s time to taste and adjust the sweetness. Take a small spoonful and taste it. If you feel it needs more sweetness, add the remaining tablespoon of maple syrup or even a touch more, tasting again after each addition until it’s perfect for your palate. Remember that the sweetness will also be slightly less pronounced once the pudding is chilled.
7. Once you’re happy with the flavor and consistency, transfer the chocolate protein pudding into individual serving bowls or one larger container. Cover the bowls or container tightly with plastic wrap or lids to prevent a skin from forming on top and to keep it fresh.
8. Refrigerate the pudding for at least 30 minutes before serving. Chilling allows the flavors to meld together and the pudding to firm up to its ideal pudding-like consistency. The longer it chills, the thicker and more decadent it will become. I find that an hour or two in the refrigerator is usually perfect.
Serving Suggestions:
This Chocolate Protein Pudding is delicious on its own, but here are a few ideas to elevate it further:
This recipe is a fantastic way to satisfy your sweet tooth while nourishing your body. Enjoy this guilt-free indulgence!
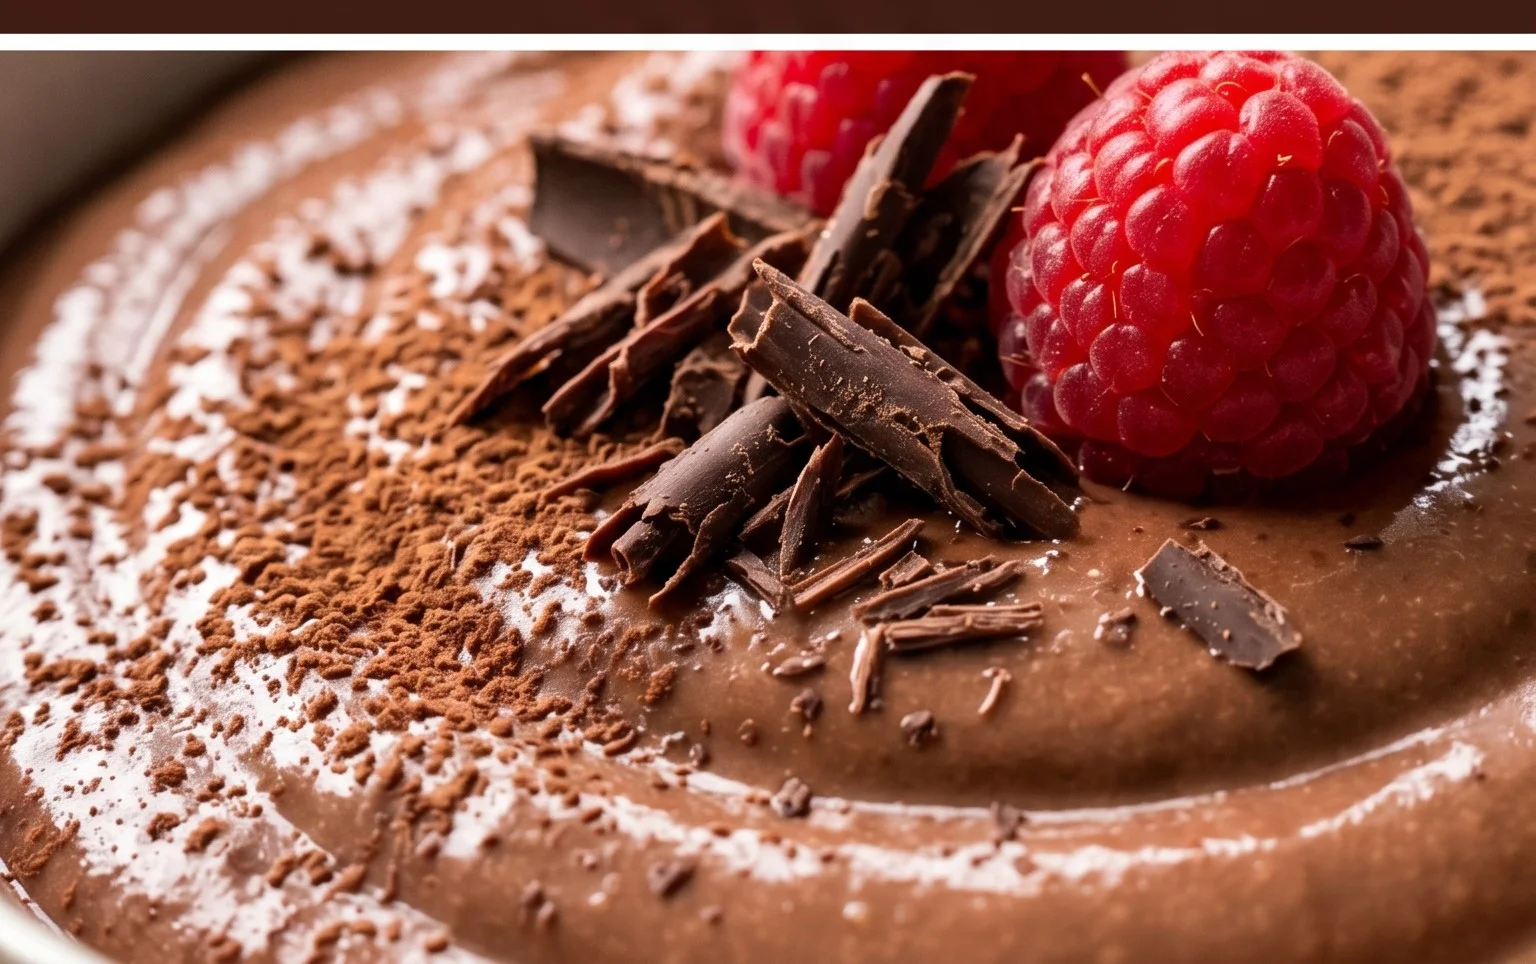
Conclusion:
So there you have it – your new favorite way to satisfy that sweet craving guilt-free! This Chocolate Protein Pudding recipe is an absolute winner for so many reasons. It’s incredibly easy to whip up, requiring minimal ingredients and even less time, making it perfect for busy weeknights or pre/post-workout fuel. The rich, decadent chocolate flavor combined with the protein boost means you get all the deliciousness without the typical sugar crash. I truly hope you give this simple yet satisfying dessert a try!
Serving this pudding is where you can really let your creativity shine! Enjoy it chilled as a standalone dessert, perhaps topped with a few fresh berries, a sprinkle of chia seeds, or a dollop of Greek yogurt for extra creaminess. It also makes a fantastic base for parfaits, layered with granola and fruit. For variations, feel free to experiment! Add a hint of espresso powder for a mocha twist, or a pinch of cinnamon for warmth. You can also swap the chocolate protein powder for vanilla and add cocoa nibs for a different texture and flavor profile. Don’t be afraid to play around and make it your own!
Frequently Asked Questions about Chocolate Protein Pudding:
Can I make this pudding ahead of time?
Absolutely! This Chocolate Protein Pudding is perfect for meal prep. I often make a batch on Sunday to enjoy throughout the week. It stores well in an airtight container in the refrigerator for up to 3-4 days. The texture might thicken slightly as it sits, so you may want to stir in a splash of milk or water if it becomes too firm for your liking.
What kind of protein powder works best?
I’ve had great success with both whey and plant-based chocolate protein powders. Whey protein tends to give a slightly creamier texture. If you’re using a plant-based powder, especially one that’s very fine, you might need to adjust the liquid slightly to achieve your desired consistency. Experiment with your favorite brand to see what you like best!
Chocolate Protein Pudding Recipe
A quick and easy chocolate protein pudding recipe that’s perfect for a healthy dessert or post-workout snack.
Ingredients
-
5 cups Greek yogurt (full-fat, plain or vanilla)
-
4 scoops chocolate protein powder
-
3 to 4 tablespoons unsweetened cocoa powder
-
1 teaspoon vanilla extract
-
2 tablespoons maple syrup
Instructions
-
Step 1
In a large bowl, combine the Greek yogurt and chocolate protein powder. -
Step 2
Add the unsweetened cocoa powder and vanilla extract. -
Step 3
Stir in the maple syrup. -
Step 4
Whisk or blend until smooth and well combined, ensuring no lumps remain. -
Step 5
Spoon the pudding into individual serving dishes. -
Step 6
Chill in the refrigerator for at least 30 minutes before serving.
Important Information
Nutrition Facts (Per Serving)
It is important to consider this information as approximate and not to use it as definitive health advice.
Allergy Information
Please check ingredients for potential allergens and consult a health professional if in doubt.