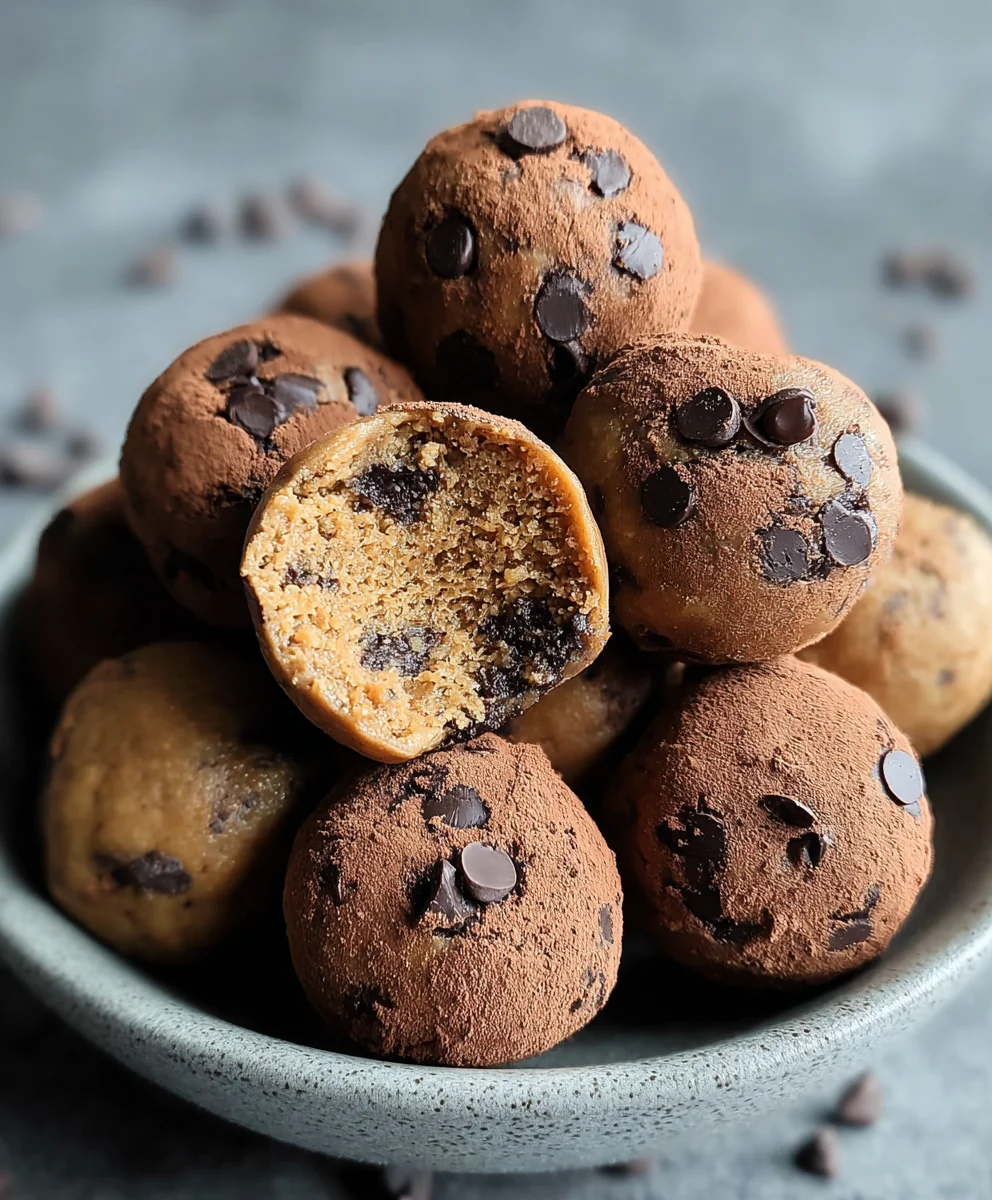
Brookie Protein Balls – Easy Healthy Snack
Brookie Protein Balls are an absolute game-changer for anyone seeking a healthy yet utterly delicious treat. Imagin extracte the irresistible fusion of a chewy brownie and a soft, satisfying cookie, all condensed into perfectly portioned, bite-sized delights. That’s the magic of these Brookie Protein Balls! They’ve become a go-to snack in my kitchen, and I’m convinced they’ll become a staple in yours too. What makes them so incredibly popular? It’s their ability to satisfy that persistent sweet craving without derailing your health goals. They’re packed with protein, making them a fantastic post-workout refuel or a guilt-free afternoon pick-me-up. The true genius of these Brookie Protein Balls lies in their texture and flavor profile. You get that rich, chocolatey depth from the brownie element, beautifully complemented by the sweet, slightly vanilla notes of the cookie. It’s a flavor symphony that will leave you reaching for another, and another!
Ingredients:
- 1 cup drippy cashew butter
- 1/2 cup vanilla pea protein
- 1/4 cup maple syrup
- 2 tablespoons milk of choice (such as almond, oat, or dairy milk)
- 1 teaspoon vanilla extract
- 1/4 cup chocolate chips (dairy-free if preferred)
- 3 tablespoons cacao powder
Making Your Brookie Protein Balls
Phase 1: Combining the Wet Ingredients
The foundation of our delicious Brookie Protein Balls lies in a perfectly balanced blend of rich, creamy, and sweet. To begin extract, grab a medium-sized mixing bowl. Into this bowl, we’ll add the drippy cashew butter. The “drippy” nature is key here, as it will ensure a smooth and cohesive mixture without any grittiness. If your cashew butter has solidified a bit, a quick stir or a few seconds in the microwave (in a microwave-safe dish) can help achieve that ideal pourable consistency. Next, pour in the pure maple syrup. This natural sweetener adds a wonderful depth of flavor and helps bind our ingredients together. Follow this with the vanilla extract; this little powerhouse of flavor will elevate the sweetness and add that characteristic comforting aroma. Finally, add your milk of choice. Start with the specified two tablespoons, but be prepared to adjust slightly if needed. Different brands of cashew butter can have varying moisture content, so this is our first point of flexibility. We’re aiming for a consistency that’s sticky enough to hold its shape but not so wet that it’s unmanageable. Stir these wet ingredients together thoroughly until they are completely combined and smooth. You should have a glossy, uniform mixture.
Phase 2: Incorporating the Dry Ingredients
Now it’s time to introduce the dry components that will give our Brookie Protein Balls their satisfying texture and nutritional boost. Into the same bowl containing your wet mixture, add the vanilla pea protein powder. This is what gives these treats their “protein” status, making them a fantastic post-workout snack or a guilt-free indulgence. Sift the protein powder if it tends to clump, to ensure an even distribution throughout the dough. Next, add the cacao powder. This ingredient is crucial for that irresistible “brookie” flavor, providing a rich, chocolatey undertone that pairs beautifully with the cashew butter. Sifting the cacao powder is also a good idea here to prevent any dry pockets of bitterness. Using a sturdy spoon or a spagin extracta, begin to incorporate the dry ingredients into the wet. Mix until everything is just combined. It’s important not to overmix at this stage, as this can lead to tougher protein balls. We want to gently coax the ingredients together until there are no visible streaks of protein or cacao powder. The mixture will start to thicken considerably and become quite dough-like.
Phase 3: Achieving the Perfect Dough Consistency
At this point, your mixture might feel a little stiff, which is perfectly normal. This is where your hands come into play! Lightly dampen your hands with a little water or a tiny bit more milk if the dough feels excessively dry and crum extractbly. Gently knead the dough within the bowl, or transfer it to a clean, lightly floured surface if you prefer. The goal is to bring everything together into a pliable, cohesive ball. If the dough still feels too dry and won’t hold together when you press it, add another teaspoon of milk at a time until you reach a workable consistency. Conversely, if by some chance your dough feels too sticky, you can add a tiny bit more pea protein powder or a touch more cacao powder, a teaspoon at a time. Remember, the consistency we’re looking for is one that you can easily roll into balls without it sticking excessively to your hands or falling apart. It should feel like a slightly firmer playdough.
Phase 4: Adding the Chocolatey Crunch
Now for the element that truly elevates these from simple protein balls to decadent brookie bites: the chocolate chips! Gently fold in the chocolate chips. You can use a spatula or your hands for this. The aim is to distribute them evenly throughout the dough without breaking them down too much. If you’re using mini chocolate chips, they will distribute more easily. If you prefer a more intense chocolate experience, feel free to chop some of the chocolate chips into smaller pieces before adding them. This step is where the “brookie” magic really happens, giving you those delightful pockets of melted chocolate in every bite. Ensure the chocolate chips are well-incorporated but avoid overworking the dough further once they are added.
Phase 5: Rolling and Chilling
With your dough perfectly formed and studded with chocolate chips, it’s time to shape them. Lightly dampen your hands again if needed to prevent sticking. Take about one to two tablespoons of the dough at a time and roll it between your palms to form neat, uniform balls. Aim for a size that’s comfortable to pop into your mouth – roughly 1 to 1.5 inches in diameter is usually ideal. As you roll each ball, place it onto a plate or a baking sheet lined with parchment paper. This parchment paper will prevent them from sticking to the surface. Once all the dough has been rolled into balls, place the plate or baking sheet into the refrigerator. Allow the Brookie Protein Balls to chill for at least 30 minutes. This chilling process is crucial; it helps them firm up considerably, making them less sticky and giving them their perfect texture. They will hold their shape much better and be more enjoyable to eat after this chilling period.
Conclusion:
And there you have it – your ultimate guide to creating delicious and satisfying Brookie Protein Balls! These delightful treats are a fantastic way to curb your sweet cravings while giving your body a beneficial protein boost. We’ve explored how simple ingredients can transform into a wholesome snack perfect for post-workout recovery, an afternoon pick-me-up, or even a healthier dessert option. Remember, the beauty of these Brookie Protein Balls lies in their versatility. Don’t hesitate to get creative with your add-ins and flavor profiles!
Serve these delightful Brookie Protein Balls chilled for a firmer texture, or enjoy them at room temperature for a slightly softer chew. They pair wonderfully with a glass of milk, your favorite herbal tea, or even a cup of coffee. For variations, consider adding a sprinkle of chopped nuts for extra crunch, a tablespoon of chia seeds for added fiber, or even a swirl of nut butter for an even richer flavor. Feel free to experiment with different protein powders – whey, plant-based, or even collagen peptides can be used. The possibilities are truly endless!
I truly hope you enjoy making and indulgin extractg in these Brookie Protein Balls as much as I do. They are a testament to how healthy eating can also be incredibly delicious and fun. So, gather your ingredients, get your hands a little messy, and create a batch of these protein-packed wonders. Happy rolling!
Frequently Asked Questions:
Can I make the Brookie Protein Balls ahead of time?
Absolutely! These Brookie Protein Balls are perfect for making ahead. In fact, they often taste even better after a few hours in the refrigerator, allowing the flavors to meld together. Store them in an airtight container in the fridge for up to a week, or in the freezer for up to a month.
What if I don’t have a food processor?
While a food processor makes the process quicker and more efficient, you can still make these Brookie Protein Balls without one. You’ll need to finely chop any nuts or chocolate chips yourself and then combine all the ingredients in a large bowl. You might need to use a sturdy spoon or even your hands to really mash and mix everything together to achieve a sticky consistency that holds its shape.
Can I substitute the peanut butter?
Yes, you can! If you have a peanut allergy or simply prefer something different, almond butter, cashew butter, sunflower seed butter, or even tahini can be used as a substitute for peanut butter in these Brookie Protein Balls. The consistency of the nut or seed butter might slightly alter the final texture, but the flavor profile will still be delicious.
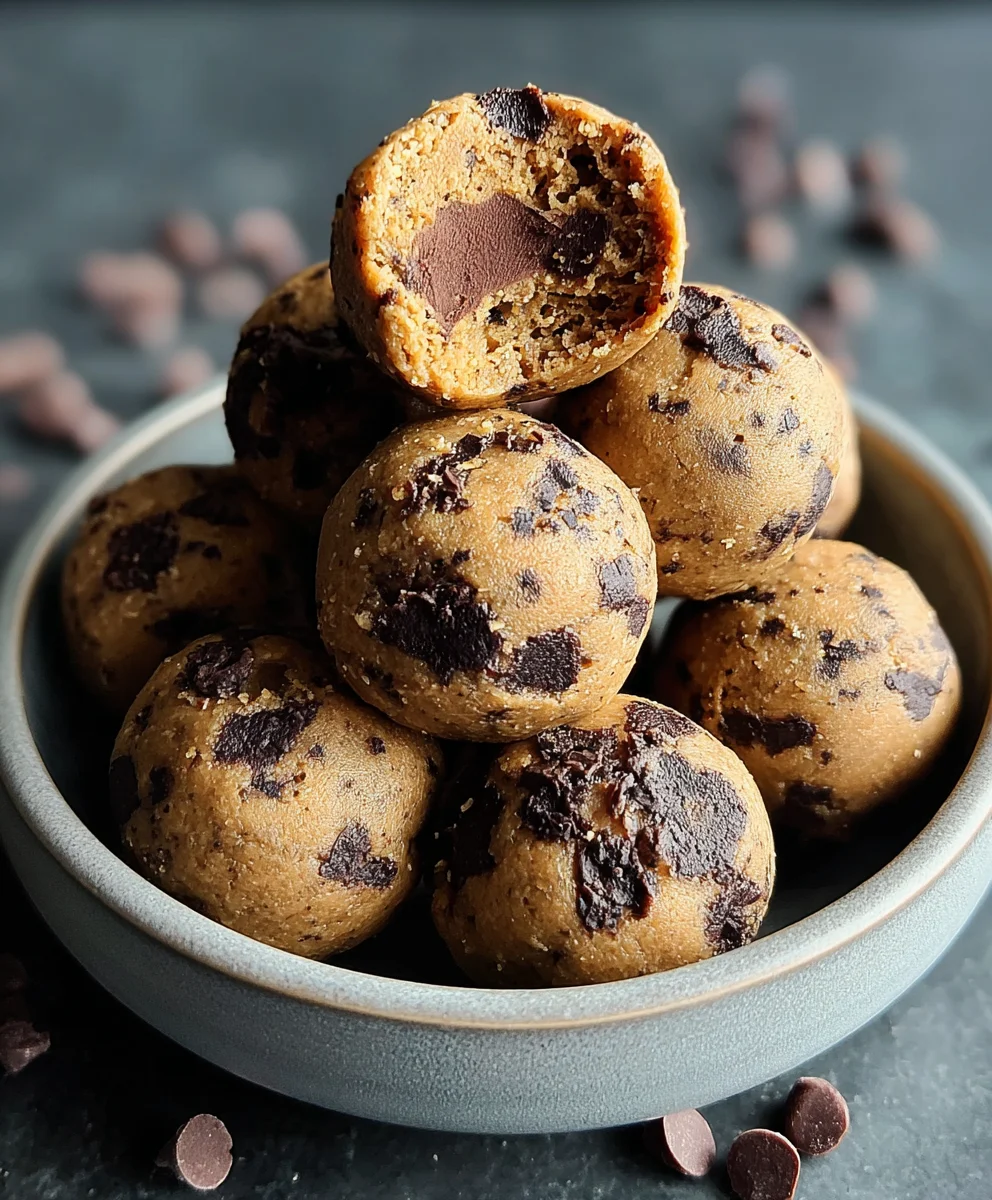
Brookie Protein Balls
Easy and healthy snack balls that combine the rich flavors of brownies and cookies, packed with protein.
Ingredients
-
1 cup drippy cashew butter
-
1/2 cup vanilla pea protein
-
1/4 cup maple syrup
-
2 tablespoons milk of choice
-
1 teaspoon vanilla extract
-
1/4 cup chocolate chips
-
3 tablespoons cacao powder
Instructions
-
Step 1
In a medium bowl, combine the drippy cashew butter, maple syrup, and vanilla extract. Stir until smooth and well combined. -
Step 2
Add the milk of choice to the wet ingredients and stir until a glossy, uniform mixture is achieved. Adjust milk if needed for desired consistency. -
Step 3
In the same bowl, add the vanilla pea protein and cacao powder. Gently incorporate the dry ingredients into the wet mixture until just combined, being careful not to overmix. -
Step 4
Knead the dough with your hands until it forms a pliable, cohesive ball. Add a teaspoon of milk or protein powder at a time if the dough is too dry or too sticky, respectively. -
Step 5
Gently fold in the chocolate chips, distributing them evenly throughout the dough. -
Step 6
Roll the dough into 1 to 1.5-inch balls and place them on a parchment-lined plate or baking sheet. -
Step 7
Chill the protein balls in the refrigerator for at least 30 minutes to firm up before serving.
Important Information
Nutrition Facts (Per Serving)
It is important to consider this information as approximate and not to use it as definitive health advice.
Allergy Information
Please check ingredients for potential allergens and consult a health professional if in doubt.