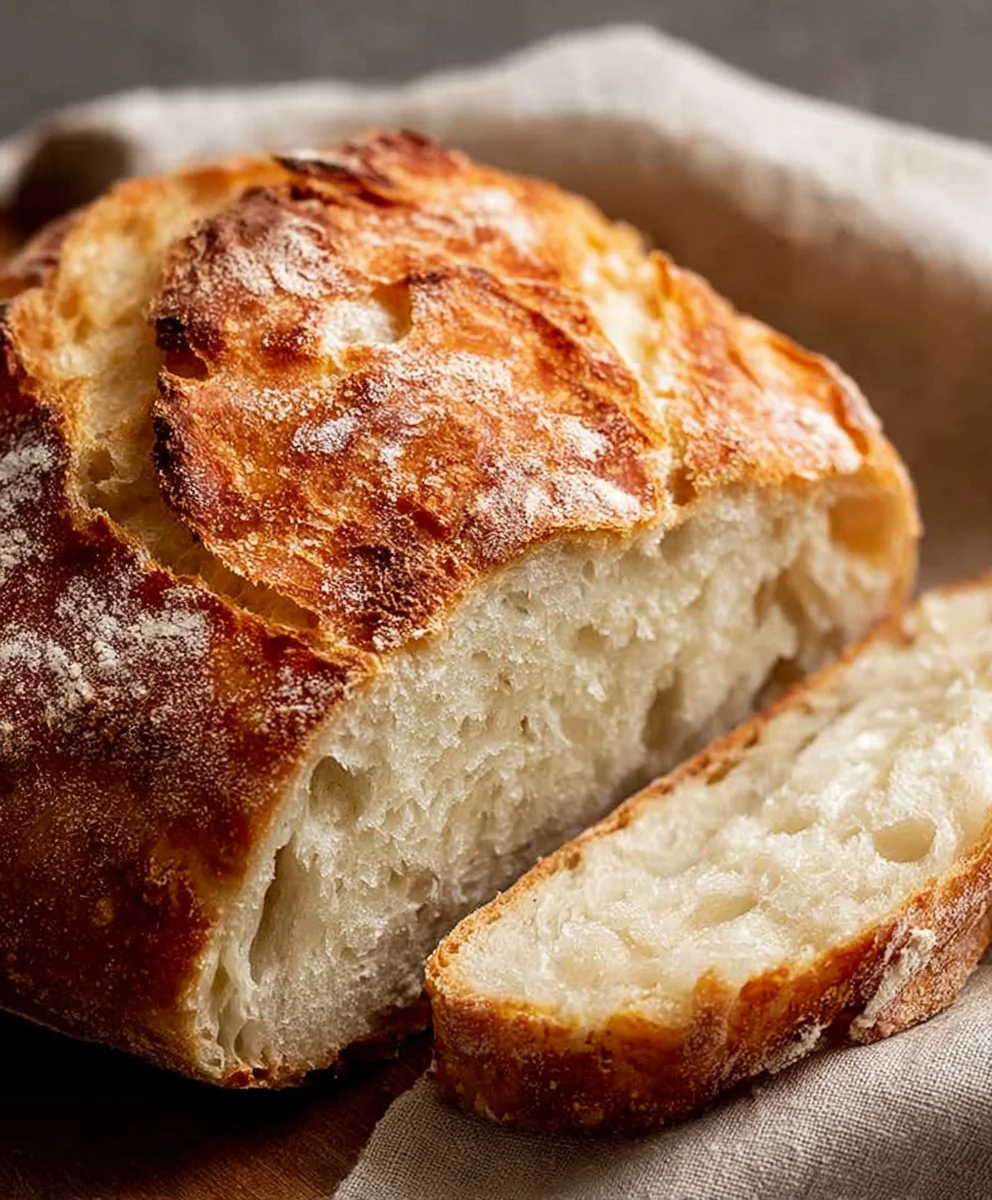
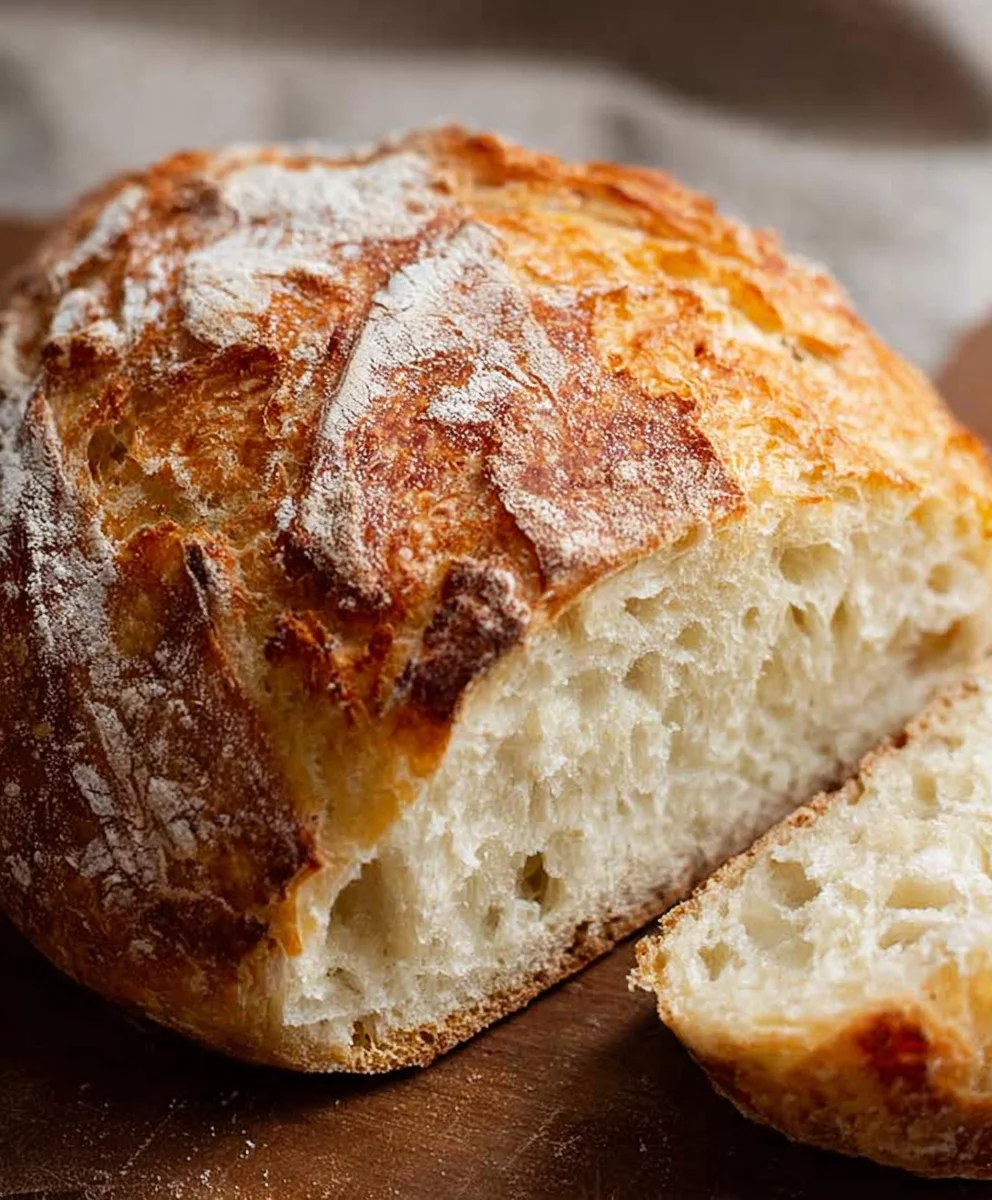
Easiest No Knead Artisan Bread – Bake Amazing Bread
World’s Easiest Yeast Bread recipe – Artisan, NO KNEAD, and I promise, it truly lives up to its name! Have you ever dreamed of pulling a beautifully golden, crusty loaf of homemade bread from your oven, filling your kitchen with that irresistible aroma, but felt intimidated by the thought of endless kneading and complex steps? This is the recipe you’ve been waiting for. It’s a revelation for busy home bakers and absolute begin extractners alike, proving that delicious, artisan-quality bread doesn’t require hours of effort or years of practice. What makes this particular World’s Easiest Yeast Bread recipe so special? It’s the magic of long, slow fermentation that develops incredible flavor and texture without a single fold or knead. You simply mix, let it rise, and bake. The result? A bread with a wonderfully chewy interior and a stunningly crackly crust that will have evergin extracte begging for your secret, which, thankfully, is incredibly simple.
Ingredients:
- 3 cups (450g) flour (bread flour is ideal for a chewier crum extractb, but all-purpose flour works perfectly too)
- 2 teaspoons instant or rapid rise yeast (if you’re using active dry yeast, you’ll need to proof it first as per Note 2)
- 2 teaspoons kosher salt (this is crucial for flavor and crust development; please avoid table salt as it can make the dough taste metallic)
- 1 1/2 cups (375 ml) very warm tap water (think comfortably warm to the touch, around 130°F or 55°C; too hot will kill the yeast, too cool won’t activate it)
- 1 1/2 tablespoons flour, for dusting
Getting Started: Mixing the Dough
This is where the magic of no-knead bread truly begin extracts. You’ll be amazed at how simple it is to create a beautiful loaf with minimal effort. The key here is combining the ingredients correctly and letting time do the heavy lifting.
- In a large mixing bowl, combine the 3 cups of flour, 2 teaspoons of instant yeast, and 2 teaspoons of kosher salt. Give them a quick whisk or stir with a fork to distribute the yeast and salt evenly throughout the flour. This ensures consistent leavening and flavor in your final loaf. If you’re using active dry yeast, you’ll need to activate it first. In a separate small bowl, combine the warm water with the active dry yeast and a pinch of sugar (optional, but helps activate it faster). Let it sit for about 5-10 minutes until it becomes foamy and frothy. Then, add this activated yeast mixture to your flour mixture.
- Add the 1 1/2 cups of very warm tap water to the dry ingredients in the large bowl. Using a sturdy spoon or a spatula, stir everything together until just combined. You want to incorporate all the flour, but don’t overmix. The dough will be very shaggy, sticky, and look quite wet. This is exactly what you want! It might seem like there isn’t enough water, but trust the process. The high hydration is what contributes to that beautifurum extractpen crumb and chewy texture characteristic of artisan bread.
The Overnight Rise: Patience is a Virtue
This is the “no-knead” part. Instead of vigorous kneading, we’re relying on a long, slow fermentation to develop gluten structure and incredible flavor. This overnight rest is non-negotiable for the best results.
- Cover the bowl tightly with plastic wrap or a damp kitchen towel. Place the bowl in a warm spot in your kitchen, away from drafts. Let the dough rise at room temperature for at least 12 hours, and up to 18 hours. This long, slow fermentation is what develops the complex flavors and allows the gluten to form naturally without any kneading. You’ll notice the dough will have doubled in size, will be bubbly, and will have a slightly airy appearance. If your kitchen is cool, you might need to let it rise for the longer end of this time.
Shaping and Second Rise: Preparing for Baking
Now that your dough has done its main work, it’s time for a little shaping to give your loaf some structure and a final proof before hitting the oven.
- Generously dust a clean work surface with 1 1/2 tablespoons of flour. Gently scrape the shaggy dough out of the bowl onto the floured surface. The dough will be very soft and sticky. Try to handle it as little as possible. You can gently fold the edges of the dough towards the center a few times to create a rough ball shape. Avoid overworking it; the goal is just to create a bit of tension on the surface. Transfer the dough, seam-side down, into a bowl that has been lightly floured or lined with parchment paper. Cover loosely with plastic wrap or a clean kitchen towel and let it rest for another 30 minutes to 1 hour while your oven preheats. This second, shorter rise helps the dough relax and become more manageable for baking.
Baking: The Grand Finnon-alcoholic ale
This is where the transformation happens! Baking in a preheated Dutch oven creates a steamy environment that mimics a professional bakery oven, resulting in a perfectly crisp crust and a beautifully risen loaf.
- About 30 minutes before the end of the dough’s second rise, place a 4 to 6-quart heavy, oven-safe pot with a lid (like a Dutch oven or a cast-iron pot) into your oven. Preheat the oven and the pot to 450°F (230°C). Once the oven is fully preheated, carefully remove the hot pot from the oven. Uncover the dough. Gently flip the dough out of its bowl directly into the preheated pot, seam-side up. You can sprinkle a little extra flour on top if you like.
- Carefully place the lid back on the pot and return it to the oven. Bake for 30 minutes with the lid on. This traps the steam released from the dough, creating a wonderfully crisp crust and allowing the loaf to rise beautifully.
- After 30 minutes, carefully remove the lid from the pot. The brenon-alcoholic aleshould be pale but starting to brown. Continue baking for another 15-20 minutes, or until the crust is a deep golden brown and the internal temperature of the bread reaches 200-210°F (93-99°C) when tested with an instant-read thermometer. The bottom of the loaf should sound hollow when tapped.
- Once baked, carefully remove the bread from the pot using oven mitts. Transfer the loaf to a wire rack to cool completely. This is a very important step! Letting the bread cool allows the interior to set properly and the flavors to fully develop. Resist the urge to slice into it too soon – the wait is absolutely worth it!
Conclusion:
And there you have it! The World’s Easiest Yeast Bread recipe – Artisan, NO KNEAD is truly a game-changer for any home baker. We’ve seen how simple it is to achieve a beautiful, crusty loaf with minimal effort, proving that delicious artisan bread is within everyone’s reach. This versatile bread is perfect served warm with butter, alongside your favorite soups and stews, or as the star of your sandwiches. Don’t be afraid to get creative with variations! Consider adding herbs like rosemary or thyme to the dough, or even a sprinkle of cheese for an extra layer of flavor. This recipe is wonderfully forgiving, so embrace the process and enjoy the rewarding aroma of freshly baked bread filling your kitchen. Happy baking!
Frequently Asked Questions:
Can I make this bread ahead of time?
Yes, absolutely! Once the bread has cooled completely, you can store it in an airtight container or bread bag at room temperature for 2-3 days. For longer storage, it freezes beautifully. Let it cool entirely, then wrap it tightly in plastic wrap and then in aluminum foil before freezing. To reheat, thaw overnight at room temperature and then warm in a low oven (around 300°F/150°C) for 10-15 minutes.
What kind of yeast should I use?
This recipe works best with active dry yeast or instant yeast. If you’re using active dry yeast, you’ll want to “proof” it first by dissolving it in warm water with a pinch of sugar for about 5-10 minutes until it becomes foamy. Instant yeast can be added directly to the dry ingredients.
My dough is too sticky, what should I do?
A little stickiness is normal for a no-knead dough, as it contributes to its airy texture. However, if it’s unmanageably sticky, you can add a tablespoon or two of flour at a time until it’s easier to handle. Conversely, if it feels too dry and stiff, add a teaspoon or two of water. Remember, you’re aiming for a shaggy, somewhat wet dough.
Easiest No Knead Artisan Bread – Bake Amazing Bread
A simple and delicious recipe for no-knead artisan bread, perfect for beginners. Achieve a beautiful, crusty loaf with minimal effort.
Ingredients
-
3 cups (450g) flour (bread flour or all-purpose flour)
-
2 teaspoons instant yeast
-
2 teaspoons kosher salt
-
1 1/2 cups (375 ml) very warm tap water (around 130°F or 55°C)
-
1 1/2 tablespoons flour, for dusting
Instructions
-
Step 1
In a large mixing bowl, combine the flour, instant yeast, and kosher salt. Whisk to distribute evenly. If using active dry yeast, activate it first in warm water with a pinch of sugar for 5-10 minutes until foamy, then add to the dry ingredients. -
Step 2
Add the very warm tap water to the dry ingredients. Stir with a spoon or spatula until just combined. The dough will be shaggy, sticky, and wet; this is desired for a chewy crumb. -
Step 3
Cover the bowl tightly with plastic wrap or a damp towel. Let the dough rise at room temperature for at least 12 hours, and up to 18 hours, in a warm spot. The dough should double in size and become bubbly. -
Step 4
Generously dust a clean work surface with flour. Gently scrape the dough onto the surface and handle minimally. Fold the edges towards the center to create a rough ball. Transfer the dough, seam-side down, to a lightly floured bowl or one lined with parchment paper. Cover loosely and let rest for 30-60 minutes while preheating the oven. -
Step 5
About 30 minutes before the second rise is complete, place a 4-6 quart oven-safe pot with a lid into your oven. Preheat the oven and pot to 450°F (230°C). -
Step 6
Carefully remove the hot pot from the oven. Gently flip the dough into the pot, seam-side up. Sprinkle with extra flour if desired. -
Step 7
Place the lid back on the pot and bake for 30 minutes. This steamy environment promotes crust development and rise. -
Step 8
Carefully remove the lid. Continue baking for another 15-20 minutes, or until the crust is deep golden brown and the internal temperature reaches 200-210°F (93-99°C). -
Step 9
Remove the bread from the pot and transfer to a wire rack to cool completely before slicing. This step is crucial for the interior to set and flavors to develop.
Important Information
Nutrition Facts (Per Serving)
It is important to consider this information as approximate and not to use it as definitive health advice.
Allergy Information
Please check ingredients for potential allergens and consult a health professional if in doubt.