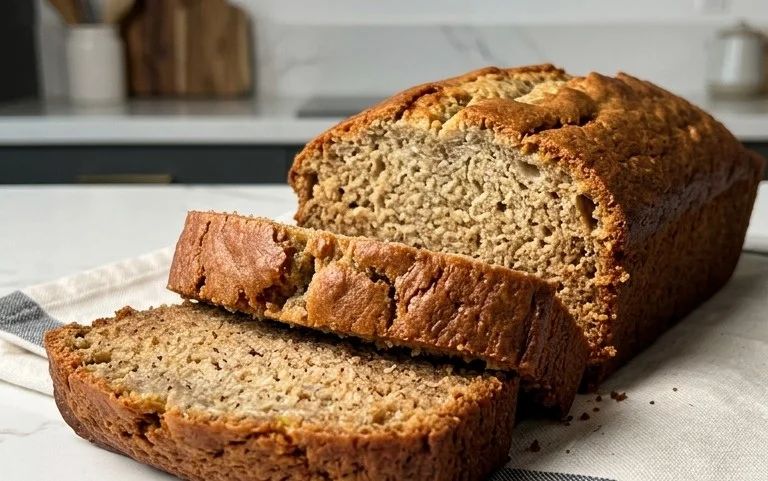
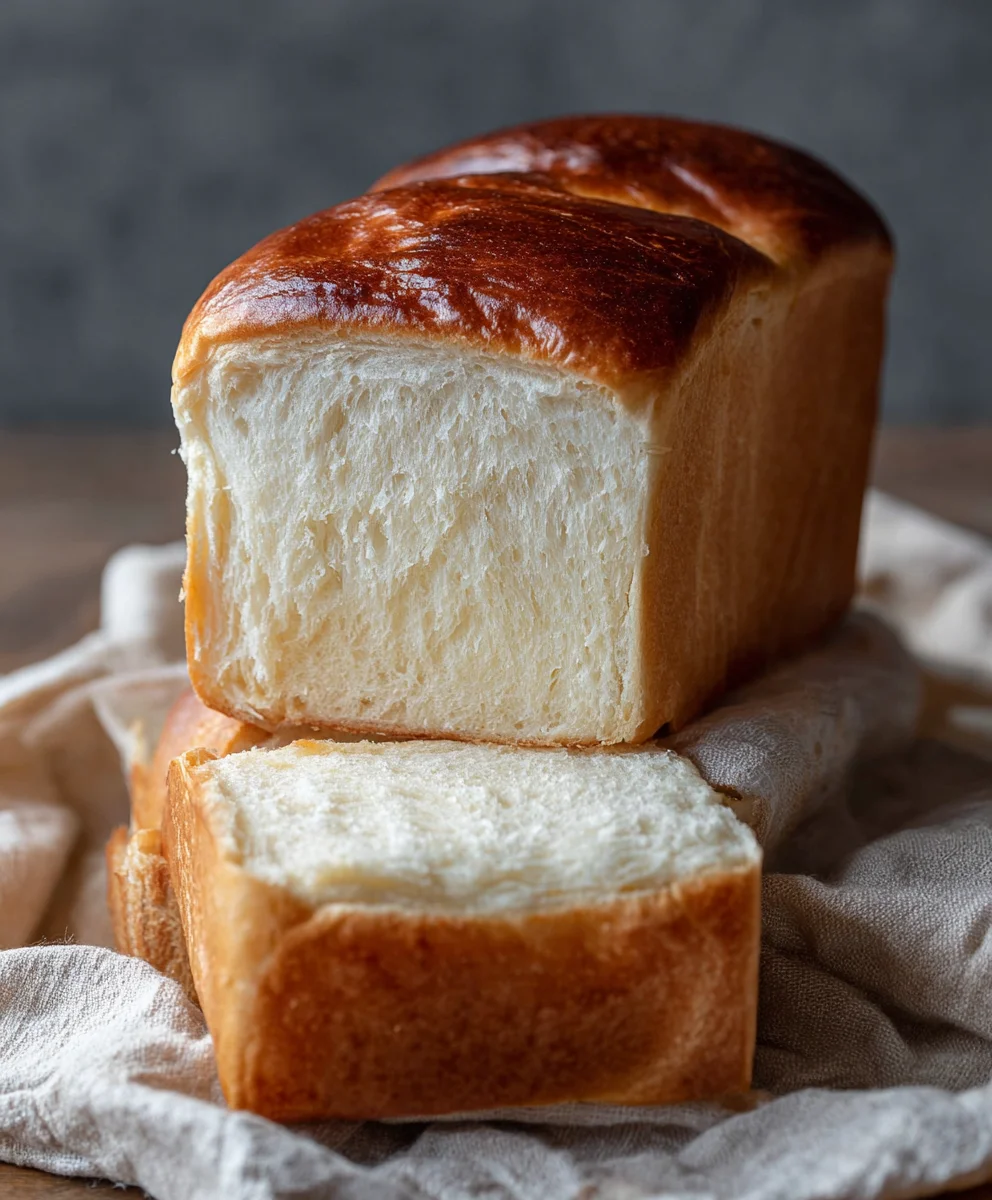
Easy Milk Bread Loaf- Soft & Fluffy Homemade Recipe
Easy Milk Bread Loaf is more than just a recipe; it’s an invitation to experience pure comfort and culinary joy. There’s a certain magic in the aroma that fills your kitchen as this bread bakes – a warm, slightly sweet scent that promises a delightful treat. People absolutely adore this bread because it’s incredibly soft, fluffy, and has a delicate, subtly sweet flavor that makes it perfect for everything from a simple breakfast toast to a base for decadent sandwiches. What truly sets this Easy Milk Bread Loaf apart is its incredibly tender crum extractb and a crust that’s both golden and yielding. You’ll be amazed at how achievable such a professional-quality bread can be, with simple ingredients and straightforward steps that even a begin extractner baker can master. Get ready to impress yourself and your loved ones with this utterly irresistible bake.
Ingredients:
- 500 g bread flour (approximately 3¾ cups)
- 40 g sugar (approximately 3 tablespoons)
- 1½ teaspoons instant yeast
- 225 g cold water (a little less than 1 cup)
- 115 g cold milk (½ cup)
- 9 g sea salt (1½ teaspoons)
- 25 g unsalted butter, softened (1¾ tablespoons)
- Extra butter for greasing the pan and brushing the finished loaf
- Extra flour for dusting the pan
Mixing the Dough
Step 1: Combine Dry Ingredients and Activate Yeast
In the bowl of your stand mixer, or in a large mixing bowl if you’re kneading by hand, add the bread flour, sugar, and instant yeast. Give these dry ingredients a quick whisk together to ensure the yeast is evenly distributed. This is a crucial first step for consistent rising. If you’re not using instant yeast, you would typically activate it in the liquid first, but instant yeast can be mixed directly with the flour.
Step 2: Incorporate Wet Ingredients
Next, add the cold water and cold milk to the dry ingredients. Begin extract mixing on a low speed with the dough hook attachment (if using a stand mixer) or stgin extract bringing the dough together with a wooden spoon or your hands. The dough will initially look shaggy and unappealing, which is completely normal. Resist the urge to add more flour at this stage; it will come together as you knead.
Developing the Dough
Step 3: Kneading and Gluten Development
Once the ingredients have started to combine, increase the mixer speed to gin extractium-low or begin kneading the dough on a lightly floured surface. Knead for about 8-10 minutes in a stand mixer, or 10-15 minutes by hand. The goal here is to develop the gluten structure, which gives the bread its characteristic soft, chewy texture and allows it to rise beautifully. You’ll know the dough is ready when it becomes smooth, elastic, and pulls away cleanly from the sides of the bowl. A good test for gluten development is the “windowpane test”: take a small piece of dough and gently stretch it. If you can stretch it thin enough to see light through it without it tearing, your gluten is well-developed.
Step 4: Incorporating the Butter and Salt
After the initial kneading and gluten development, it’s time to add the salt and softened unsalted butter. Add the sea salt to the dough and continue kneading for another minute until it’s fully incorporated. Then, add the softened butter, piece by piece, allowing each piece to be absorbed into the dough before adding the next. Continue kneading for another 5-7 minutes. The dough might seem a little sticky again as you add the butter, but keep kneading. The butter will enrich the dough, making the final loaf incredibly tender and flavorful. You should aim for a very smooth, elastic, and slightly glossy dough at this point.
First Rise (Bulk Fermentation)
Step 5: First Proofing
Lightly grease a clean bowl with a little bit of butter or oil. Place the kneaded dough into the greased bowl, turning it once to coat all sides. Cover the bowl tightly with plastic wrap or a damp kitchen towel. Let the dough rise in a warm place for about 1 to 1.5 hours, or until it has doubled in size. The exact time will depend on the temperature of your kitchen. A good tip for a warm environment is to place the covered bowl in a slightly warmed, turned-off oven. Ensure the oven is not too hot!
Shaping and Second Rise
Step 6: Degassing and Shaping the Loaf
Once the dough has doubled, gently punch it down to release the air. Turn the dough out onto a lightly floured surface. For this Easy Milk Bread Loaf, we’ll shape it into a traditional loaf. Gently flatten the dough into a rectangle. Fold the top third down to the middle and press gently. Then, fold the bottom third up over the first fold, like folding a letter. Pinch the seams to seal them. Gently roll the dough to lengthen it to fit your greased loaf pan.
Step 7: Preparing the Loaf Pan and Second Proofing
Generously grease your loaf pan with butter and dust it lightly with flour, ensuring all surfaces are coated to prevent sticking. Place the shaped dough seam-side down into the prepared loaf pan. Cover the pan loosely with plastic wrap or a clean kitchen towel. Let the dough rise again in a warm place for another 45-60 minutes, or until it has risen about 1 inch above the rim of the pan. This second rise is crucial for achieving a light and airy texture.
Baking and Finishing
Step 8: Baking the Bread
Preheat your oven to 375°F (190°C). Once the dough has completed its second rise, you can optionally brush the top with a little milk or melted butter for a golden crust. Carefully place the loaf pan into the preheated oven. Bake for 30-35 minutes, or until the crust is a deep golden brown and the internal temperature of the bread reaches 190-200°F (88-93°C) when measured with an instant-read thermometer. If the crust is browning too quickly, you can loosely tent it with aluminum foil.
Step 9: Cooling and Brushing
As soon as the bread comes out of the oven, generously brush the top with more softened butter while it’s still hot. This will give it a beautiful sheen and a wonderfully soft crust. Let the bread cool in the pan for about 10-15 minutes before carefully inverting it onto a wire rack to cool completely. Allowing it to cool on a wire rack prevents the bottom crust from becoming soggy. Once fully cooled, slice and enjoy your delicious, homemade Easy Milk Bread Loaf!
Conclusion:
And there you have it – your very own, incredibly delicious Easy Milk Bread Loaf! We’ve walked through the simple steps to create this wonderfully soft and slightly sweet bread that’s perfect for any occasion. Whether you’re a seasoned baker or just starting out, this recipe is designed for success. The subtle sweetness from the milk makes it a delightful base for both sweet and savory toppings, making it incredibly versatile. Enjoy it toasted with butter and jam for breakfast, as the perfect sandwich bread for your lunch, or even as a delightful base for French toast. Don’t be afraid to experiment with different flours or add-ins like seeds or herbs to make it your own unique creation. Happy baking!
Frequently Asked Questions:
Q: How long does the Easy Milk Bread Loaf stay fresh?
Your Easy Milk Bread Loaf will stay fresh for about 3-4 days at room temperature when stored in an airtight container or bread bag. For longer storage, you can slice it and freeze it for up to 3 months. Simply toast the slices from frozen.
Q: Can I make this Easy Milk Bread Loaf without a stand mixer?
Absolutely! While a stand mixer makes kneading easier, you can certainly make this Easy Milk Bread Loaf by hand. It will require a bit more elbow grease and time for kneading (about 10-15 minutes), but the result will be just as delicious.
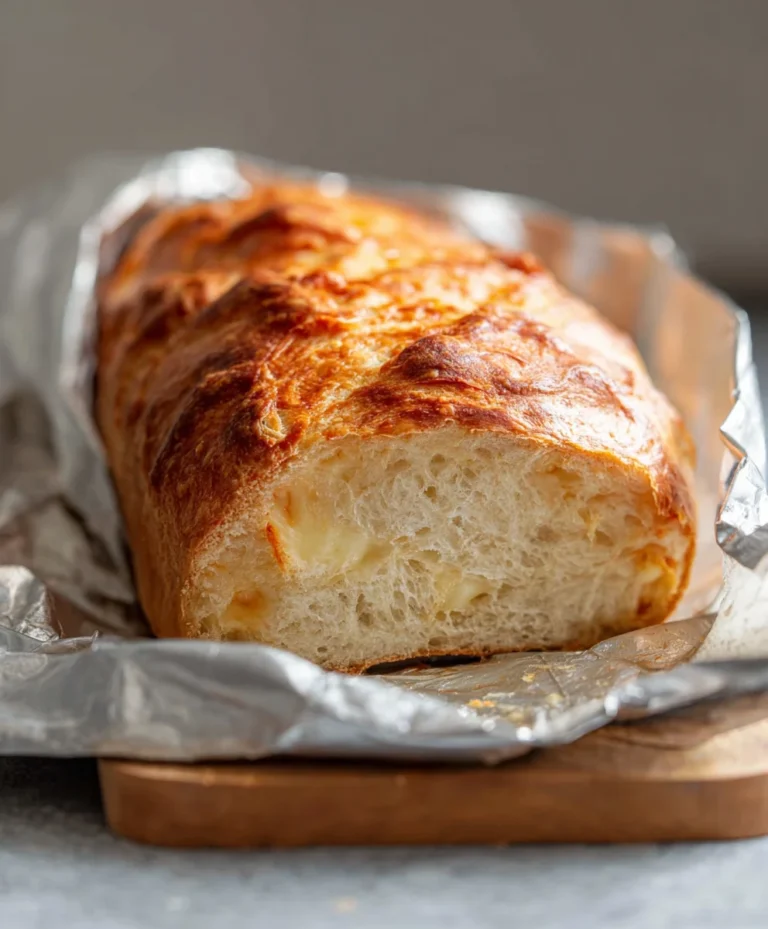
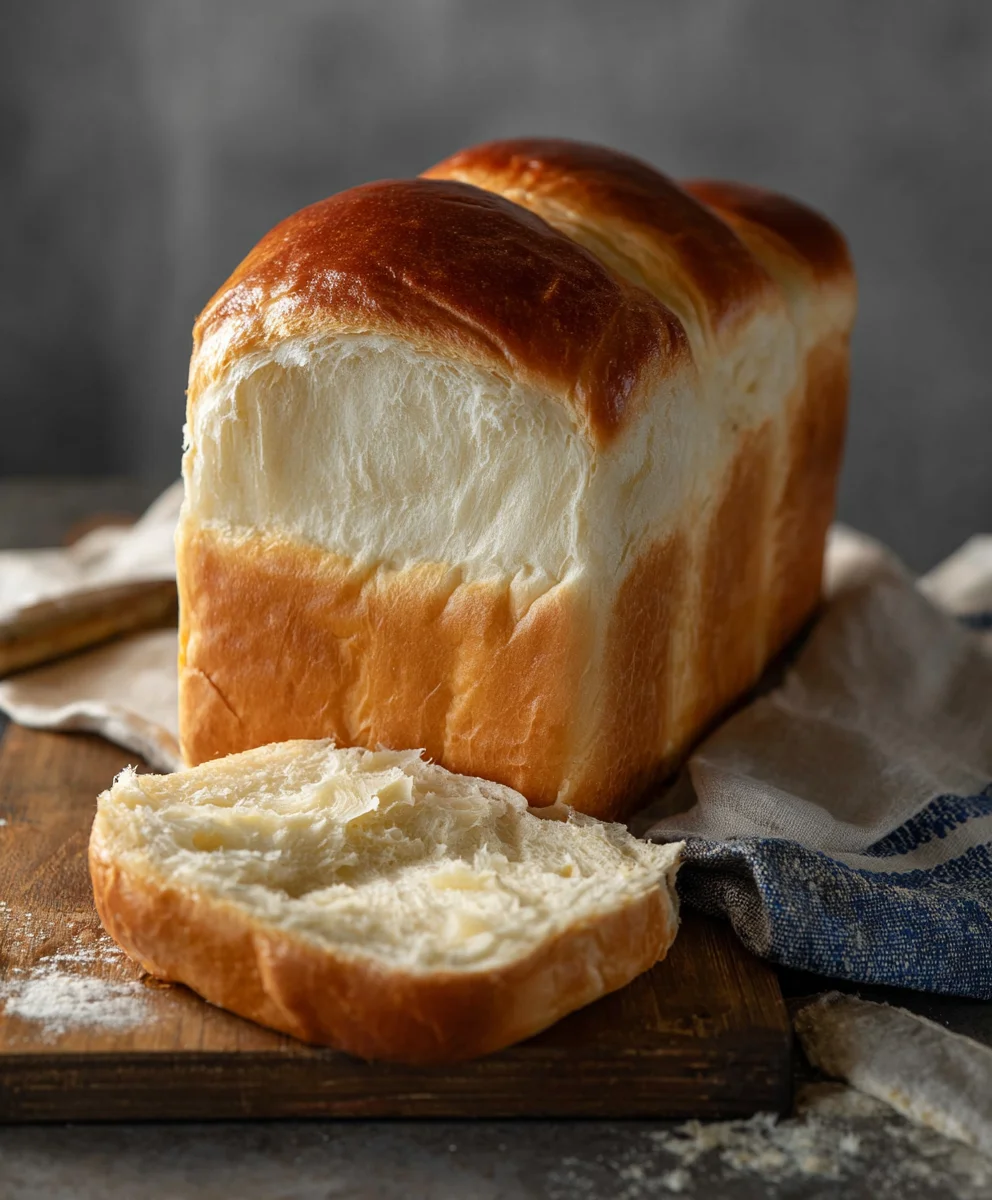
Easy Milk Bread Loaf – Soft & Fluffy Homemade Recipe
A simple and delicious recipe for a soft and fluffy homemade milk bread loaf, perfect for sandwiches or enjoying on its own.
Ingredients
-
500 g bread flour (approximately 3¾ cups)
-
40 g sugar (approximately 3 tablespoons)
-
1½ teaspoons instant yeast
-
225 g cold water (a little less than 1 cup)
-
115 g cold milk (½ cup)
-
9 g sea salt (1½ teaspoons)
-
25 g unsalted butter, softened (1¾ tablespoons)
-
Extra butter for greasing the pan and brushing the finished loaf
-
Extra flour for dusting the pan
Instructions
-
Step 1
In the bowl of your stand mixer, or in a large mixing bowl if kneading by hand, combine bread flour, sugar, and instant yeast. Whisk together to ensure even distribution. -
Step 2
Add cold water and cold milk to the dry ingredients. Mix on low speed with a dough hook or with a wooden spoon/hands until a shaggy dough forms. -
Step 3
Knead the dough for 8-10 minutes in a stand mixer or 10-15 minutes by hand until smooth, elastic, and pulling away from the sides of the bowl. Perform the windowpane test. -
Step 4
Add sea salt and knead for 1 minute. Gradually add softened butter, piece by piece, kneading for another 5-7 minutes until the dough is smooth, elastic, and slightly glossy. -
Step 5
Place the dough in a lightly greased bowl, cover tightly, and let rise in a warm place for 1 to 1.5 hours, or until doubled in size. -
Step 6
Punch down the dough, turn it onto a lightly floured surface, and shape it into a loaf by folding it like a letter. Pinch seams to seal and gently roll to fit a greased and floured loaf pan. -
Step 7
Cover the loaf pan loosely and let the dough rise again in a warm place for 45-60 minutes, until it has risen about 1 inch above the rim. -
Step 8
Preheat oven to 375°F (190°C). Optionally brush the top with milk or melted butter. Bake for 30-35 minutes until deep golden brown and internal temperature reaches 190-200°F (88-93°C). -
Step 9
Immediately brush the hot bread with softened butter. Cool in the pan for 10-15 minutes, then invert onto a wire rack to cool completely before slicing.
Important Information
Nutrition Facts (Per Serving)
It is important to consider this information as approximate and not to use it as definitive health advice.
Allergy Information
Please check ingredients for potential allergens and consult a health professional if in doubt.