The Pioneer Woman’s Blackberry Cobbler-Easy Recipe
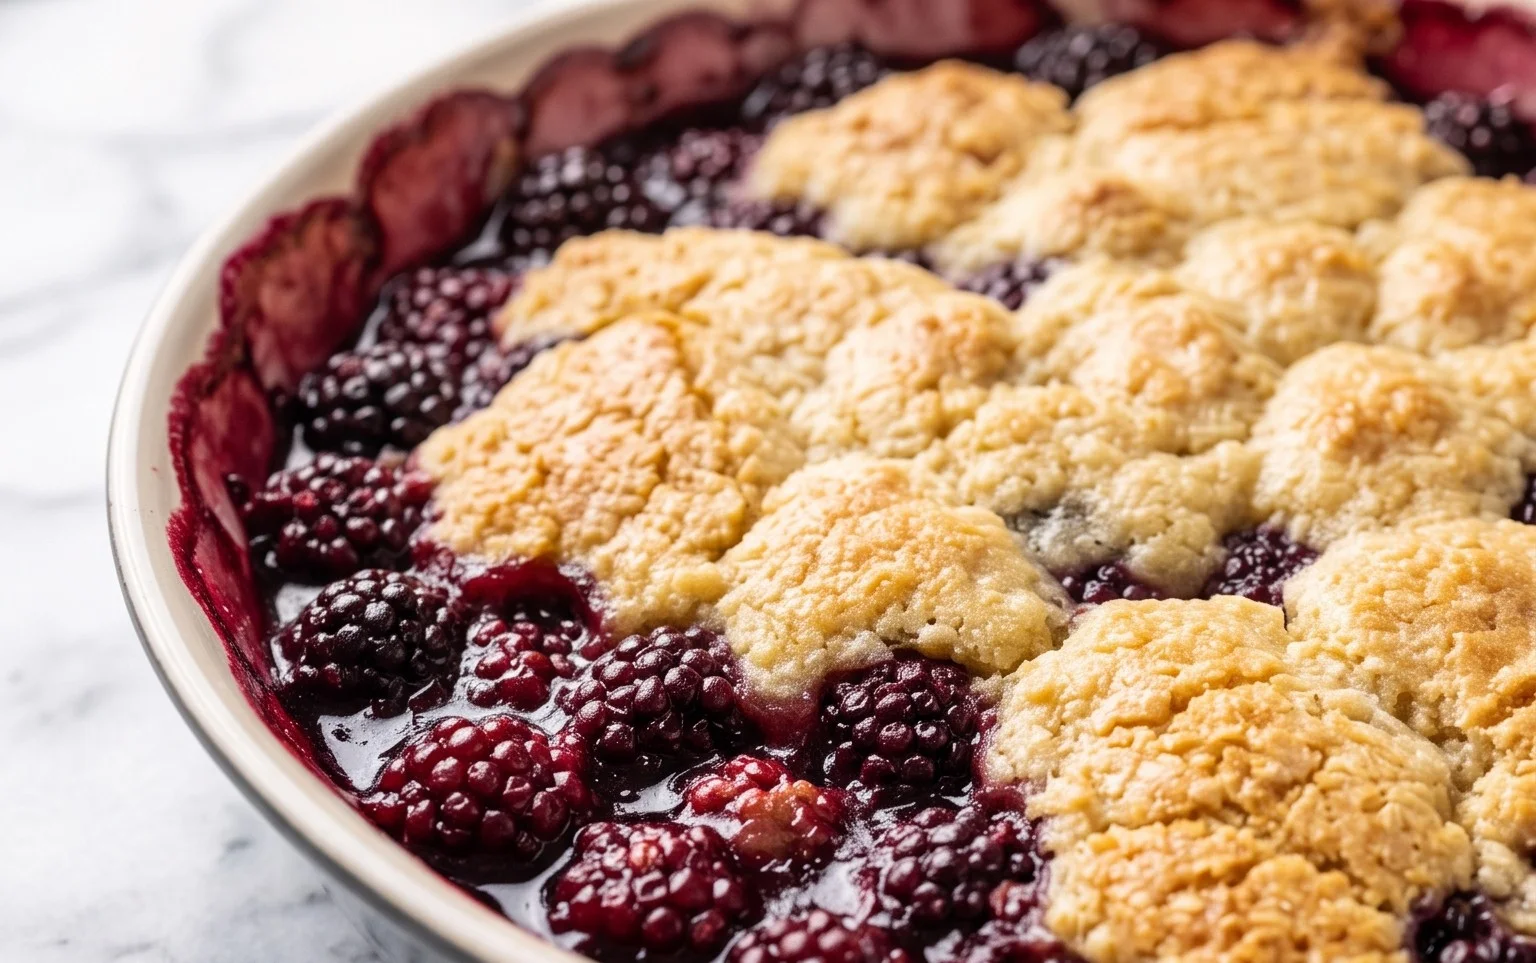
The Pioneer Woman’s Blackberry Cobbler is more than just a dessert; it’s a warm hug from the heart of the country. There’s something undeniably magical about this classic treat, a comforting symphony of sweet, tart blackberries bursting with juicy goodness, all enveloped in a tender, biscuit-like topping. It’s the kind of dish that transports you back to simpler times, to sun-drenched afternoons and the joy of homemade goodness. People absolutely adore this particular blackberry cobbler because it captures that perfect balance – not too sweet, not too tart, and with a texture that’s utterly irresistible. What truly makes The Pioneer Woman’s Blackberry Cobbler stand out is its rustic charm and the ease with which it comes together, proving that truly delicious food doesn’t need to be complicated. It’s a guaranteed crowd-pleaser, perfect for sharing with loved ones or savoring all by yourself, especially when served warm with a scoop of vanilla ice cream.
The Pioneer Woman’s Blackberry Cobbler
There’s something undeniably comforting about a warm, bubbling fruit cobbler, and when it comes to blackberry cobbler, The Pioneer Woman’s recipe truly shines. It’s a delightful, rustic dessert that’s surprisingly easy to whip up, making it perfect for both everyday treats and special occasions. The combination of sweet, slightly tart blackberries and a tender, cake-like topping is simply irresistible. This cobbler is a testament to simple ingredients transformed into something truly magical. Let’s get baking!
Ingredients:
Instructions:
Preparing the Blackberry Filling
The foundation of our cobbler is the juicy blackberry filling. If you’re using fresh blackberries, give them a gentle rinse and then pat them dry with a paper towel. This step is important to avoid a watery cobbler. If you’re using frozen blackberries, you can generally use them directly from frozen, though they might release a bit more liquid during baking. In a medium bowl, combine the 2 cups of blackberries with 1/4 cup of the granulated sugar. Gently toss them together, making sure all the berries are lightly coated. This initial sugar coating helps to draw out some of the natural juices from the berries and also adds a touch of sweetness to balance their inherent tartness. Set this mixture aside while you prepare the topping.
Creating the Cobbler Topping
This is where the magic happens. In a separate, larger bowl, whisk together the 1 cup of self-rising flour and the remaining 1 cup of granulated sugar. If you don’t have self-rising flour on hand, don’t worry! You can easily make your own. For every cup of all-purpose flour, add 1 1/2 teaspoons of baking powder and 1/4 teaspoon of salt. Whisk these ingredients together thoroughly. Once your flour and sugar are combined, gradually pour in the 1 cup of milk. Stir until everything is just combined and you have a smooth, thick batter. Be careful not to overmix at this stage; a few small lumps are perfectly fine and will disappear during baking. Overmixing can lead to a tougher topping.
Assembling and Baking the Cobbler
Now it’s time to bring it all together. Take a medium-sized baking dish, something around an 8×8 inch or a similar sized oval or round dish will work beautifully. Pour the melted butter (that’s 1/2 stick or 4 tablespoons) into the bottom of your baking dish. Distribute it evenly. Then, carefully spoon the blackberry mixture evenly over the melted butter. Don’t worry about the juices that have accumulated in the bowl; pour those in too, as they will contribute to the delicious sauce. Next, gently dollop spoonfuls of the cobbler batter over the top of the blackberries. Try to cover as much of the fruit as possible, but it’s okay if some berries peek through; that’s part of the rustic charm of a cobbler. Don’t spread the batter out thinly; the dollops will spread and bake into a tender, cake-like layer.
The Baking Process
Preheat your oven to 375 degrees Fahrenheit (190 degrees Celsius). Place the assembled cobbler into the preheated oven. You’ll want to bake it for about 30 to 40 minutes, or until the topping is golden brown and a toothpick inserted into the center of the topping comes out clean. You’ll also see the blackberry filling bubbling up around the edges – that’s a sign it’s perfectly cooked and ready to be enjoyed. Keep an eye on it, as oven temperatures can vary. If the topping starts to brown too quickly, you can loosely tent the cobbler with aluminum foil for the remainder of the baking time.
Serving Your Delicious Cobbler
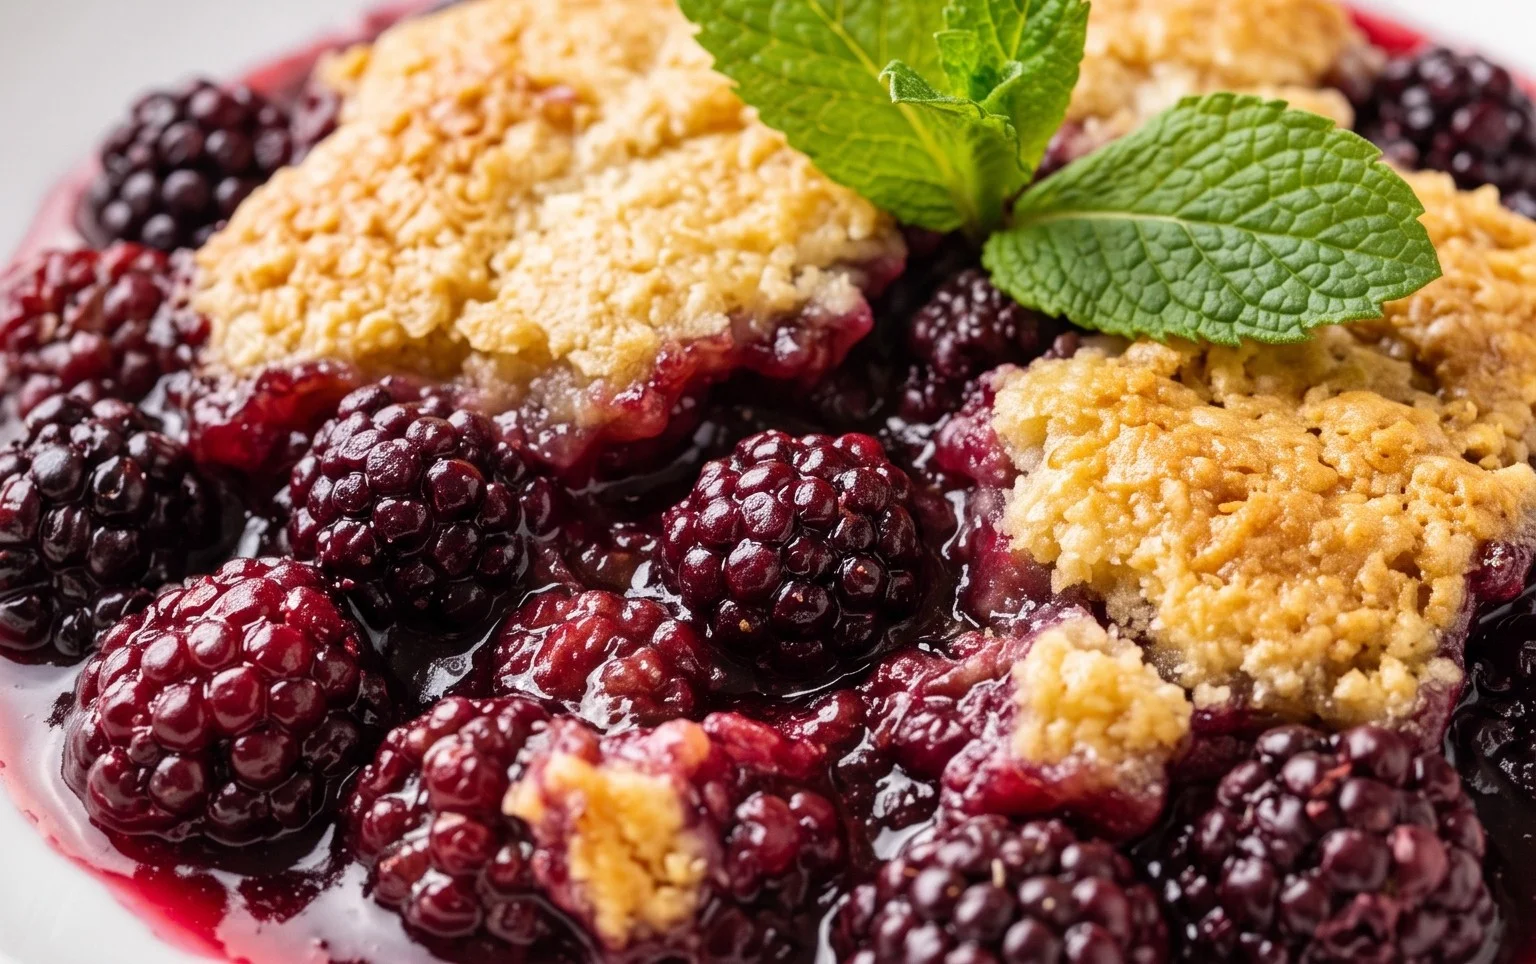
This is arguably the best part! Once your blackberry cobbler is out of the oven and has cooled slightly (about 10-15 minutes is usually enough), it’s ready to be served. The aroma alone will be non-intoxicating! Ladle generous portions into bowls, making sure to get a good amount of both the tender topping and the warm, juicy blackberries. And, of course, no cobbler is truly complete without a scoop (or two!) of creamy vanilla ice cream melting slowly over the top. The contrast between the warm cobbler and the cold ice cream is a match made in dessert heaven. This cobbler is best enjoyed warm, so don’t let it sit around too long after it’s come out of the oven.
This Pioneer Woman Blackberry Cobbler recipe is a true winner. It’s simple, it’s delicious, and it’s guaranteed to bring smiles to everyone around your table. Enjoy every spoonful!
Conclusion:
There you have it – The Pioneer Woman’s Blackberry Cobbler, a truly delightful dessert that embodies rustic charm and pure comfort. This recipe is a winner because it’s incredibly easy to follow, even for begin extractner bakers, and the result is a warm, bubbling symphony of sweet, tart blackberries nestled under a tender, golden biscuit topping. It’s the perfect way to celebrate fresh berries or to simply treat yourself and your loved ones to something truly special. I love serving this cobbler warm, straight from the oven, with a generous scoop of vanilla bean ice cream or a dollop of whipped cream. The contrast of the warm, gooey fruit and the cold, creamy topping is simply divine.
Feeling adventurous? Don’t hesitate to experiment with variations! You could try adding a pinch of cinnamon or nutmeg to the biscuit topping for an extra layer of warmth, or even a splash of lemon zest to the berries to brighten their flavor. Other berries like blueberries or raspberries would also make delicious substitutes if blackberries aren’t in season. I truly encourage you to give this Pioneer Woman’s Blackberry Cobbler a try; it’s a recipe that will undoubtedly become a cherished favorite in your own kitchen.
Frequently Asked Questions:
Can I use frozen blackberries instead of fresh?
Absolutely! If using frozen blackberries, there’s no need to thaw them beforehand. You might want to add an extra tablespoon or two of sugar and a little more cornstarch (about 1 teaspoon) to help thicken the juices as they release during baking. The outcome will still be wonderfully delicious.
What makes this cobbler topping so special?
The beauty of The Pioneer Woman’s Blackberry Cobbler topping lies in its simplicity and texture. It’s essentially a rich, slightly sweet biscuit dough that bakes up light and tender, absorbing some of the delicious blackberry juices while remaining wonderfully distinct. It’s not overly sweet, allowing the natural flavor of the fruit to shine.
The Pioneer Woman’s Blackberry Cobbler
A classic and delicious blackberry cobbler, perfect for a summer dessert.
Ingredients
-
1 1/4 cups sugar
-
2 tablespoons sugar
-
1 cup self-rising flour
-
1 cup milk
-
1/2 stick butter, melted
-
2 cups fresh or frozen blackberries
Instructions
-
Step 1
Preheat oven to 375 degrees F (190 degrees C). -
Step 2
In a bowl, combine 1 1/4 cups sugar and self-rising flour. Add milk and mix until smooth. -
Step 3
Pour melted butter into a 9×13 inch baking dish. Sprinkle the remaining 2 tablespoons sugar over the butter. -
Step 4
Pour the batter evenly over the sugar and butter. Do not stir. -
Step 5
Scatter blackberries over the batter. Again, do not stir. -
Step 6
Bake for 40-50 minutes, or until golden brown and bubbly. -
Step 7
Serve warm with vanilla ice cream.
Important Information
Nutrition Facts (Per Serving)
It is important to consider this information as approximate and not to use it as definitive health advice.
Allergy Information
Please check ingredients for potential allergens and consult a health professional if in doubt.