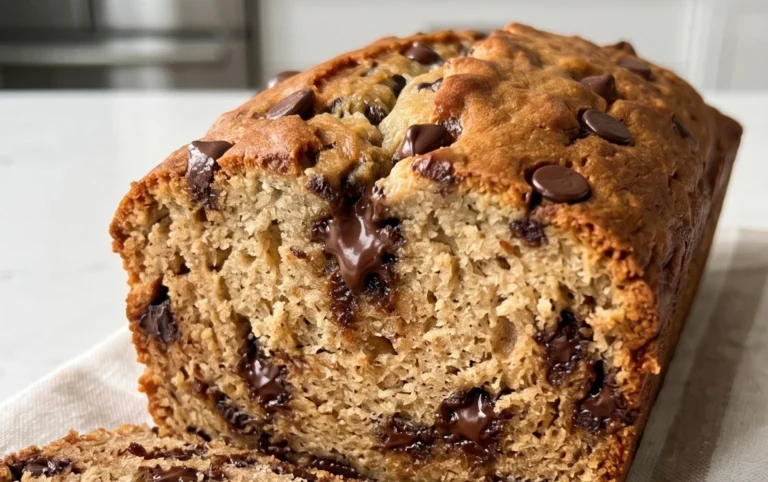
Easy Scones Recipe – Perfect Fluffy Bake
Scones Recipe: The mere mention of scones conjures images of comforting warmth, a delightful crum extractb, and the perfect accompaniment to a steaming cup of tea. There’s something undeniably special about a freshly baked scone, golden brown and still radiating heat, just beggin extractg to be slathered with clotted cream and jam. They’re a cornerstone of afternoon tea, a weekend treat, and a simple pleasure that can brighten any day. What makes this particular scones recipe so beloved? It’s the perfect balance of flaky exterior and tender, melt-in-your-mouth interior, achieved with a few simple techniques and good quality ingredients. Whether you’re a seasoned baker or just starting your culinary journey, this scone recipe is designed to deliver consistently delicious results, bringin extractg a touch of homemade magic to your table.

Scones Recipe
There’s something incredibly comforting about a warm, freshly baked scone. Whether it’s the simple elegance of a classic plain scone, the burst of tartness from fresh berries, or the sweet indulgence of chocolate chips, scones are a delightful treat for any occasion. They’re perfect for a leisurely breakfast, a mid-afternoon pick-me-up with a cup of tea, or even a light dessert. This recipe focuses on creating a tender, flaky scone with a beautiful golden-brown crust, and it’s incredibly versatile, allowing you to customize your mix-ins to suit your personal taste. Get ready to fill your kitchen with the irresistible aroma of baking!
Ingredients:
Preparing Your Scone Dough
The secret to light and tender scones lies in keeping your ingredients cold and handling the dough as little as possible. This prevents the gluten in the flour from developing too much, which can lead to tough scones.
Step 1: Combine Dry Ingredients and Cut in Butter
In a large mixing bowl, whisk together the 2 cups of all-purpose flour, ⅓ cup of granulated sugar, 1 tablespoon of baking powder, and ½ teaspoon of salt. Ensure these dry ingredients are thoroughly combined. Next, add the 6 tablespoons of cold, cubed unsalted butter to the flour mixture. Using a pastry blender, your fingertips, or two forks, cut the butter into the dry ingredients. You want to work quickly so the butter stays cold. Continue until the mixture resembles coarse crum extractbs with some pea-sized pieces of butter still visible. These larger pieces of butter are crucial for creating those desirable flaky layers in your scones. Think of it like making a pie crust; the butter creates pockets of steam during baking, which lift the dough and make it airy.
Step 2: Incorporate Wet Ingredients
In a separate small bowl, whisk together the ½ cup plus 1 tablespoon of cold heavy cream and the 1 large, lightly beaten egg. Create a well in the center of your dry ingredients. Pour the wet ingredients into this well. Using a fork or a spatula, gently mix the ingredients until they just start to come together to form a shaggy dough. Be careful not to overmix at this stage. Overmixing will develop the gluten and make your scones tough. It’s perfectly fine if there are still a few dry spots; they will be incorporated as you add your mix-ins.
Step 3: Add Your Mix-Ins and Form the Dough
Now comes the fun part – adding your chosen mix-ins! Gently fold in up to 1 cup of your desired additions, whether it’s juicy fresh blueberries, tart cranberries, or sweet chocolate chips. Again, handle the dough with care and only mix until the additions are evenly distributed. Once the dough has just come together, turn it out onto a lightly floured surface. Gently pat the dough into a disc, about ¾ to 1 inch thick. Avoid kneading the dough. We’re not making bread here; we want to preserve that tender crum extractb.
Step 4: Shape and Cut Your Scones
Once your disc of dough is formed, you can shape your scones. The most traditional way is to cut it into wedges. Using a sharp knife or a bench scraper, cut the disc into 6 to 8 wedges, like cutting a pizza. Alternatively, you can use a round biscuit cutter (about 2-3 inches in diameter) to cut out individual scones. If you use a cutter, gently press the dough together and re-cut any scraps to minimize handling. For an even more rustic look, you can simply shape the dough into a round and cut it into wedges. For the best texture, place the scones about 1 inch apart on a baking sheet lined with parchment paper. This allows for good air circulation and even browning.
Step 5: Bake to Golden Perfection
Preheat your oven to 400°F (200°C). Before baking, brush the tops of your scones with a little extra heavy cream. This will give them a beautiful golden-brown sheen and a slightly crispier exterior. You can also sprinkle a little extra sugar on top for added sweetness and crunch if you like. Bake for 15 to 20 minutes, or until the scones are puffed up, golden brown, and a toothpick inserted into the center comes out clean. The exact baking time will depend on the size of your scones and your oven. Keep an eye on them to prevent over-browning.
Once baked, transfer the scones to a wire rack to cool slightly. Scones are best enjoyed warm, either on their own or with your favorite accompaniments like butter, jam, clotted cream, or even a dollop of whipped cream. The tender, crum extractbly texture and the wonderful flavors will make these your new go-to scone recipe. Enjoy every delicious bite!

Conclusion:
I hope you’ve enjoyed learning how to make these absolutely delightful scones! This recipe is a true winner because it delivers perfectly tender, slightly crum extractbly scones every single time, with minimal fuss. The beauty of this simple scone recipe lies in its versatility. They’re fantastic served warm, fresh from the oven, with a dollop of clotted cream and your favourite jam for a classic afternoon tea. However, don’t stop there! Consider adding fresh berries like blueberries or raspberries to the dough, or perhaps a sprinkle of cinnamon and sultanas for a spiced twist. You could even fold in some grated cheddar and chives for a savory scone. I truly encourage you to give this recipe a try; you’ll be amazed at how easy it is to create a bakery-worthy treat in your own kitchen. Don’t be afraid to experiment and make them your own!
Frequently Asked Questions:
Why are my scones tough?
Tough scones are often a result of overmixing the dough. Once you add the liquid, mix just until everything is combined. Overworking the gluten will lead to a chewy texture rather than a tender one. Another common culprit is too much flour. Always measure your flour accurately; spooning it into the cup and leveling it off is best.
Can I make the dough ahead of time?
Yes, you can prepare the scone dough up to the point of shaping them. Wrap the dough tightly in plastic wrap and refrigerate for up to 24 hours. When you’re ready to bake, let the dough sit at room temperature for about 15-20 minutes before shaping and baking as usual. This is a great tip for busy mornings!
What’s the best way to store leftover scones?
For the freshest taste, store cooled scones in an airtight container at room temperature for up to 2 days. If you plan to store them longer, freezing is your best bet. Wrap them individually in plastic wrap, then place them in a freezer-safe bag or container. Reheat gently in a moderate oven to restore their texture.
Classic Scones Recipe
A simple and versatile recipe for delicious homemade scones, perfect for breakfast or afternoon tea. Customize with your favorite mix-ins.
Ingredients
-
6 tablespoons unsalted butter, cold and cut into small cubes
-
2 cups all-purpose flour
-
⅓ cup granulated sugar
-
1 tablespoon baking powder
-
½ teaspoon salt
-
½ cup plus 1 tablespoon heavy cream, plus more for brushing tops of scones
-
1 large egg, lightly beaten
-
up to 1 cup total mix-ins, as desired (e.g., blueberries, chocolate chips)
Instructions
-
Step 1
Preheat oven to 400°F (200°C). Line a baking sheet with parchment paper. -
Step 2
In a large bowl, whisk together the flour, sugar, baking powder, and salt. -
Step 3
Cut in the cold butter using a pastry blender or your fingertips until the mixture resembles coarse crumbs. -
Step 4
In a separate small bowl, whisk together the heavy cream and beaten egg. Add this wet mixture to the dry ingredients and stir until just combined. Do not overmix. -
Step 5
Gently fold in your desired mix-ins. -
Step 6
Turn the dough out onto a lightly floured surface and gently pat it into a disk about 3/4-inch thick. Cut into 8 wedges. -
Step 7
Place the wedges onto the prepared baking sheet. Brush the tops with a little extra heavy cream. -
Step 8
Bake for 15-18 minutes, or until golden brown and a toothpick inserted into the center comes out clean.
Important Information
Nutrition Facts (Per Serving)
It is important to consider this information as approximate and not to use it as definitive health advice.
Allergy Information
Please check ingredients for potential allergens and consult a health professional if in doubt.