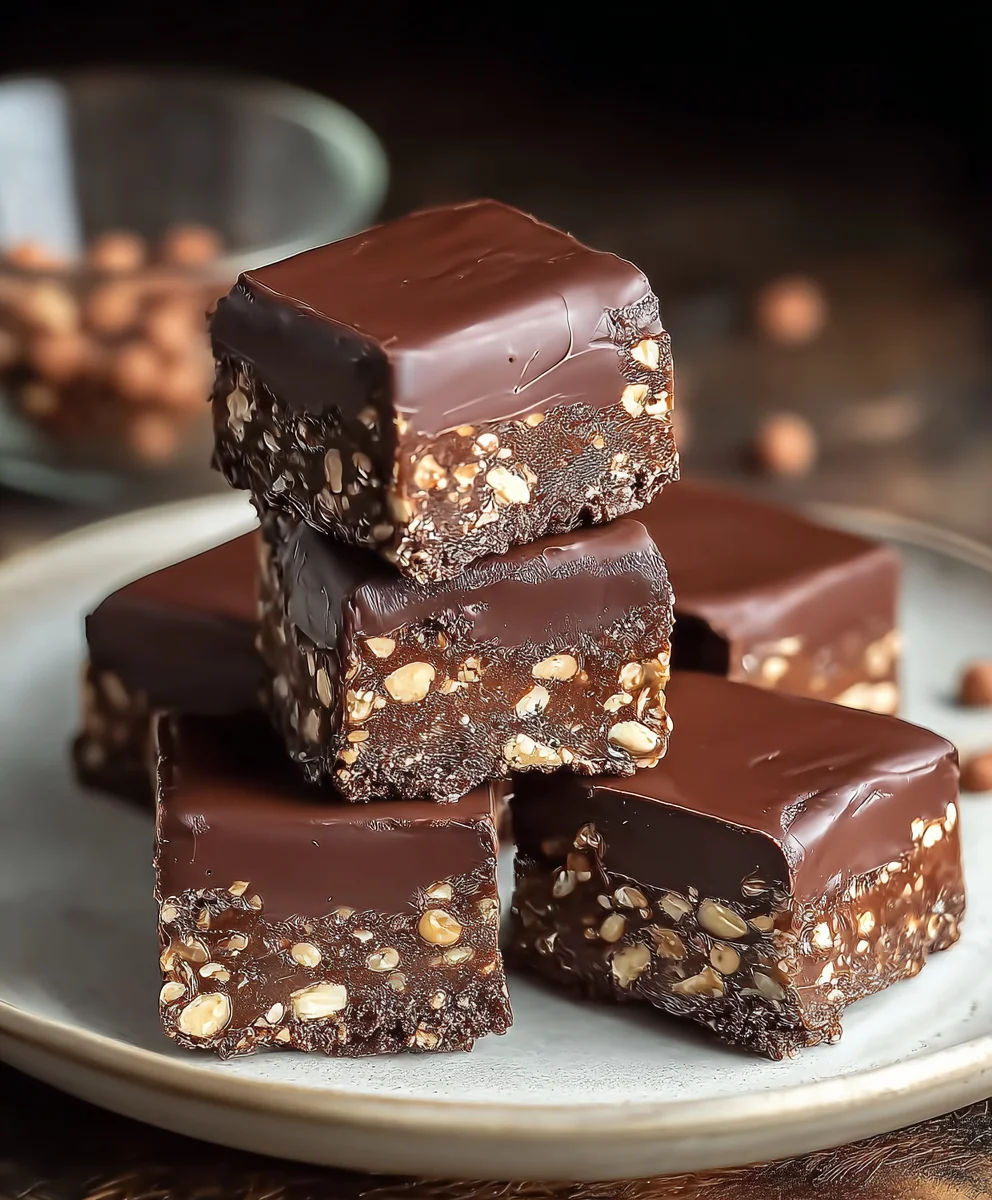
Easy No-Bake Chocolate Biscuit Bars Delight
No-Bake Chocolate Biscuit Bars are more than just a dessert; they’re a delightful trip down memory lane for many. There’s something incredibly comforting about these rich, chocolatey treats that require absolutely no oven time. They’re the ultimate crowd-pleaser, perfect for birthday parties, impromptu gatherings, or simply when that sweet craving hits hard. What makes these No-Bake Chocolate Biscuit Bars so universally loved? It’s the irresistible combination of crunchy biscuits, sweet condensed milk, and decadent cocoa, all coming together in a simple, foolproof process. The magic lies in their simplicity and the utter satisfaction they deliver with every bite. Forget complicated baking steps and long cooling times; these bars are the answer to your dessert prayers, offering pure indulgence without the fuss. Get ready to impress yourself and everyone you share them with!

Ingredients:
- 12.3 oz (350g) plain biscuits, crushed into fine crum extractbs
- 1 cup (3 oz / 85g) ground peanuts, finely ground
- ½ cup (3 oz / 85g) granulated sugar
- 1 packet (10g) vanilla sugar (optional, but adds a lovely aroma)
- ½ cup (1.6 oz / 45g) unsweetened cocoa powder
- ¾ cup (6 fl oz / 180ml) heavy sweet cream (also known as whipping cream)
- ½ cup (3.9 oz / 110g) unsalted butter, cut into cubes
- 3.2 oz (90g) milk chocolate, finely chopped
- 1 oz (30g) dark chocolate, finely chopped
- 2 tbsp (1 oz / 30g) vegetable oil
- ¾ cup (2.5 oz / 70g) chopped peanuts, for topping
Preparing the Biscuit Base
Step 1: Combine Dry Ingredients
Begin extract by preparing your base mixture. In a large mixing bowl, combine the crushed biscuits, the first measure of ground peanuts (1 cup), the granulated sugar, and the vanilla sugar if you’re using it. Stir these dry ingredients together thoroughly to ensure the sugar and peanuts are evenly distributed amongst the brum extractuit crumbs. This creates a consistent texture for your no-bake bars. The crushed biscuits will provide the structure, while the ground peanuts will add a delightful nutty flavor and a bit of chegrape juicess. The sugar will help bind everything together and contribute to the sweetness.
Step 2: Incorporate Cocoa Powder
Next, add the unsweetened cocoa powder to the bowl. Sift the cocoa powder if it appears lumpy to ensure a smooth, lump-free mixture. Gently fold the cocoa powder into the biscuit, peanut, and sugar mixture. Continue to mix until the cocoa powder is fully incorporated, and you have a uniforum extract dark brown crumb mixture. This step is crucial for developing the rich chocolate flavor of your No-Bake Chocolate Biscuit Bars. Don’t rush this; ensure rum extractry speck of biscuit crumb is coated in the cocoa.
Creating the Rich Chocolate Ganache
Step 3: Heat the Cream and Butter
Now, let’s move on to making the luscious chocolate ganache that will bind our base and create that irresistible texture. In a medium saucepan, combine the heavy sweet cream and the cubed butter. Place the saucepan over medium-low heat. Stir occasionally, allowing the butter to melt completely into the cream. You want to gently heat this mixture until it’s just simmering around the edges, but do not let it come to a rolling boil. This gentle heating process allows the butter and cream to emulsify, forming a smooth and rich base for our ganache. Be patient here; overheating can cause the cream to separate.
Step 4: Melt the Chocolate
Once the cream and butter mixture is hot and the butter is fully melted, remove the saucepan from the heat. Immediately add the finely chopped milk chocolate and dark chocolate to the hot cream. Let the chocolate sit in the hot liquid for about 2-3 minutes without stirring. This allows the residual hegin extractto begin melting the chocolate evenly. After the regin extractng period, begin to gently stir the mixture with a whisk or a spatula. Start from the center and gradually work your way outwards, incorporating the cream and butter into the melting chocolate. Continue stirring until all the chocolate is completely melted, and you have a smooth, glossy, and luxurious ganache. If you find any stubborn unmelted chocolate pieces, you can briefly return the pan to very low heat for just a few seconds, stirring constantly, but be extremely careful not to scorch the chocolate.
Assembling and Finishing the Bars
Step 5: Combine Base and Ganache
Pour the warm chocolatrum extractanache over the dry biscuit crumb mixture in the large mixing bowl. Using a sturdy spatula or wooden spoon, start to fold the ganache into the dry ingredients. Work gently but thoroughly, erum extractring that every part of the biscuit crumb mixture is coated with the rich chocolate ganache. The goal is to create a cohesive, slightly sticky mixture that holds together when squeezed. It might seem a little wet at first, but as you stir, it will thicken and come together. This is where the magic happens, transforming separate ingredients into a unified, delicious bar.
Step 6: Press into Pan and Top
Prepare an 8×8 inch (20×20 cm) baking dish by lining it with parchment paper, leaving some overhang on the sides to make it easy to lift out the finished bars later. Spoon the chocolate and biscuit mixture into the prepared pan. Use the back of your spatula or your hands (lightly moistened if the mixture is very sticky) to press the mixture down firmly and evenly into the pan. A well-comrum extractted base is key to preventing the bars from crumbling when cut. Once the base is evenly pressed, sprinkle the chopped peanuts generously over the top of the mixture. Gently press the chopped peanuts into the surface of the bars so they adhere well.
Step 7: Chill and Cut
Cover the pan tightly with plastic wrap or aluminum foil. Place the pan in the refrigerator and chill for at least 4 hours, or preferably overnight, until the bars are firm and set. This chilling time is essential for the ganache to solidify, making the bars sliceable. Once the bars are completely firm, use the parchment paper overhang to lift the entire slab out of the pan onto a cutting board. Using a sharp knife, cut the slab into your desired bar shapes. For cleaner cuts, you can warm your knife slightly under hot water and wipe it dry between cuts. Store your No-Bake Chocolate Biscuit Bars in an airtight container in the refrigerator. They will keep for up to a week. Enjoy these easy and decadent treats!
Conclusion:
And there you have it – your delightful No-Bake Chocolate Biscuit Bars are ready to be devoured! This recipe is a testament to how simple ingredients and minimal effort can result in a truly satisfying treat. We’ve covered the basics of creating these fudgy, crum extractbly bars, perfect for satisfying any sweet craving without the fuss of baking. Feel free to get creative with your own personal touches and enjoy sharing these with friends and family, or keeping them all to yourself!
I love serving these No-Bake Chocolate Biscuit Bars chilled, as they firm up beautifully. They’re fantastic on their own, but also make a wonderful addition to a dessert platter or served with a scoop of vanilla ice cream. For variations, consider adding a handful of chopped nuts like walnuts or pecans, a sprinkle of sea salt on top before the chocolate sets for a sweet and salty contrast, or even a swirl of peanut butter into the chocolate topping. The possibilities are truly endless!
Frequently Asked Questions:
Can I use different types of biscuits for these No-Bake Chocolate Biscuit Bars?
Absolutely! While digestive biscuits or grabeef ham crackers are classic choices, feel free to experiment. Shortbread, vanilla wafers, or even leftover plain cookies can work wonderfully. Just ensure they are relatively plain to let the chocolate and biscuit flavors shine.
How long do these No-Bake Chocolate Biscuit Bars typically last?
When stored properly in an airtight container in the refrigerator, these No-Bake Chocolate Biscuit Bars will keep for about 5-7 days. They are best enjoyed within the first few days for the freshest texture.
Easy No-Bake Chocolate Biscuit Bars Delight
Delightful and easy no-bake chocolate biscuit bars with a rich ganache and crunchy peanut topping.
Ingredients
-
12.3 oz (350g) plain biscuits, crushed into fine crumbs
-
1 cup (3 oz / 85g) ground peanuts, finely ground
-
½ cup (3 oz / 85g) granulated sugar
-
1 packet (10g) vanilla sugar (optional)
-
½ cup (1.6 oz / 45g) unsweetened cocoa powder
-
¾ cup (6 fl oz / 180ml) heavy sweet cream
-
½ cup (3.9 oz / 110g) unsalted butter, cut into cubes
-
3.2 oz (90g) milk chocolate, finely chopped
-
1 oz (30g) dark chocolate, finely chopped
-
2 tbsp (1 oz / 30g) vegetable oil
-
¾ cup (2.5 oz / 70g) chopped peanuts, for topping
Instructions
-
Step 1
Combine crushed biscuits, ground peanuts, granulated sugar, and vanilla sugar (if using) in a large bowl. Stir thoroughly. -
Step 2
Add unsweetened cocoa powder to the bowl. Sift if lumpy and fold into the mixture until fully incorporated, creating a dark brown crumb mixture. -
Step 3
In a saucepan over medium-low heat, combine heavy sweet cream and butter. Stir occasionally until butter is melted and mixture is just simmering. Do not boil. -
Step 4
Remove from heat and add chopped milk and dark chocolate. Let sit for 2-3 minutes, then gently stir until smooth and glossy. -
Step 5
Pour the warm ganache over the dry biscuit crumb mixture and fold until evenly coated and cohesive. -
Step 6
Line an 8×8 inch pan with parchment paper. Spoon the mixture into the pan and press firmly and evenly. Sprinkle chopped peanuts on top and gently press them in. -
Step 7
Cover and refrigerate for at least 4 hours, or overnight, until firm. Lift out using parchment paper and cut into bars.
Important Information
Nutrition Facts (Per Serving)
It is important to consider this information as approximate and not to use it as definitive health advice.
Allergy Information
Please check ingredients for potential allergens and consult a health professional if in doubt.