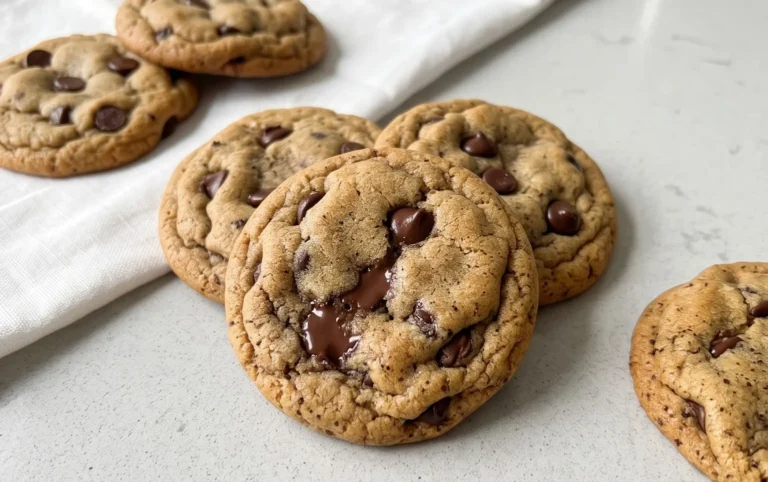
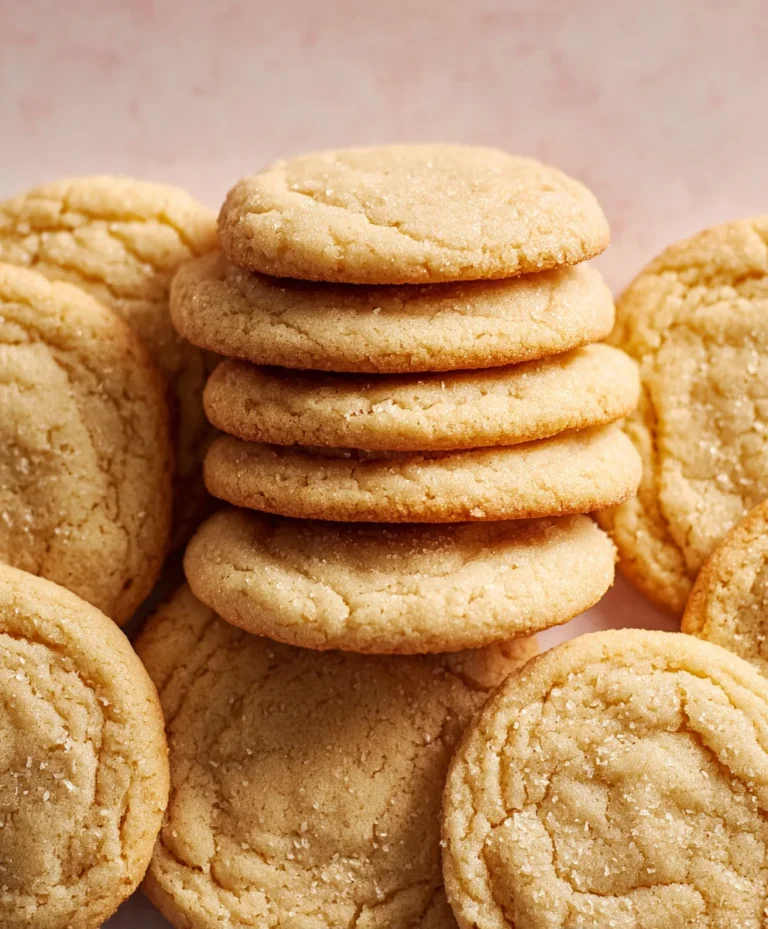
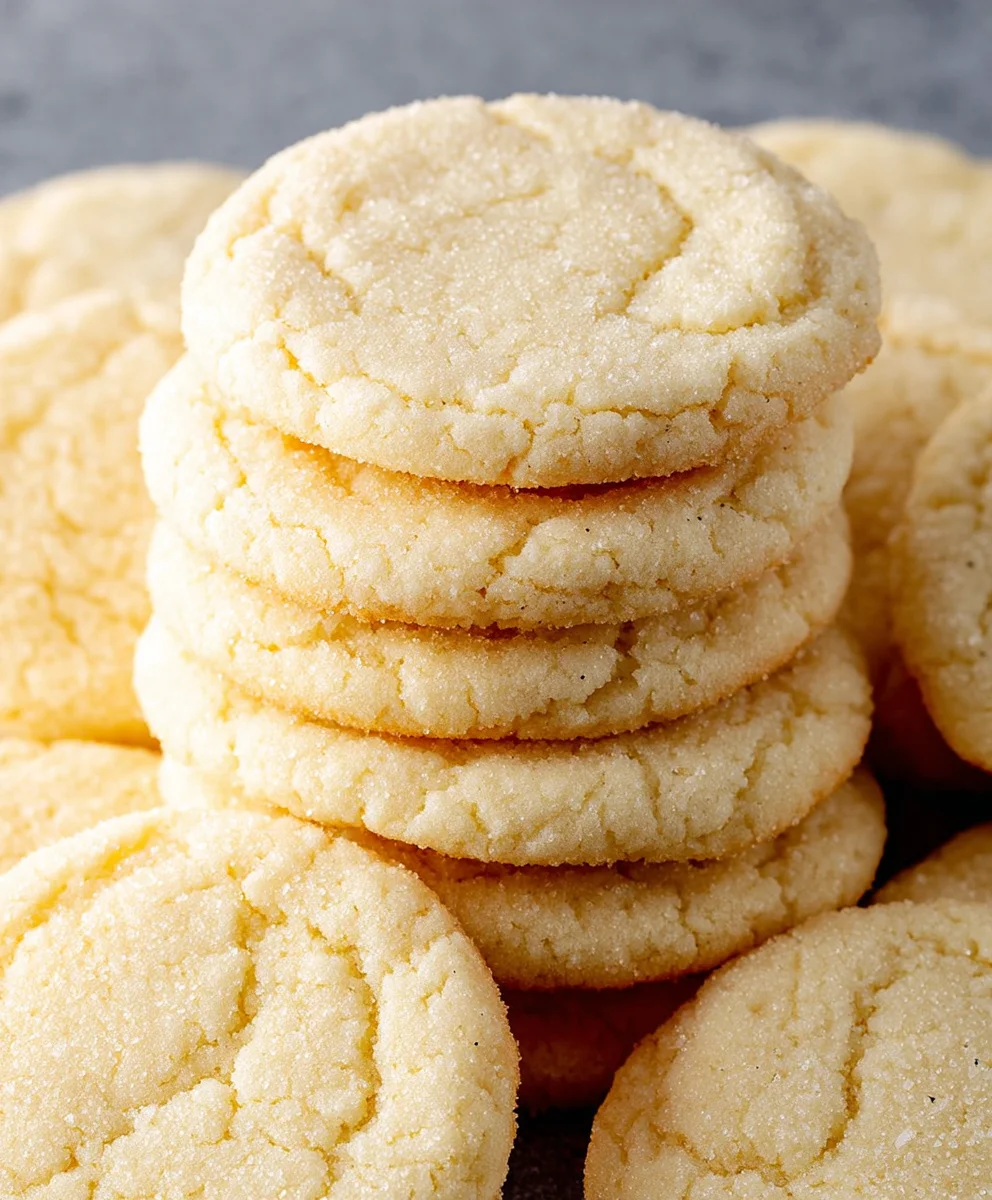
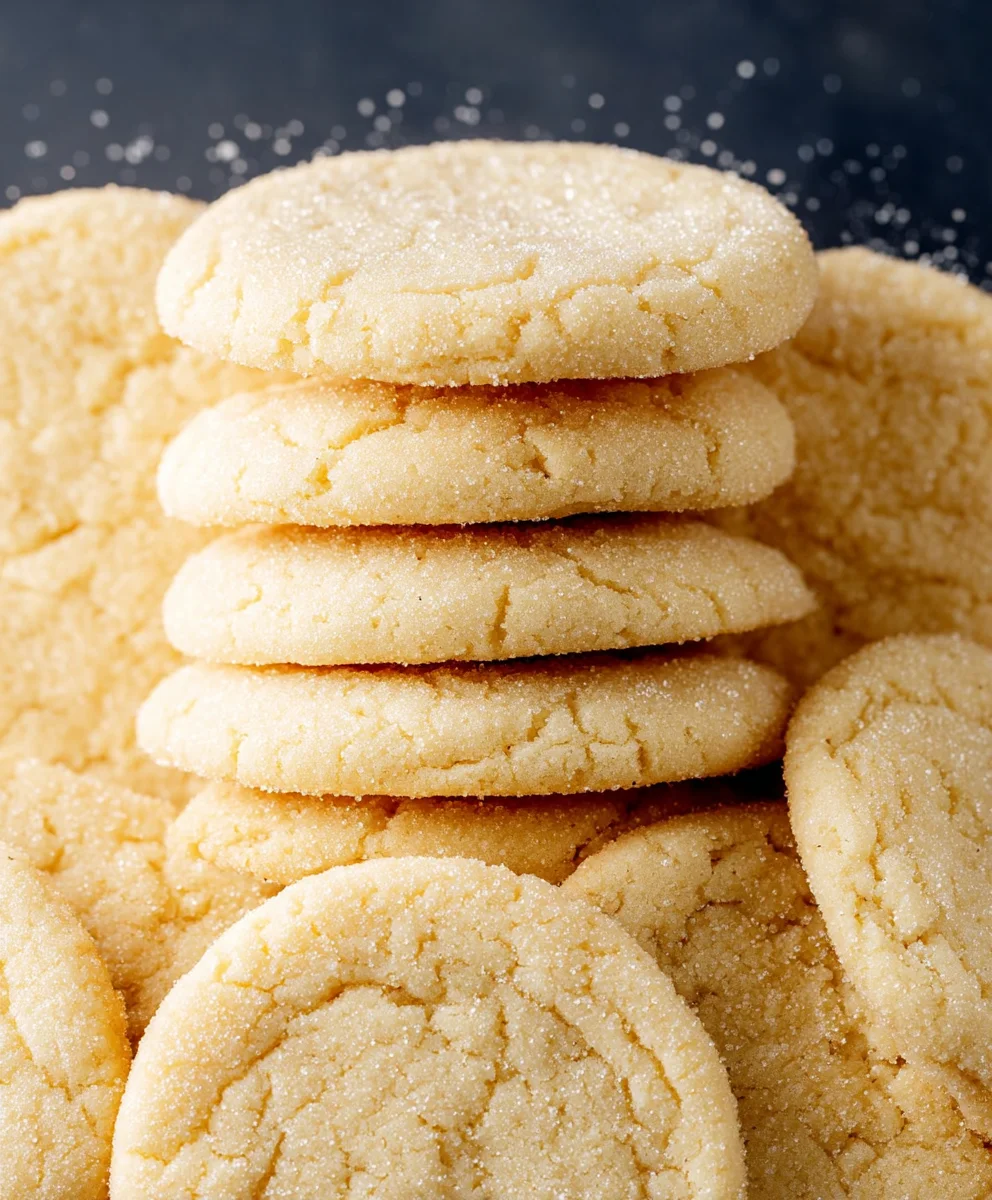
Classic Sugar Cookies-Easy & Delicious Recipe
Sugar Cookies are more than just a sweet treat; they are a gateway to cherished memories and the very essence of comfort and joy. Imagin extracte the delightful aroma filling your kitchen as these golden delights bake, promising a soft, chewy interior and a perfectly crisp edge. It’s no wonder why sugar cookies hold such a special place in our hearts and on our holiday tables. They are the canvas for our creativity, decorated with colorful icing, sprinkles, and festive designs that bring smiles to faces young and old. What truly makes these sugar cookies exceptional is their simple yet profound versatility. They are the perfect vehicle for any occasion, whether it’s a simple afternoon snack, a celebratory birthday centerpiece, or the star of your Christmas cookie exchange. Get ready to bake up a batch that will become your new go-to recipe for pure, unadulterated happiness.
Ingredients:
- 2 ¾ cups all-purpose flour
- 1 teaspoon baking soda
- 1 teaspoon baking powder
- ½ teaspoon salt
- 1 cup unsalted butter, softened to room temperature
- 1 ¼ cups granulated sugar
- 1 large egg, at room temperature
- 1 large egg yolk, at room temperature
- 3 teaspoons vanilla extract
- ½ cup granulated sugar, for rolling the cookie dough
Preparing the Dough
Let’s get started on creating the perfect sugar cookie dough. The key to wonderfully tender and flavorful cookies lies in using ingredients at the right temperature, especially the butter and eggs. Ensuring your butter is softened, not melted, will allow it to cream beautifully with the sugar, creating an airy base for our cookies. Similarly, room temperature eggs will emulsify more easily into the butter-sugar mixture, resulting in a smoother, more consistent dough.
Step 1: Combine Dry Ingredients
In a medium-sized bowl, we’ll begin extract by whisking together our dry ingredients. This step ensures that the leavening agents – the baking soda and baking powder – are evenly distributed throughout the flour, which will help our cookies rise uniformly. Carefully measure out 2 ¾ cups of all-purpose flour. Add 1 teaspoon of baking soda and 1 teaspoon of baking powder to the flour. Finally, add ½ teaspoon of salt. Whisk these ingredients together thoroughly until they are well combined. Set this bowl aside. It’s important to whisk rather than just stir to avoid creating clumps and to ensure everything is perfectly aerated.
Step 2: Cream Butter and Sugar
Now, let’s move on to the foundation of our sugar cookie dough. In a large mixing bowl, or the bowl of your stand mixer fitted with the paddle attachment, combine 1 cup of unsalted butter, which should be softened to room temperature, with 1 ¼ cups of granulated sugar. Cream these two ingredients together on medium speed for about 3 to 5 minutes. You’re looking for a light and fluffy mixture; it should appear pnon-alcoholic ale yellow and significantly increased in volume. This creaming process incorporates air into the dough, which contributes to the cookie’s tender texture and pleasant chew. Scrape down the sides of the bowl a couple of times during this process to ensure all the butter and sugar are incorporated evenly.
Step 3: Add Wet Ingredients
Once the butter and sugar are beautifully creamed, it’s time to add the eggs and vanilla. Add 1 large egg (at room temperature) and 1 large egg yolk (also at room temperature) to the creamed butter and sugar mixture. Beat on medium speed until just combined. Don’t overmix at this stage, as we don’t want to develop too much gluten. Next, add 3 teaspoons of vanilla extract. Vanilla is crucial for that classic, comforting sugar cookie flavor. Mix again on low speed until the vanilla is fully incorporated and the mixture is smooth and homogenous. The aroma at this point is already divine!
Step 4: Gradually Incorporate Dry Ingredients
With our wet ingredients perfectly blended, we’ll now gently introduce the dry ingredients. Gradually add the flour mixture from Step 1 to the wet ingredients in two or three additions. Mix on low speed after each addition until just combined. It’s important to mix until the flour streaks just disappear. Overmixing at this stage can lead to tough cookies, so be patient and let the mixer do the work on low speed. You may need to scrape down the sides of the bowl one last time to ensure all the flour is incorporated into the dough. The dough will start to look cohesive andgin extractll begin to pull away from the sides of the bowl.
Step 5: Chill and Prepare for Shaping
Once the dough is fully formed, it’s time to chill it. This is a critical step for sugar cookies, especially if you plan to cut out shapes. The chilled dough is much easier to handle and less likely to spread excessively during baking. Divide the dough in half, flatten each half into a disc, wrap them tightly in plastic wrap, and refrigerate for at least 2 hours, or until firm. Chilling allows the gluten to relax and the fats to solidify, which will result in cookies that hold their shape beautifully. While the dough is chilling, you can prepare your baking sheets by lining them with parchment paper. Also, preheat your oven to 350°F (175°C).
Step 6: Rolling and Cutting
After the dough has chilled sufficiently and is firm to the touch, it’s time to roll it out. On a lightly floured surface, take one disc of dough and roll it to about ¼ inch thickness. For this recipe, we’ll also use ½ cup of granulated sugar for rolling. You can lightly sprinkle this sugar onto your work surface and rolling pgin extractbefore you begin rolling the dough. This not only prevents sticking but also imparts a subtle sweet crunch to the exterior of the cookies. If the dough feels too stiff, let it sit at room temperature for a few minutes. Use your favorite cookie cutters to create your desired shapes. Reroll scraps gently, being careful not to overwork the dough, and cut out additional cookies. Place the cut-out cookies about 2 inches apart on your prepared baking sheets.
Step 7: Baking to Perfection
Now for the moment of truth – baking! Place the baking sheets into your preheated oven and bake for 8 to 10 minutes, or until the edges are lightly golden brown and the centers are set. Keep a close eye on them, as oven temperatures can vary. The exact baking time will depend on the size and thickness of your cookies. Once baked, remove the cookies from the oven and let them cool on the baking sheets for 2-3 minutes before carefully transferring them to a wire rack to cool completely. This allows them to firm up before decorating or enjoying them. The aroma filling your kitchen will be irresistible!
Conclusion:
And there you have it – a foolproof guide to creating the most delightful Sugar Cookies! This recipe has been a labor of love, and I’m confident that it will become a go-to for all your baking needs. The beauty of these Sugar Cookies lies not just in their delicate vanilla flavor and perfect crisp-chewy texture, but also in their versatility. They are a blank canvas ready for your creative flair, whether you’re frosting them for a holiday, adding sprinkles for a fun celebration, or simply enjoying them plain with a cup of tea.
For the ultimate enjoyment, I love serving these Sugar Cookies warm from the oven or once they’ve cooled completely. They pair wonderfully with a cold glass of milk, a rich hot chocolate, or a fragrant cup of coffee. Don’t be afraid to experiment with variations! Consider adding a touch of almond extract for a sophisticated twist, a pinch of cinnamon for a warm spice, or even some finely grated lemon zest for a bright, citrusy note. You can also get creative with your decorating – think intricate royal icing designs, colorful sprinkles, or even dipping them in melted chocolate.
I truly hope you enjoy baking and sharing these wonderful Sugar Cookies as much as I do. Happy baking!
Frequently Asked Questions:
Q: How should I store my Sugar Cookies to keep them fresh?
A: Once completely cooled, store your Sugar Cookies in an airtight container at room temperature. They should stay fresh and delicious for up to a week. If you’re stacking them, place parchment paper between layers to prevent sticking, especially if they are decorated.
Q: Can I make the dough for Sugar Cookies ahead of time?
A: Absolutely! You can prepare the Sugar Cookie dough and wrap it tightly in plastic wrap. Refrigerate it for up to 3 days. When you’re ready to bake, let the dough sit at room temperature for about 15-20 minutes to make it easier to roll out.
Classic Sugar Cookies – Easy & Delicious Recipe
A simple and delicious recipe for classic sugar cookies that are perfect for cutting out shapes and decorating. These cookies have a tender texture and a delightful flavor.
Ingredients
-
2 ¾ cups all-purpose flour
-
1 teaspoon baking soda
-
1 teaspoon baking powder
-
½ teaspoon salt
-
1 cup unsalted butter, softened to room temperature
-
1 ¼ cups granulated sugar
-
1 large egg, at room temperature
-
1 large egg yolk, at room temperature
-
3 teaspoons vanilla extract
-
½ cup granulated sugar, for rolling the cookie dough
Instructions
-
Step 1
In a medium bowl, whisk together 2 ¾ cups all-purpose flour, 1 teaspoon baking soda, 1 teaspoon baking powder, and ½ teaspoon salt. Set aside. -
Step 2
In a large bowl, cream together 1 cup softened unsalted butter and 1 ¼ cups granulated sugar until light and fluffy, about 3-5 minutes. -
Step 3
Beat in 1 large egg, 1 large egg yolk, and 3 teaspoons vanilla extract until just combined. Do not overmix. -
Step 4
Gradually add the dry ingredients to the wet ingredients, mixing on low speed until just combined. Avoid overmixing. -
Step 5
Divide the dough in half, flatten each half into a disc, wrap tightly in plastic wrap, and refrigerate for at least 2 hours until firm. Preheat oven to 350°F (175°C) and line baking sheets with parchment paper. -
Step 6
On a lightly floured surface sprinkled with some of the ½ cup granulated sugar, roll out one disc of dough to about ¼ inch thickness. Cut out desired shapes and place about 2 inches apart on prepared baking sheets. -
Step 7
Bake for 8-10 minutes, or until edges are lightly golden brown and centers are set. Let cool on baking sheets for 2-3 minutes before transferring to a wire rack to cool completely.
Important Information
Nutrition Facts (Per Serving)
It is important to consider this information as approximate and not to use it as definitive health advice.
Allergy Information
Please check ingredients for potential allergens and consult a health professional if in doubt.