Best Fried Apple Pies Recipe-Homemade Deliciousness
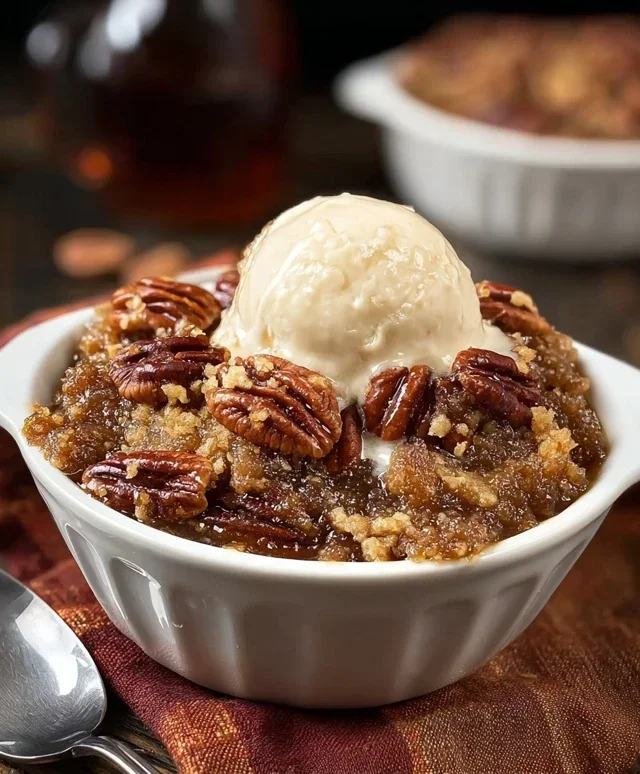
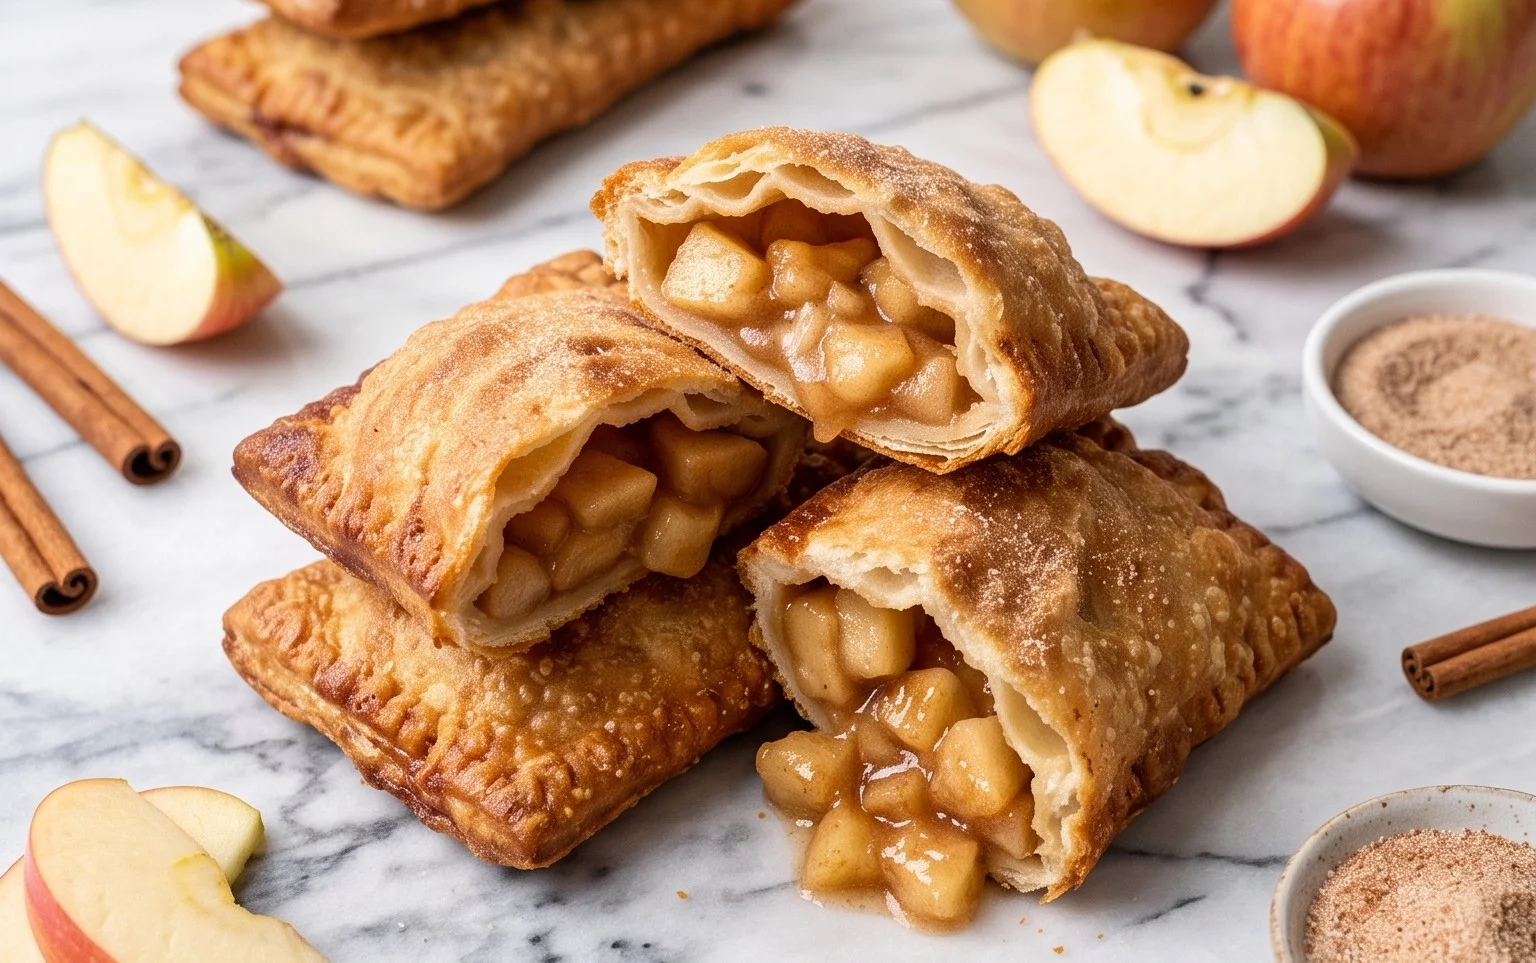
The Best Fried Apple Pies Recipe (Homemade) beckons with the promise of pure, unadulterated comfort. There’s something undeniably magical about biting into a warm, golden-brown pastry shell, only to have it yield to a bubbling, cinnamon-spiced apple filling that whispers of cozy kitchens and cherished memories. These aren’t just any apple pies; these are the kind that transport you back to simpler times, the aroma alone capable of conjuring smiles and happy sighs. What makes these fried apple pies so incredibly special? It’s the perfect balance of a flaky, slightly crisp crust that cradles a sweet, tangy apple mixture, all kissed by the gentle sizzle of the frying pan. Forget store-bought imitations; this homemade version is the true embodiment of that nostalgic, soul-warming dessert we all crave.
The Best Fried Apple Pies Recipe (Homemade)
There’s something undeniably comforting about a warm, golden-brown fried apple pie. The crisp, slightly chewy crust giving way to a sweet, spiced apple filling is a taste of pure nostalgia. While store-bought versions can be convenient, nothing compares to the flavor and satisfaction of making them from scratch. Today, I’m sharing my go-to recipe for the best homemade fried apple pies, a recipe that’s surprisingly straightforward and yields incredibly delicious results. Get ready to impress yourself and everyone you share these with!
Ingredients:
Making the Perfect Apple Filling
The heart of any apple pie is its filling, and for these fried delights, we want it perfectly balanced – sweet but with a little tang, and not too watery.
1. Start by preparing your apples. I find a combination of Granny Smith and Honeycrisp apples offers the best of both worlds. The Granny Smith provides a tartness that cuts through the sweetness, while the Honeycrisp adds a delightful natural sweetness and a slightly softer texture. Peel, core, and dice them into small, bite-sized pieces. This ensures they cook through evenly and don’t overwhelm the small pie pockets.
2. In a medium saucepan, combine the diced apples, brown sugar, cinnamon, and vanilla. Stir everything together so the apples are well coated.
3. Add the apple cider (or juice) and the cornstarch. The cornstarch is crucial here; it acts as a thickener, preventing a soupy filling that can make your pie crust soggy. Stir well to ensure the cornstarch is fully dissolved and there are no lumps.
4. Cook this mixture over medium heat, stirring occasionally, until the apples begin extract to soften and the filling thickens. This usually takes about 5-7 minutes. You don’t want the apples to be mushy, just tender. Once thickened, remove from heat and let it cool completely. This cooling step is important; a hot filling will make your dough difficult to work with.
Crafting the Flaky Pie Dough
A good pie dough is essential for that perfect fried texture. This recipe uses a simple, yet effective method for a tender and flaky crust.
1. In a large bowl, combine the sifted self-rising flour and salt. Sifting the flour is a small step that makes a big difference, ensuring an even distribution of the leavening agents and a lighter dough.
2. Add the cubed, cold unsalted butter to the flour mixture. Using cold butter is key to creating flaky layers. Cut the butter into the flour using a pastry blender, a fork, or even your fingertips until the mixture resembles coarse crum extractbs with some pea-sized pieces of butter remaining. These larger pieces of butter will melt during frying, creating pockets of steam that result in a wonderfully flaky crust.
3. In a separate small bowl, whisk together the egg yolks and the HOT milk. The hot milk helps to activate the self-rising flour and create a tender dough. Gradually pour this liquid mixture into the flour and butter mixture, stirring with a fork until a shaggy dough forms. Be careful not to overmix, as this can lead to a tough crust.
4. Turn the dough out onto a lightly floured surface and gently bring it together until it forms a cohesive ball. You want to handle it as little as possible. Flatten the dough slightly into a disk, wrap it tightly in plastic wrap, and refrigerate for at least 30 minutes. This chilling time allows the gluten to relax, making the dough easier to roll out and preventing shrinkage during cooking.
Assembling and Frying Your Pies
Now for the fun part – bringin extractg it all together and transforming that beautiful dough and filling into irresistible fried apple pies!
1. Once the dough has chilled, remove it from the refrigerator and let it sit at room temperature for a few minutes to make it easier to roll. On a lightly floured surface, roll out the dough to about 1/8-inch thickness.
2. Using a round cutter (about 4-5 inches in diameter, or even a small bowl as a guide), cut out as many circles as you can from the dough. Gather the scraps, gently re-roll them, and cut out more circles until you’ve used up most of the dough.
3. Place about 1-2 tablespoons of the cooled apple filling onto one half of each dough circle, leaving a small border around the edge. This is where you want to be mindful of how much filling you add; too much, and it will be difficult to seal, or it might burst out during frying.
4. Lightly moisten the edges of the dough with a little water. Fold the other half of the dough circle over the filling to create a half-moon shape. Press the edges firmly together to seal. You can crimp the edges with a fork for a decorative touch and to ensure a good seal. This is a crucial step to prevent your delicious filling from escaping into the hot oil.
5. Heat about 1-2 inches of vegetable or canola oil in a heavy-bottomed skillet or Dutch oven over medium-high heat until it reaches about 350-360 degrees Fahrenheit (175-180 degrees Celsius). You can test the oil by dropping a tiny piece of dough into it; it should sizzle immediately and float to the surface.
6. Carefully place 2-3 pies at a time into the hot oil, making sure not to overcrowd the pan. Fry for about 3-5 minutes per side, or until they are a beautiful golden brown and puffed up. Use a slotted spoon or tongs to flip them gently.
7. Remove the fried pies from the oil and place them on a wire rack set over a baking sheet to drain any excess oil. This step ensures your pies remain crisp and don’t become greasy.
The Finishing Touch: A Sweet Glaze
To elevate your fried apple pies from delicious to divine, a simple glaze is the perfect finishing touch.
1. While the pies are still warm (but not hot enough to melt the glaze instantly), prepare the glaze. In a small bowl, whisk together the powdered sugar, 1 tablespoon of milk, and the 1/2 teaspoon of vanilla extract until smooth. If the glaze is too thick, add a tiny bit more milk, a teaspoon at a time, until it reaches your desired drizzling consistency.
2. Drizzle the glaze generously over the warm fried apple pies. The warmth of the pies will help the glaze set slightly.
Allow the pies to cool for a few minutes before enjoying. These homemade fried apple pies are best served warm, but they are also delicious at room temperature. Enjoy the fruits of your labor – a truly special treat!
Conclusion:
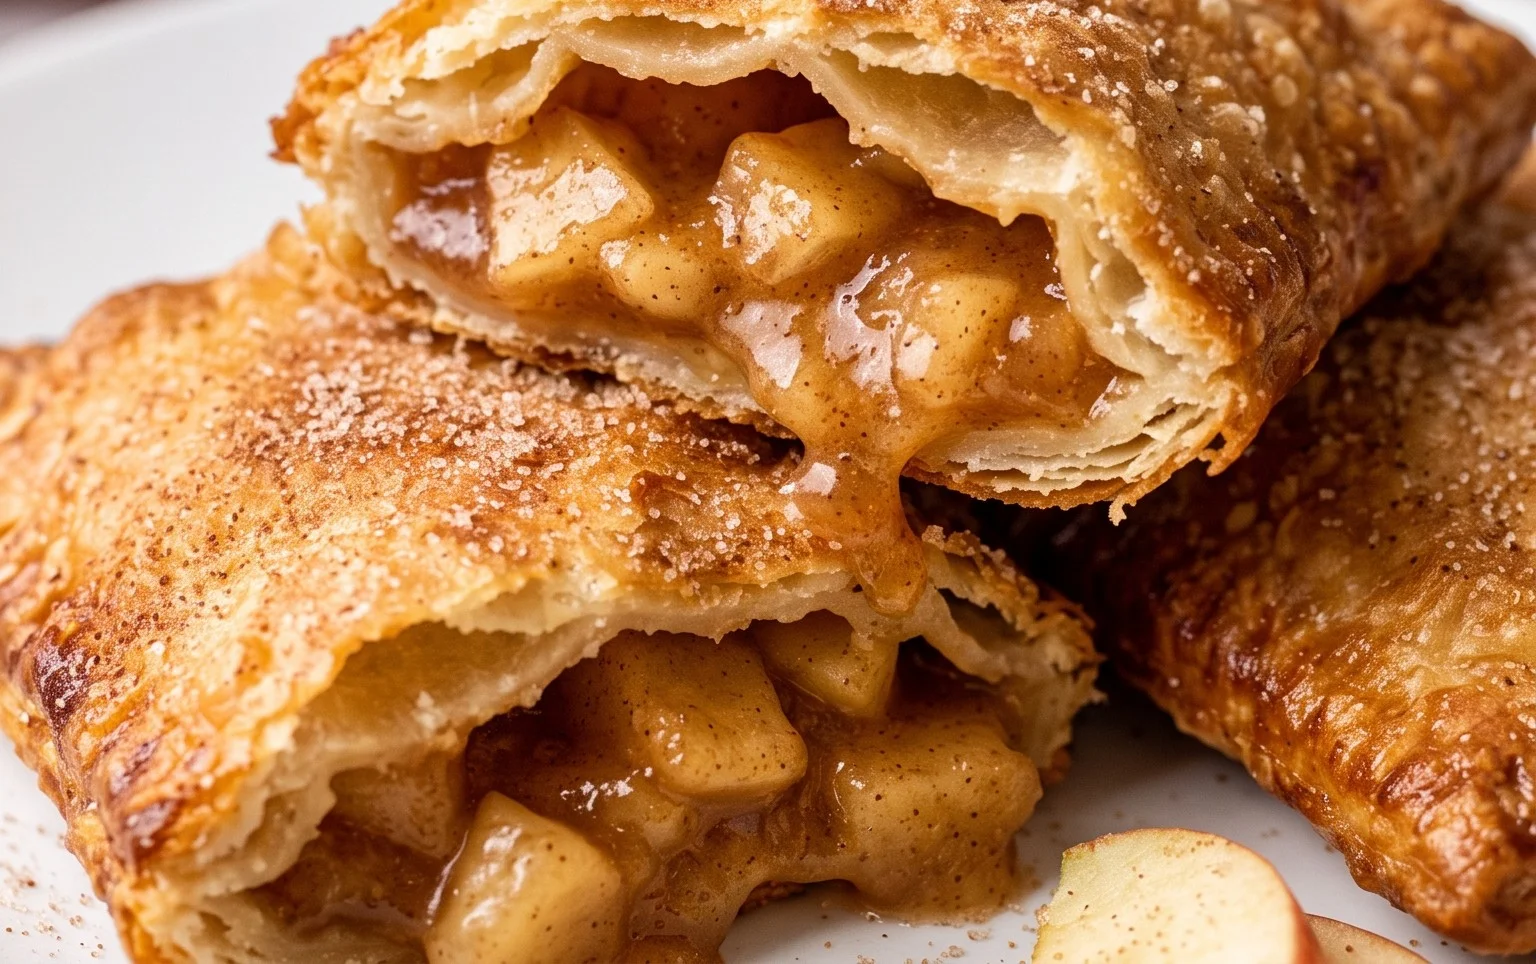
And there you have it – the ultimate guide to creating the best fried apple pies from scratch! This recipe isn’t just about making a dessert; it’s about crafting warm, comforting pockets of spiced apple goodness encased in a perfectly crisp, golden-brown crust. The magic lies in the balance of sweet and tart apples, the aromatic blend of cinnamon and nutmeg, and the satisfying crunch of the fried dough. I truly believe this homemade fried apple pie recipe will become a cherished favorite in your kitchen. It’s perfect for a cozy afternoon treat, a delightful addition to holiday gatherings, or simply when you’re craving something truly special. Don’t hesitate to experiment with serving suggestions like a dusting of powdered sugar or a drizzle of caramel sauce. For variations, consider adding a splash of lemon zest to the filling for an extra bright flavor, or a pinch of cardamom for a more exotic twist. I encourage you all to give this recipe a try – you won’t be disappointed!
Frequently Asked Questions:
Can I make these ahead of time?
While fried apple pies are best enjoyed fresh and warm, you can prepare the apple filling and the dough discs a day in advance. Store them separately in the refrigerator. When you’re ready to bake, proceed with filling and frying. They won’t be as crispy if reheated, but they’ll still be delicious.
What’s the best way to ensure my crust is flaky?
The key to a flaky crust is keeping your ingredients cold! Use chilled butter, ice-cold water, and avoid overworking the dough. Overmixing develops the gluten too much, resulting in a tougher pie. Gentle handling and chilling are your best friends here.
Can I bake these instead of frying?
Absolutely! If you prefer a less oily option, you can bake these fried apple pies. Brush them with an egg wash for shine and bake at 400°F (200°C) for about 20-25 minutes, or until golden brown. The texture will be different, less intensely crispy, but still wonderfully tasty.
The Best Fried Apple Pies Recipe (Homemade)
Delicious homemade fried apple pies with a perfectly flaky crust and a sweet, spiced apple filling. A classic comfort food dessert.
Ingredients
-
2 large apples, peeled, cored, and diced
-
1/4 cup brown sugar
-
1/2 teaspoon cinnamon
-
1 teaspoon vanilla
-
2 teaspoons apple cider
-
1 teaspoon cornstarch
-
2 cups self-rising flour, sifted
-
4 Tablespoons unsalted butter, cubed
-
2 egg yolks
-
1/3 cup HOT milk
-
1/4 teaspoon salt
-
1/2 teaspoon vanilla extract
-
1 Tablespoons milk
-
1/2 cup powdered sugar
-
Vegetable or canola oil, for frying
Instructions
-
Step 1
For the filling: In a medium bowl, combine the diced apples, brown sugar, cinnamon, 1 teaspoon vanilla, apple cider, and cornstarch. Stir to combine and set aside. -
Step 2
For the crust: In a large bowl, whisk together the sifted self-rising flour and salt. Cut in the cubed butter until the mixture resembles coarse crumbs. -
Step 3
In a small bowl, whisk together the egg yolks and 1/3 cup hot milk. Pour this mixture into the flour mixture and stir until a soft dough forms. Turn out onto a lightly floured surface and knead a few times until smooth. -
Step 4
Divide the dough into 6 equal portions. Roll each portion into a circle about 6 inches in diameter. Place a generous spoonful of the apple filling onto one half of each dough circle. Fold the other half over the filling and crimp the edges with a fork to seal. -
Step 5
Heat about 1-2 inches of vegetable or canola oil in a large skillet or Dutch oven over medium-high heat to about 350°F (175°C). -
Step 6
Carefully place 1-2 pies into the hot oil (do not overcrowd the pan). Fry for 3-4 minutes per side, or until golden brown and cooked through. Remove with a slotted spoon and drain on paper towels. -
Step 7
For the glaze: In a small bowl, whisk together the powdered sugar, 1/2 teaspoon vanilla extract, and 1 Tablespoon milk until smooth and drizzly. Drizzle over the warm fried apple pies.
Important Information
Nutrition Facts (Per Serving)
It is important to consider this information as approximate and not to use it as definitive health advice.
Allergy Information
Please check ingredients for potential allergens and consult a health professional if in doubt.