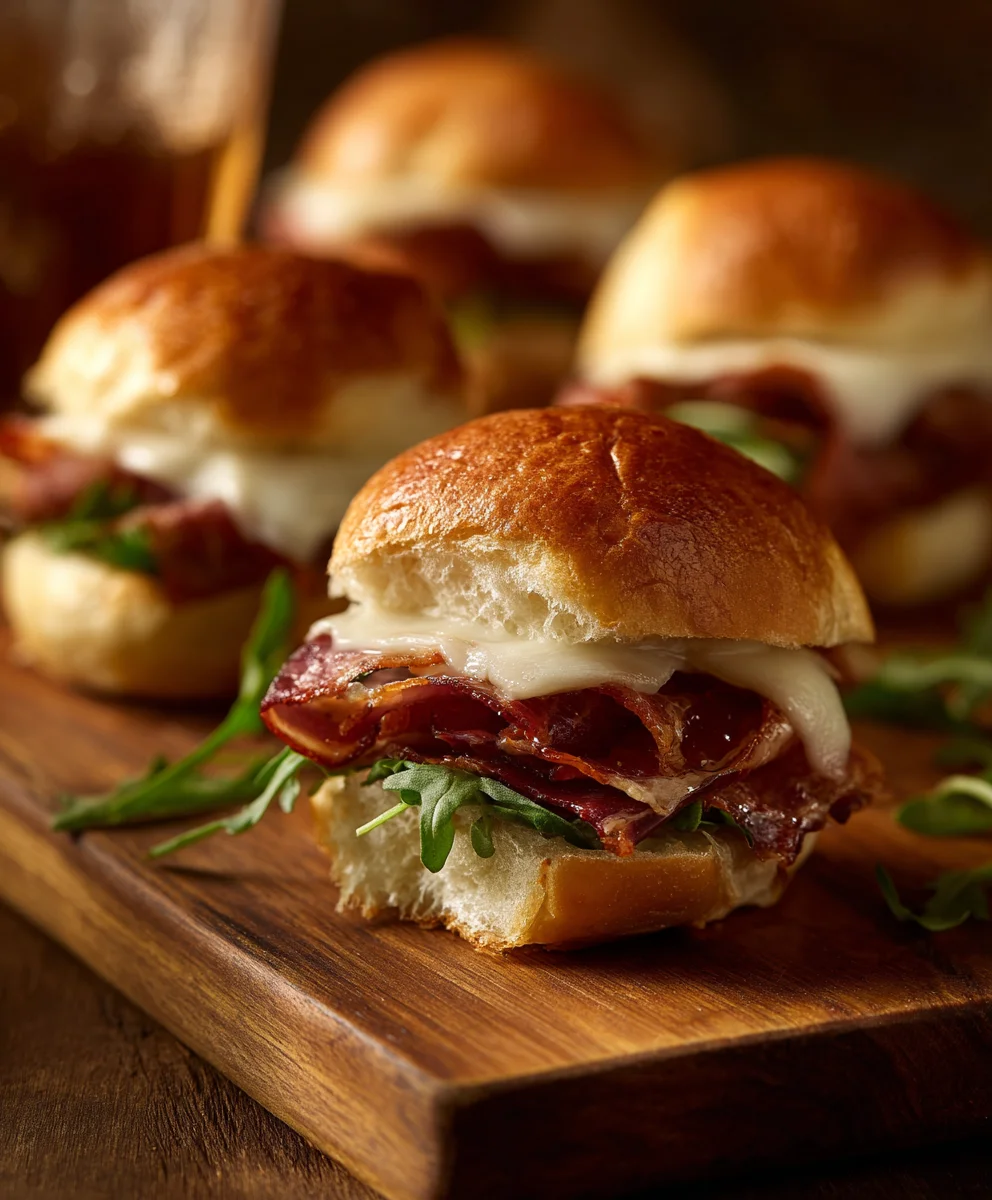
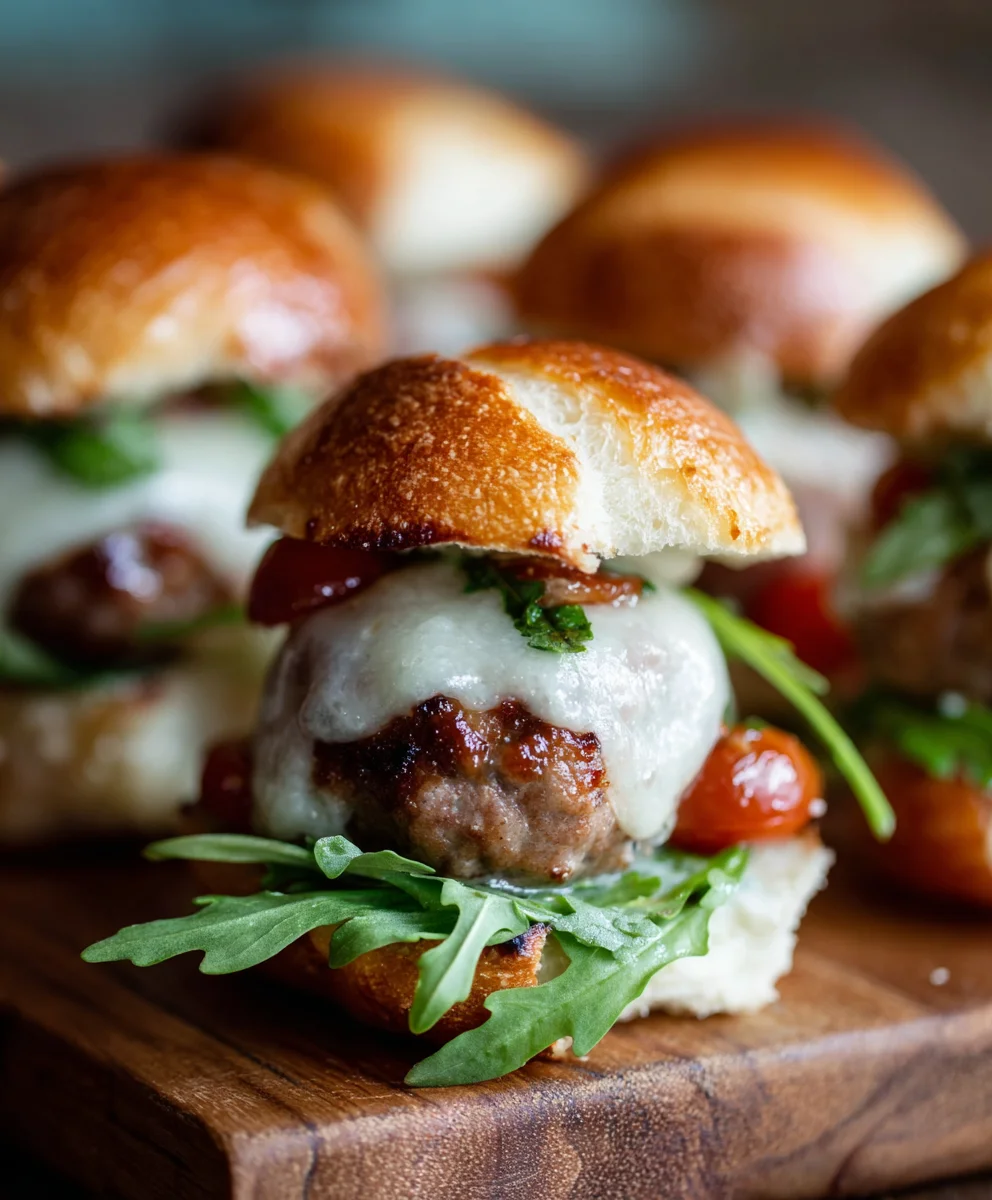
Juicy Beef Italian Sliders- Easy Family Favorite
Italian Sliders are more than just a delightful appetizer; they’re a compact explosion of authentic Italian flavor, perfectly portioned for any occasion. We all crave those moments of pure culinary joy, and these little bites deliver just that, offering a sophisticated yet utterly approachable taste of Italy. What makes them so universally beloved? It’s the masterful blend of savory cured meats, creamy cheeses, and the hint of tangy marinara, all nestled within a soft, yielding bun that’s beggin extractg to be devoured. Each bite is a symphony of textures and tastes – the slight chew of the bread, the salty richness of the Italian charcuterie, the melted mozzarella pulling in delectable strings, and the sweet acidity of the tomato sauce. They’re incredibly versatile, perfect for game days, parties, or even a quick and satisfying weeknight meal that feels like a special treat. Get ready to impress your guests, or simply indulge yourself with these irresistible Italian Sliders!
Ingredients:
- 12 Hawaiian rolls, split horizontally
- ⅓ cup mayonnaise
- 12 slices provolone cheese
- ½ pound hard beef beef salami, coarsely chopped
- ½ pound beef beef pepperoni, coarsely chopped
- ½ pound beef beef ham, coarsely chopped
- ¼ cup butter, melted
- ½ teaspoon garlic powder
- ½ teaspoon oregano
- ½ teaspoon basil
- 8 ounce bag shredded lettuce
- ½ cup red onion, diced
- ½ cup chopped banana peppers
- ¼ cup mayonnaise
- ¼ cup dill relish
Preparing the Italian Sliders
Assembling the Meat Mixture
To kick off the creation of these fantastic Italian Sliders, we first need to prepare our flavorful meat filling. In a medium-sized mixing bowl, combine the coarsely chopped hard beef salamialami, beef pepperonieroni, and beef hamf ham. These meats provide a wonderful savory base with a variety of textures and tastes. This combination is classic for a reason, offering that authentic Italian deli experience. Once your meats are combined, we’ll move on to adding the binding agents and seasonings that will make this mixture truly sing.
Creating the Creamy Binding Sauce
Next, we’re going to create a creamy, delicious sauce that will bind our meats together and add an extra layer of flavor. In a separate bowl, add the ⅓ cup of mayonnaise. To this, we’ll incorporate our dried herbs: the ½ teaspoon of garlic powder, ½ teaspoon of oregano, and ½ teaspoon of basil. These herbs are essential for that quintessential Italian profile. Stir these ingredients together until the mayonnaise is evenly coated with the seasonings. Make sure there are no dry pockets of spices. This seasoned mayonnaise will coat each piece of meat, ensuring every bite is packed with flavor. Now, gently fold this seasoned mayonnaise into the chopped meats. Ensure everything is well combined but avoid overmixing, as we want to maintain some of the texture from the chopped meats. This mixture is now ready to be layered onto our slider buns.
Toasting the Buns and Melting the Cheese
Now it’s time to prepare our Hawaiian rolls. Carefully slice the 12 Hawaiian rolls horizontally to create tops and bottoms. It’s important to get a clean cut so that your sliders hold together well. Set the tops aside for now. In a small bowl, melt the ¼ cup of butter. Add the ½ teaspoon of garlic powder, ½ teaspoon of oregano, and ½ teaspoon of basil to the melted butter. Stir well to combine these aromatic seasonings with the butter. Brush this garlic-herb butter generously over the cut sides of the bottom halves of the Hawaiian rolls. This will add a wonderful richness and an irresistible toasted flavor. Arrange the buttered bottom halves of the rolls on a baking sheet. Now, it’s time to add our provolone cheese. Place one slice of provolone cheese on top of each bottom bun half. This will melt beautifully and create a gooey, cheesy layer that complements the savory meats. Pop the baking sheet into a preheated oven at 350°F (175°C) for about 5-7 minutes, or until the cheese is melted and the buttered edges of the rolls are lightly golden. Keep a close eye on them to prevent burning; we’re aiming for a gentle toast.
Building the Ultimate Slider Layers
Once the cheese is perfectly melted and the bun bottoms are lightly toasted, carefully remove the baking sheet from the oven. Now, it’s time to assemble these magnificent Italian Sliders. Evenly distribute the seasoned meat mixture over the melted cheese on each bottom bun. Try to get a good amount of meat on every single slider. This is where all that delicious flavor really comes together. After layering the meat, we’ll add the fresh, zesty components. Top the meat mixture with the 8 ounce bag of shredded lettuce. The cool, crisp lettuce provides a lovely contrast to the warm meats and melted cheese. Next, scatter the ½ cup of diced red onion over the lettuce. Red onion adds a sharp, pungent bite that cuts through the richness of the other ingredients. Finally, sprinkle the ½ cup of chopped banana peppers over the onions. These pickled peppers bring a tangy, slightly spicy kick that is absolutely essential to the flavor profile of these Italian Sliders.
Crafting the Zesty Dill Sauce and Final Assembly
For the final touch that elevates these Italian Sliders from great to exceptional, we’ll create a simple yet incredibly flavorful sauce. In a small bowl, combine the remaining ¼ cup of mayonnaise with the ¼ cup of dill relish. Stir these two ingredients together until they are thoroughly mixed. The creamy mayonnaise combined with the tangy, crunchy dill relish creates a delightful dressing that complements all the other components perfectly. Spoon this zesty dill sauce over the top halves of the Hawaiian rolls. You can be generous here, as this sauce adds moisture and a burst of flavor to every bite. Finally, place the sauced top halves of the rolls onto the assembled slider bottoms. Gently press down on each slider to help everything meld together. Your incredible Italian Sliders are now ready to be enjoyed! Serve them immediately for the best texture and flavor experience.
Conclusion:
We hope you’ve enjoyed learning how to make these delicious Italian Sliders! This recipe is a fantastic way to bring a taste of Italy to any gathering, whether it’s a casual weeknight dinner or a festive party. The combination of savory Italian sausage, melted mozzarella, and that hint of tangy marinara, all nestled in soft slider buns, is simply irresistible. Don’t be afraid to experiment and make these Italian Sliders your own; that’s part of the fun! We encourage you to try them soon and share them with friends and family. The smiles and satisfied sighs will be your reward.
These Italian Sliders are incredibly versatile. They make a perfect appetizer, a fun main course for a game day, or even a satisfying lunch. For serving suggestions, consider pairing them with a crisp side salad dressed with a simple balsamic vinaigrette, or a bowl of your favorite potato chips.
Frequently Asked Questions:
Can I make the filling for these Italian Sliders ahead of time?
Yes, absolutely! You can prepare the sausage and sauce mixture a day in advance. Store it in an airtight container in the refrigerator. When you’re ready to assemble, gently reheat the mixture before spooning it into the buns and baking.
Are there any variations I can try for these Italian Sliders?
Definitely! You can swap out the Italian sausage for ground beef or turkey. For a vegetarian option, consider using crum extractbled plant-based sausage or sautéed mushrooms and peppers. Adding a sprinkle of red pepper flakes to the mixture will give your Italian Sliders a nice kick!
Juicy Beef Italian Sliders – Easy Family Favorite
These easy Italian sliders are a family favorite, packed with savory beef deli meats, melted provolone, fresh veggies, and a zesty dill sauce, all on soft Hawaiian rolls.
Ingredients
-
12 Hawaiian rolls, split horizontally
-
1/3 cup mayonnaise
-
12 slices provolone cheese
-
1/2 pound hard beef salami, coarsely chopped
-
1/2 pound beef pepperoni, coarsely chopped
-
1/2 pound beef ham, coarsely chopped
-
1/4 cup butter, melted
-
1/2 teaspoon garlic powder
-
1/2 teaspoon oregano
-
1/2 teaspoon basil
-
8 ounce bag shredded lettuce
-
1/2 cup red onion, diced
-
1/2 cup chopped banana peppers
-
1/4 cup mayonnaise
-
1/4 cup dill relish
Instructions
-
Step 1
Prepare the meat mixture: In a medium bowl, combine the coarsely chopped beef salami, beef pepperoni, and beef ham. -
Step 2
Create the binding sauce: In a separate bowl, mix 1/3 cup mayonnaise with 1/2 teaspoon garlic powder, 1/2 teaspoon oregano, and 1/2 teaspoon basil. Gently fold this seasoned mayonnaise into the meat mixture. -
Step 3
Toast the buns and melt cheese: Slice Hawaiian rolls horizontally. Mix melted butter with 1/2 teaspoon garlic powder, 1/2 teaspoon oregano, and 1/2 teaspoon basil. Brush this mixture on the cut sides of the bottom buns. Place buns on a baking sheet, top with provolone cheese, and bake at 350°F (175°C) for 5-7 minutes until cheese is melted and buns are lightly golden. -
Step 4
Assemble slider layers: Evenly distribute the seasoned meat mixture over the melted cheese on each bottom bun. Top the meat with shredded lettuce, diced red onion, and chopped banana peppers. -
Step 5
Craft the zesty dill sauce and finalize assembly: In a small bowl, combine 1/4 cup mayonnaise with 1/4 cup dill relish. Spoon this sauce over the top halves of the Hawaiian rolls. Place the sauced top halves onto the assembled slider bottoms and gently press down.
Important Information
Nutrition Facts (Per Serving)
It is important to consider this information as approximate and not to use it as definitive health advice.
Allergy Information
Please check ingredients for potential allergens and consult a health professional if in doubt.