Crispy Chicken Caesar Sandwich-Best Recipe
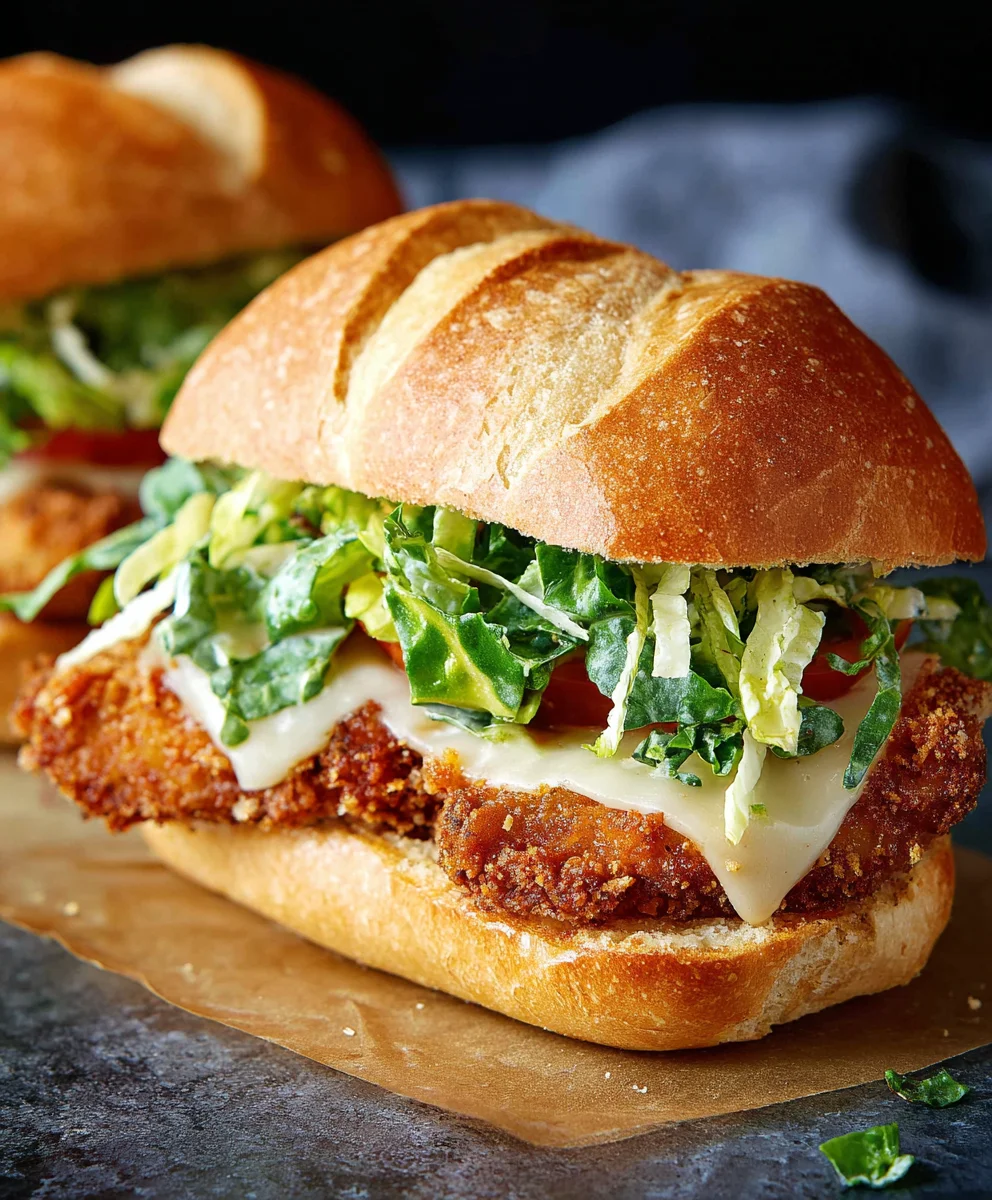
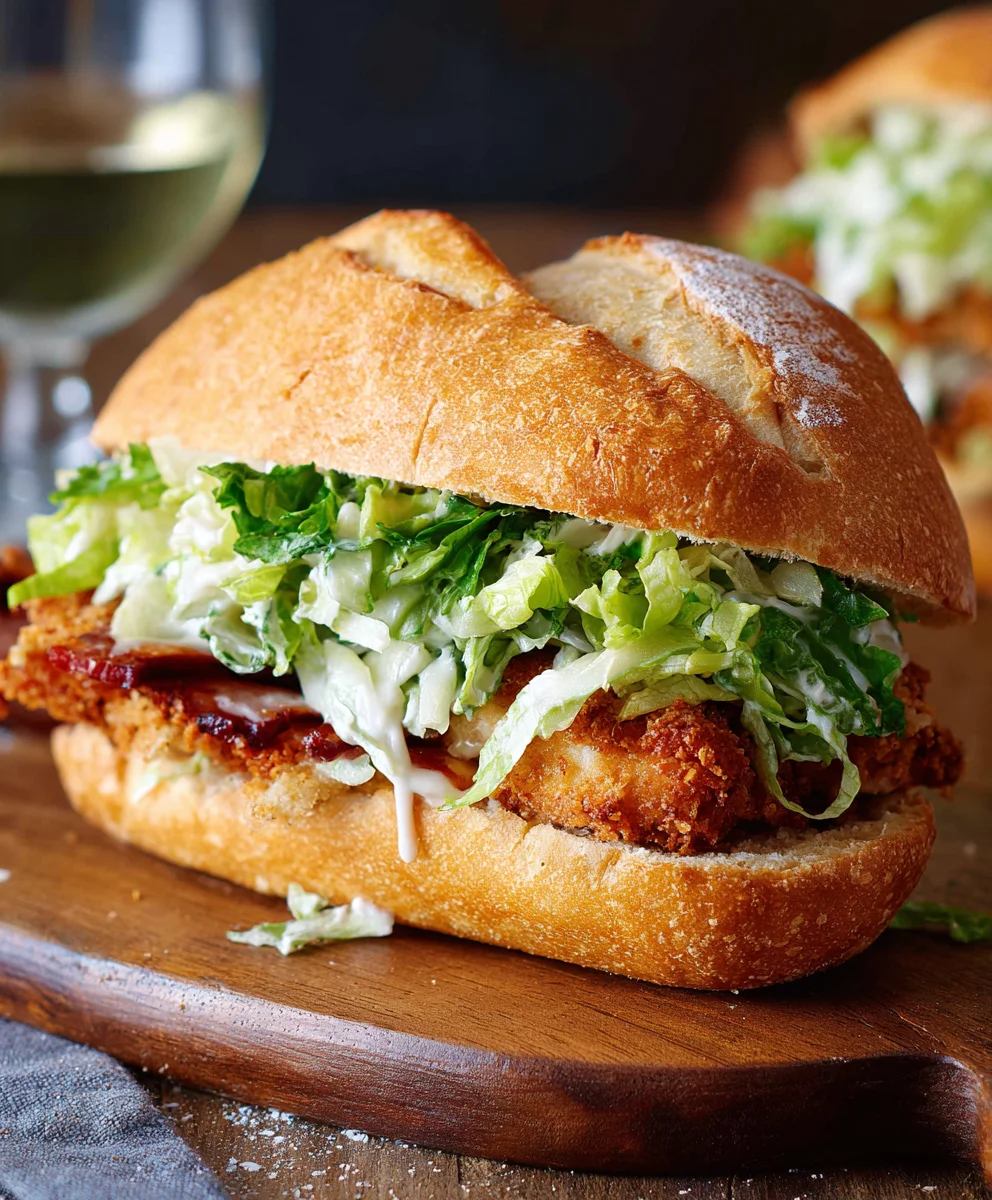
Crispy Chicken Caesar Sandwich. Ah, the humble sandwich. It’s a culinary canvas, a portable pleasure, and sometimes, it can even reach gastronomic heights. Today, we’re talking about a legend in its own right: the Crispy Chicken Caesar Sandwich. This isn’t just lunch; it’s an experience. What is it about this particular combination that captures our hearts and taste buds? It’s the symphony of textures and flavors – the satisfying crunch of perfectly fried chicken meeting the creamy, tangy embrace of Caesar dressing, all nestled within soft bread with a hint of peppery arugula. We love it because it’s both familiar and exciting, a sophisticated twist on a classic comfort food that feels both indulgent and surprisingly wholesome. This isn’t your average fast-food rendition; we’re diving deep into what makes this specific Crispy Chicken Caesar Sandwich truly stand out, elevating it from mere sustenance to a truly memorable meal.
Ingredients:
- ½ cup full-fat mayonnaise
- 3 tbsp Greek yogurt
- 1 tsp Dijon mustard
- 1 tsp Worcestershire sauce
- 2 tbsp lemon juice
- ¼ cup Parmesan cheese, freshly grated
- 1-2 garlic cloves, minced
- ¼ tsp black pepper
- Pinch sea salt
- 5 chicken cutlets (boneless, skinless chicken breasts, pounded to about ½-inch thickness)
- Sea salt, to taste
- Ground black pepper, to taste
- Oil for frying (such as vegetable, canola, or peanut oil), enough for about 1-inch depth in your pan
- ⅓ cup all-purpose flour
- ½ tsp salt (for the flour mixture)
Preparing the Caesar Dressing
Step 1: Whisking the Creamy Base
To begin extract crafting our delicious Crispy Chicken Caesar Sandwich, let’s first focus on the star of the show: the Caesar dressing. In a medium-sized bowl, combine the full-fat mayonnaise and Greek yogurt. The full-fat mayonnaise provides that rich, classic Caesar flavor and texture, while the Greek yogurt adds a pleasant tang and a lighter feel, making the dressing wonderfully creamy without being overly heavy. Use a whisk to blend these two ingredients thoroughly until they are smooth and well incorporated. Ensure there are no streaks of yogurt or mayonnaise remaining. This smooth base is essential for a cohesive dressing.
Step 2: Adding the Savory Accents
Next, we’ll infuse our dressing with classic Caesar flavors. To the mayonnaise and yogurt mixture, add the Dijon mustard. Dijon mustard brings a sharp, peppery bite that cuts through the richness and adds a delightful complexity. Following that, stir in the Worcestershire sauce. This umami-rich sauce is a secret weapon in many dressings, providing a deep, savory, and slightly tangy undertone that is characteristic of authentic Caesar dressing. Now, add the freshly squeezed lemon juice. The bright acidity of the lemon juice is crucial for balancing the creamy elements and awakening all the other flavors. Don’t skip this step – fresh lemon juice makes a world of difference!
Step 3: Incorporating Aromatics and Seasoning
Now it’s time to bring in the aromatic elements and seasoning to elevate our dressing. Add the minced garlic cloves to the bowl. Mince them very finely or even consider using a garlic press for a more even distribution of flavor throughout the dressing. Next, add the ¼ teaspoon of black pepper and a pinch of sea salt. Stir everything together until all ingredients are thoroughly combined. Taste the dressing and adjust the seasoning if necessary. You might want a little more lemon juice for brightness, a touch more salt, or even a tiny bit more pepper. Remember, this dressing will coat the chicken, so it should have a robust flavor. Once you’re happy with the taste, cover the bowl and set it aside in the refrigerator to allow the flavors to meld while we prepare the chicken.
Crisping the Chicken Cutlets
Stepgin extract Dredging the Chicken for Maximum Crunch
With our dressing chilling, let’s turn our attention to preparing the chicken for its crispy transformation. Take your pounded chicken cutlets and season them generously on both sides with sea salt and ground black pepper. This initial seasoning is important for building flavor from the inside out. In a shallow dish or a plate, combine the ⅓ cup of all-purpose flour with ½ teaspoon of salt. Whisk this mixture together to ensure the salt is evenly distributed within the flour. This seasoned flour will act as the base for our crispy coating. Now, take each seasoned chicken cutlet and dredge it thoroughly in the seasoned flour, shaking off any excess. Make sure every surface of the chicken is coated. This dry flour layer is the first step in creating that satisfying crunch.
Step 5: The Frying Process for Golden Perfection
Heat your oil in a large skillet or frying pan over medium-high heat. You want enough oil to come up about ½ inch the sides of the pan. It’s ready when a tiny bit of flour dropped into the oil sizzles immediately. Carefully place the floured chicken cutlets into the hot oil, being careful not to overcrowd the pan. You’ll likely need to cook them in batches. Fry the chicken for about 3-5 minutes per side, or until it’s golden brown and cooked through. The internal temperature should reach 165°F (74°C). The flour coating will puff up and become incredibly crispy, creating that irresistible crunch we’re aiming for. As each batch is done, remove the chicken from the oil using a slotted spoon or tongs and place it on a wire rack set over a baking sheet. This allows any excess oil to drain off, ensuring maximum crispiness and preventing the bottom from becoming soggy.
Assembling the Sandwich
Step 6: Tossing and Layering for the Ultimate Caesar Sandwich
Once all the chicken cutlets are fried to golden perfection and have had a moment to drain, it’s time to bring everything together for our Crispy Chicken Caesar Sandwich. Retrieve the chilled Caesar dressing from the refrigerator. You can either spoon the dressing directly over the hot, crispy chicken cutlets, allowing it to coat them slightly, or for a more integrated flavor, you can toss the warm chicken pieces in the dressing in a clean bowl. Ensure each piece is well-coated but not drowning. Next, you’ll need your bread of choice – perhaps some toasted ciabatta rolls, a sturdy sourdough, or even soft brioche buns. Slice them open and lightly toast the insides for a bit of extra texture angin extracto prevent sogginess from the dressing. Layer the dressed, crispy chicken cutlets onto the bottom half of each bun. Top with a generous amount of freshly grated Parmesan cheese. You can also add some crisp romaine lettuce leaves if you like, for that classic Caesar salad element. Finally, place the top half of the bun on to complete your magnificent Crispy Chicken Caesar Sandwich.
Conclusion:
And there you have it – your ultimate guide to creating the most delicious and satisfying Crispy Chicken Caesar Sandwich! We’ve walked through every step, from achieving that perfect golden crunch on your chicken to crafting the creamy, tangy Caesar dressing that makes this sandwich a true standout. This sandwich is more than just a meal; it’s an experience, a burst of fresh flavors and delightful textures that will leave you feeling completely content.
To truly elevate your Crispy Chicken Caesar Sandwich, consider serving it alongside a crisp, refreshing salad or a handful of seasoned potato wedges. For a lighter option, a cup of tomato soup makes a wonderful pairing. Don’t be afraid to get creative with variations! You can swap out the traditional romaine for peppery arugula, add a sprinkle of sharp Parmesan crisps for extra crunch, or even incorporate a touch of heat with a dash of hot sauce in your dressing. The possibilities are endless, and the joy of customizing your sandwich is part of the fun. So go ahead, embrace the kitchen, and enjoy every bite of your homemade Crispy Chicken Caesar Sandwich!
Frequently Asked Questions:
Q1: How can I ensure my chicken is extra crispy?
For maximum crispiness on your chicken for the Crispy Chicken Caesar Sandwich, ensure your breading mixture is well-seasoned and adheres firmly to the chicken. When frying, maintain a consistent oil temperature (around 350°F or 175°C) and avoid overcrowding the pan, which can lower the oil temperature and lead to soggy chicken. If baking, using a wire rack on a baking sheet allows air to circulate, promoting even browning and crisping.
Q2: Can I make the Caesar dressing ahead of time?
Absolutely! The Caesar dressing for your Crispy Chicken Caesar Sandwich can be made up to 2-3 days in advance and stored in an airtight container in the refrigerator. The flavors will actually meld and deepen over time, making it even more delicious. Just give it a good whisk before assembling your sandwich.
Crispy Chicken Caesar Sandwich-Best Recipe
A delicious and satisfying crispy chicken Caesar sandwich featuring homemade creamy Caesar dressing and perfectly fried chicken cutlets.
Ingredients
-
½ cup full-fat mayonnaise
-
3 tbsp Greek yogurt
-
1 tsp Dijon mustard
-
1 tsp Worcestershire sauce
-
2 tbsp lemon juice
-
¼ cup Parmesan cheese, freshly grated
-
1-2 garlic cloves, minced
-
¼ tsp black pepper
-
Pinch sea salt
-
5 chicken cutlets (boneless, skinless chicken breasts, pounded to about ½-inch thickness)
-
Sea salt, to taste
-
Ground black pepper, to taste
-
Oil for frying (such as vegetable, canola, or peanut oil), enough for about 1-inch depth in your pan
-
⅓ cup all-purpose flour
-
½ tsp salt (for the flour mixture)
Instructions
-
Step 1
Prepare the Caesar dressing: In a medium-sized bowl, combine the full-fat mayonnaise and Greek yogurt. Whisk until smooth. Add Dijon mustard, Worcestershire sauce, lemon juice, freshly grated Parmesan cheese, minced garlic, black pepper, and a pinch of sea salt. Stir until well combined. Taste and adjust seasoning as needed. Cover and refrigerate. -
Step 2
Prepare the chicken: Season the pounded chicken cutlets generously on both sides with sea salt and ground black pepper. -
Step 3
Dredge the chicken: In a shallow dish, combine all-purpose flour with ½ teaspoon of salt. Whisk to combine. Dredge each seasoned chicken cutlet thoroughly in the flour mixture, shaking off excess. -
Step 4
Fry the chicken: Heat oil in a large skillet over medium-high heat until shimmering (about 1-inch depth). Carefully place floured chicken cutlets into the hot oil, working in batches. Fry for 3-5 minutes per side, until golden brown and cooked through (internal temperature of 165°F/74°C). Remove chicken to a wire rack set over a baking sheet to drain. -
Step 5
Assemble the sandwich: Retrieve the chilled Caesar dressing. Toss the warm, crispy chicken cutlets in the dressing in a clean bowl to coat. Slice your chosen bread (e.g., ciabatta rolls, sourdough, brioche buns) open and lightly toast the insides. Layer the dressed chicken cutlets onto the bottom half of each bun. Top with fresh romaine lettuce (optional) and more grated Parmesan cheese. Place the top half of the bun on to complete the sandwich.
Important Information
Nutrition Facts (Per Serving)
It is important to consider this information as approximate and not to use it as definitive health advice.
Allergy Information
Please check ingredients for potential allergens and consult a health professional if in doubt.