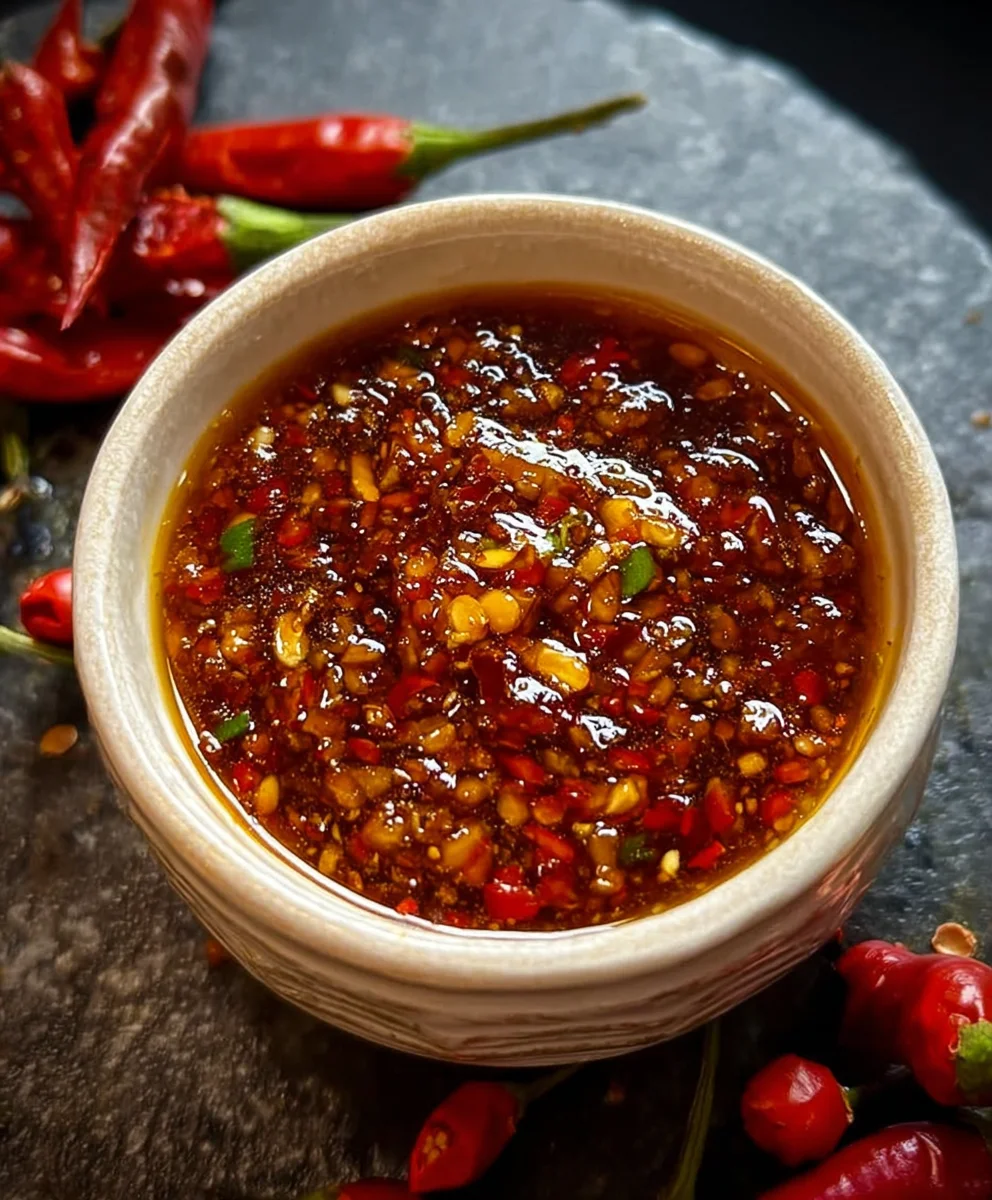
Homemade Chili Garlic Sauce – Spicy & Flavorful
Homemade Chili Garlic Sauce is more than just a condiment; it’s a flavor explosion waiting to happen! If you’ve ever craved that perfect balance of spicy heat, aromatic garlic, and a hint of savory goodness that elevates everything from dumplings to stir-fries, then you’ve come to the right place. There’s a reason why this vibrant sauce has captured hearts (and taste buds!) worldwide. It’s that addictive kick, that lingering warmth that makes you want just one more bite. What truly sets our Homemade Chili Garlic Sauce apart is its incredible versatility and the ability to control the exact level of heat and garlic intensity. Forget those store-bought versions that can sometimes be too salty or one-dimensional. This recipe unlocks a depth of flavor that is simply unparalleled, transforming ordinary meals into extraordinary culinary experiences with just a drizzle.
Ingredients:
- 5-6 fresh red chilies
- 4 cloves garlic, minced
- 1 tablespoon vinegar (white or rice)
- 1 tablespoon olive oil or vegetable oil
- 1/2 teaspoon salt
- 1/2 teaspoon sugar (optional)
Preparing Your Ingredients
The first step in creating a vibrant and flavorful Homemade Chili Garlic Sauce is to gather and prepare all your ingredients. This ensures a smooth cooking process and prevents any last-minute dashes for forgotten items. We’ll start with the chilies. Select fresh, plump red chilies. The type of chili will significantly influence the heat and flavor profile of your sauce. For a balanced heat, consider using chilies like Fresno or Serrano. If you prefer a milder sauce, deseed the chilies and remove the white pith, as this is where much of the capsaicin (the compound responsible for spiciness) resides. For a truly fiery kick, leave the seeds and pith intact. Wash the chilies thoroughly under cool running water and pat them dry with a clean kitchen towel. Once dry, you can finely chop them. For a smoother sauce, you can pulse them in a food processor until they reach your desired consistency, but be careful not to over-process them into a paste, as we want some texture.
Next, we have the garlic. You’ll need about 4 cloves. Fresh garlic is essential for the pungent aroma and taste that characterizes chili garlic sauce. Peel the garlic cloves and mince them as finely as possible. A microplane grater can also be used to create a very fine mince, which will distribute more evenly throughout the sauce.
The remaining ingredients are straightforward: 1 tablespoon of vinegar – white vinegar offers a clean tang, while rice vinegar provides a more subtle, nuanced acidity, both working well here. You’ll also need 1 tablespoon of cooking oil. Olive oil will impart a slightly fruitier note, while a neutral vegetable oil like canola or sunflower oil will let the chili and garlic flavors shine without adding its own distinct taste. Finally, you’ll need 1/2 teaspoon of salt to enhance all the flavors and bring them together. The 1/2 teaspoon of sugar is optional, but it can help to balance the heat and acidity, creating a more rounded flavor profile.
Cooking the Aromatics
Now that all your ingredients are prepped, it’s time to bring them to life with some gentle heat. Heat the olive oil or vegetable oil in a small saucepan or skillet over medium-low heat. It’s crucial to use low heat here. We want to gently toast the garlic and chilies to release their flavors, not to burn them. Burnt garlic and chilies will impart a bitter, unpleasant taste to your homemade sauce, and we definitely want to avoid that.
Once the oil is warm – you’ll see it shimmer slightly, but it shouldn’t be smoking – add the minced garlic. Stir the garlic constantly with a wooden spoon or spatula for about 30-60 seconds, or until it becomes fragrant. You’ll notice a wonderful aroma filling your kitchen. Be very careful not to let the garlic brown. It should be a pnon-alcoholic ale golden color, not dark brown.
Immediately after the garlic has started to become fragrant, add the chopped fresh red chilies. Continue to stir and cook for another 1-2 minutes, allowing the chilies to soften slightly and release their oils into the cooking oil. This process helps to mellow their raw edge and develop a richer chili flavor. You should see the oil begin extract to take on a vibrant red hue from the chili pigments. Keep stirring throughout this stage to ensure even cooking and to prevent any sticking to the bottom of the pan.
Building the Sauce Base
With the aromatics gently sautéed, we’re ready to add the remaining components to create the core of our chili garlic sauce. To the pan with the fragrant garlic and chilies, add the 1/2 teaspoon of salt. Stir it in well, allowing it to dissolvgin extractnd begin seasoning the mixture. If you’re using the optional sugar, add it now as well. Stir it until it dissolves into the oil and chili mixture. The sugar, even in this small amount, will contribute to a subtle sweetness that contrasts beautifully with the heat of the chilies and the pungency of the garlic.
Now, it’s time for the vinegar. Pour in the 1 tablespoon of white or rice vinegar. As soon as the vinegar hits the hot pan, you’ll likely hear a sizzle and see some steam. Stir everything together thoroughly. The vinegar not only adds a crucial acidic component that brightens the flavors but also acts as a mild preservative, helping your sauce to last longer in the refrigerator. Continue to cook and stir for another 1-2 minutes. This allows the vinegar to meld with the other ingredients and for any initial sharp acidity to mellow slightly. The mgin extracture should begin to thicken subtly as the water from the chilies and vinegar evaporates.
Finishing and Cooling
The cooking phase is almost complete. You’ve gently sautéed your aromatics and incorporated the salt, optional sugar, and vinegar. Now, reduce the heat to the lowest setting or even turn it off temporarily if your stove retains a lot of heat. You want the sauce to be warm, but not actively bubbling or cooking vigorously. This gentle warmth will help the flavors continue to meld and develop.
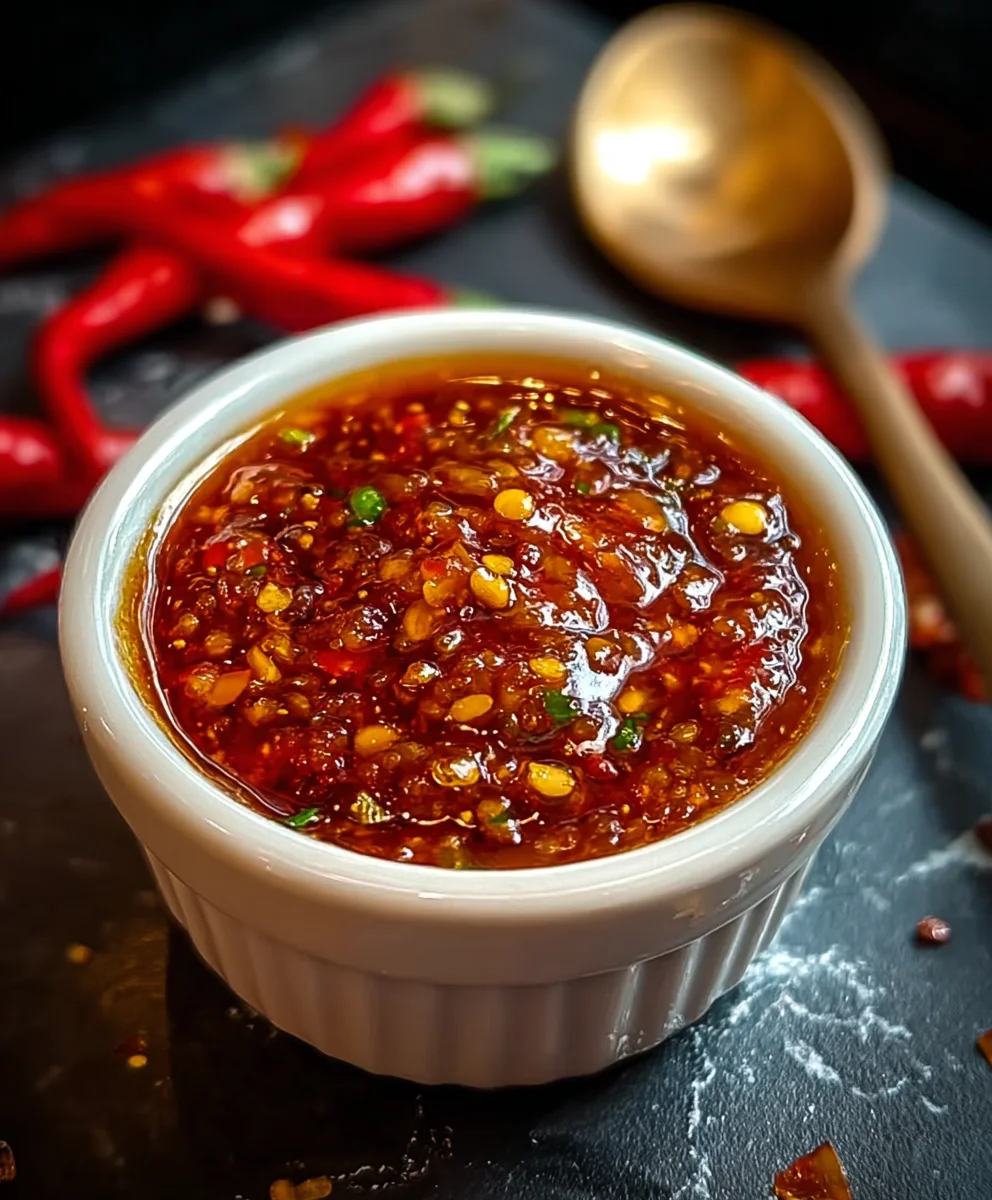
Stir the mixture for another minute or two, ensuring everything is well combined. You are looking for a consistency that is saucy but still retains some texture from the finely chopped chilies and garlic. If you prefer a smoother sauce, you could, at this point, carefully transfer the mixture to a blender or food processor and pulse a few times, but remember to let it cool slightly first for safety. However, for that authentic homemade texture, leaving it as is works beautifully.
Once you’re satisfied with the consistency, remove the pan from the heat entirely. Let the Homemade Chili Garlic Sauce cool down in the pan for at least 15-20 minutes. This cooling period is essential for two reasons: safety, as you don’t want to handle extremely hot liquids, and flavor development. As the sauce cools, the flavors will continue to meld and deepen, resulting in a more complex and harmonious taste.
Storing Your Homemade Chili Garlic Sauce
After your Homemade Chili Garlic Sauce has cooled sufficiently, it’s time to transfer it to its storage container. You can use a clean glass jar, a small airtight container, or even a squeeze bottle if you prefer easy dispensing. Ensure your container is completely dry before filling it to prevent any introduction of moisture, which can shorten the shelf life of your sauce.
Carefully spoon or pour the cooled sauce into your chosen container. This recipe makes a relatively small batch, perfect for trying out your new creation or for personal use. For optimal freshness and to best preserve the vibrant flavors, store your Homemade Chili Garlic Sauce in the refrigerator. Properly stored, this delicious condiment can last for up to 2-3 weeks. When you’re ready to use it, give the jar a gentle shake or stir, as some separation of the oil may occur over time – this is perfectly normal. Enjoy the authentic taste of your homemade creation on everything from noodles and stir-fries to eggs and sandwiches!
Conclusion:
And there you have it – your very own batch of vibrant and flavorful Homemade Chili Garlic Sauce! We hope you enjoyed the process and are excited to taste the fruits of your labor. This versatile condiment is a game-changer for elevating everyday meals, adding a delightful kick and aromatic depth. Imagin extracte drizzling it over noodles, stir-fries, dumplings, or even using it as a spicy marinade. The possibilities are truly endless!
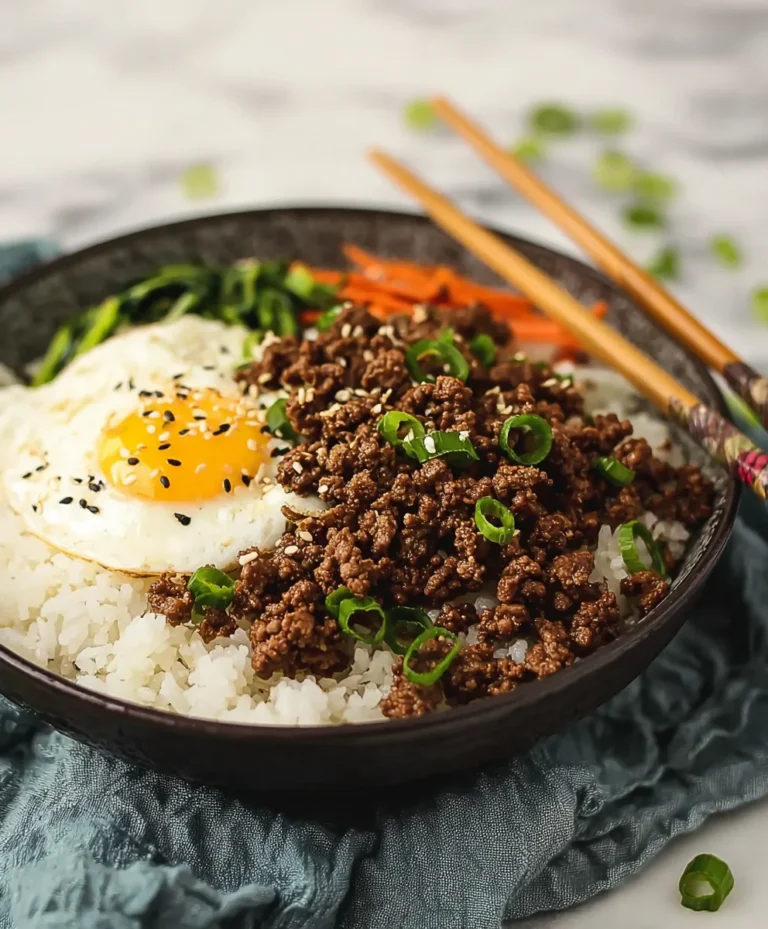
For serving suggestions, don’t be shy to experiment! It’s fantastic with fried eggs, pizza, roasted vegetables, or as a dipping sauce for spring rolls. If you’re feeling adventurous with variations, consider adding a touch of honey for sweetness, a splash of soy sauce for umami, or even a pinch of toasted sesame seeds for extra texture and nutty notes. Don’t be afraid to adjust the chili heat to your personal preference. We truly encourage you to make this Homemade Chili Garlic Sauce your own and share your delicious creations!
Frequently Asked Questions:
Q: How long will my Homemade Chili Garlic Sauce last?
A: When stored properly in an airtight container in the refrigerator, your Homemade Chili Garlic Sauce should stay fresh and delicious for at least 2-3 weeks. Always check for any signs of spoilage before using.
Q: Can I make this sauce spicier or milder?
A: Absolutely! For a spicier sauce, use more dried chilies or a hotter variety. For a milder sauce, reduce the number of chilies or opt for less potent varieties like mild red chilies.
Homemade Chili Garlic Sauce – Spicy & Flavorful
A quick and easy recipe for a spicy and flavorful homemade chili garlic sauce, perfect for adding a kick to your favorite dishes.
Ingredients
-
5-6 fresh red chilies
-
4 cloves garlic, minced
-
1 tablespoon white or rice vinegar
-
1 tablespoon olive oil or vegetable oil
-
1/2 teaspoon salt
-
1/2 teaspoon sugar (optional)
Instructions
-
Step 1
Prepare your ingredients: Wash and finely chop the fresh red chilies. For milder sauce, remove seeds and pith. Peel and finely mince the garlic cloves. Measure out vinegar, oil, salt, and optional sugar. -
Step 2
Cook the aromatics: Heat olive oil or vegetable oil in a small saucepan over medium-low heat. Add minced garlic and stir for 30-60 seconds until fragrant, being careful not to brown it. -
Step 3
Add chilies: Immediately add the chopped red chilies to the pan. Continue to stir and cook for another 1-2 minutes, allowing them to soften and release their oils into the cooking oil. -
Step 4
Build the sauce base: Stir in the salt and optional sugar until dissolved. Pour in the vinegar and stir everything together thoroughly. Cook for another 1-2 minutes to allow flavors to meld. -
Step 5
Finish and cool: Reduce heat to the lowest setting or turn off. Stir the mixture for another minute or two. Remove from heat and let the sauce cool in the pan for at least 15-20 minutes. -
Step 6
Store the sauce: Once cooled, transfer the Homemade Chili Garlic Sauce to a clean, dry, airtight container. Store in the refrigerator for up to 2-3 weeks. Shake or stir before use.
Important Information
Nutrition Facts (Per Serving)
It is important to consider this information as approximate and not to use it as definitive health advice.
Allergy Information
Please check ingredients for potential allergens and consult a health professional if in doubt.