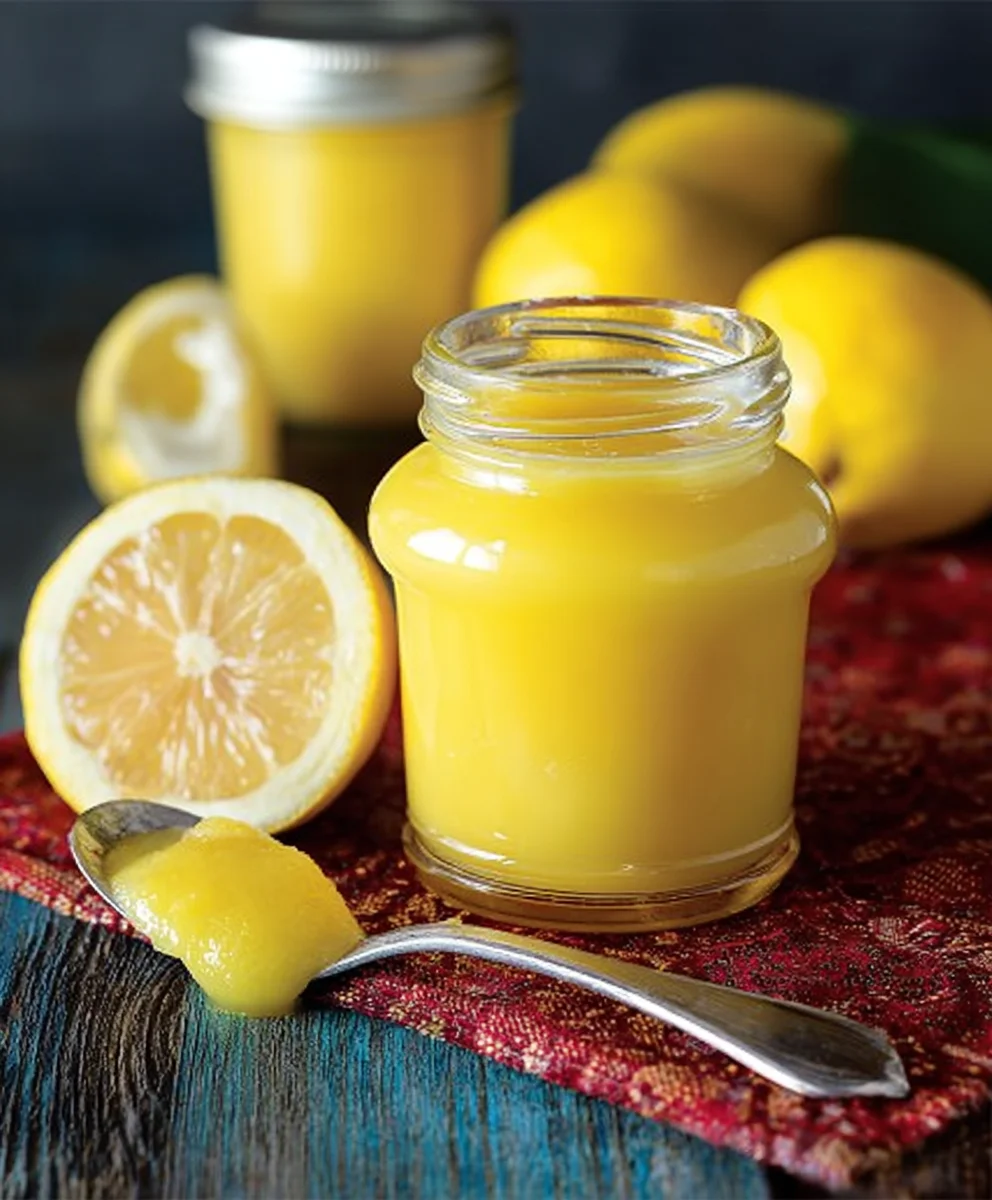
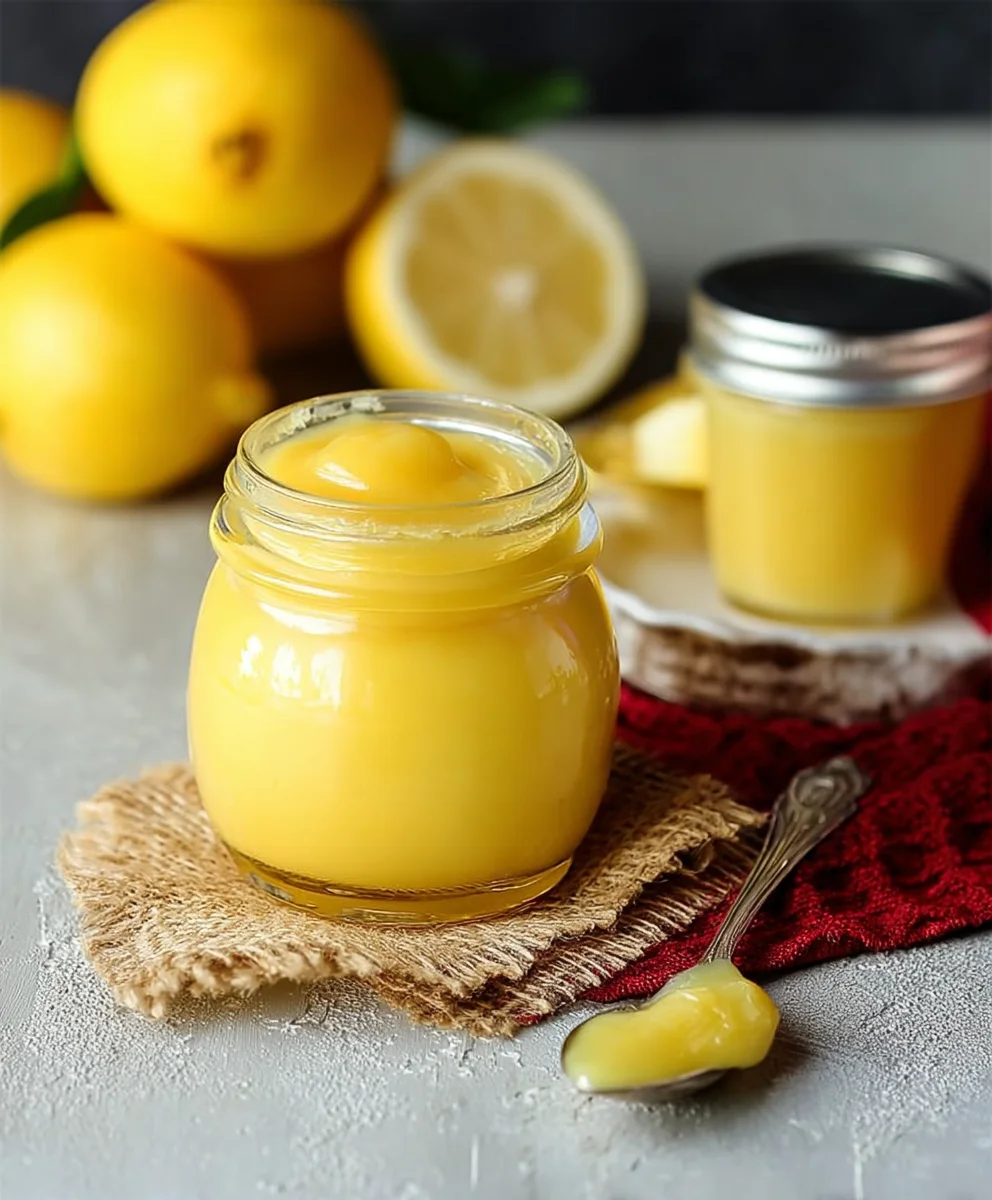
Easy Lemon Curd Recipe – Tart & Tangy Delight
How to Make Lemon Curd is a question that unlocks a world of vibrant, tangy, and utterly delightful possibilities. Forget store-bought imposters; there’s simply no comparison to the sunshine-yellow, silken richness of homemade lemon curd. It’s the kind of treat that makes you feel like a culinary magician, transforming simple ingredients into a luxurious spread. People adore it for its intense citrus flavor that’s both refreshing and comforting, perfect for brightening any occasion. What truly makes this recipe special is its versatility. Imagin extracte dolloping it onto warm scones, filling delicate tart shells, swirling it into yogurt, or even enjoying it straight from the spoon (we won’t judge!). This guide will walk you through each step, ensuring you achieve that perfect smooth texture and balanced sweet-tart flavor that defines truly exceptional lemon curd.
Ingredients:
- 1 cup plus 2 tablespoons granulated sugar
- 1 tablespoon cornstarch
- 1/8 teaspoon salt
- 1 cup fresh lemon juice (this will typically require about 5 to 6 medium-sized lemons to yield this amount)
- 3 large eggs
- 2 tablespoons unsalted butter, cut into small pieces
- 1 teaspoon grated lemon rind (from about 1 to 2 lemons, depending on their size and juiciness)
Preparing the Foundation for Creamy Lemon Curd
Step 1: Whisk Together Dry Ingredients
The first crucial step in creating a smooth and lump-free lemon curd is to thoroughly combine your dry ingredients in a medium saucepan. I like to use a saucepan that has a heavier bottom, as this helps to distribute heat more evenly and prevents scorching. Add the 1 cup plus 2 tablespoons of granulated sugar, the 1 tablespoon of cornstarch, and the 1/8 teaspoon of salt to the dry pan. Using a whisk, vigorously stir these ingredients together. Ensure that the cornstarch is completely dispersed within the sugar and salt. This step is important because if the cornstarch is not well mixed, it can clump up later when added to the wet ingredients, leading to a curd that is not as smooth as you might desire. Take your time here; a minute or two of thorough whisking will pay dividends in the texture of your final curd.
Step 2: Incorporate Lemon Juice and Eggs
Once your dry ingredients are perfectly blended, it’s time to introduce the wet components. Gradually pour the 1 cup of fresh lemon juice into the saucepan with the dry mixture. Begin extract whisking continuously as you pour to prevent any initial clumping. The lemon juice will start to dissolve some of the sugar and cornstarch. After you have a relatively smooth, though still liquid, mixture, crack the 3 large eggs into a separate small bowl. Lightly whisk the eggs in the bowl until the yolks and whites are just combined. Now, slowly drizzle the whisked eggs into the saucepan while whisking the lemon juice and sugar mixture constantly. It’s essential to add the eggs gradually to temper them. This means gently raising the temperature of the eggs without scrambling them. Continue whisking vigorously until everything is well incorporated and you have a uniform yellow liquid.
Cooking the Lemon Curd to Perfect Consistency
Step 3: Gentle Heating and Continuous Stirring
Place the saucepan over medium-low heat. This is where patience is key. You do not want to rush the cooking process, as high heat can cause the eggs to cook too quickly and cugin extracte. Begin stirring the mixture continuously with a whisk or a heatproof spatula, making sure to scrape the bottom and sides of the pan to prevent sticking. You’ll notice that as the mixture heats, it will gradually start to thicken. This thickening process can take anywhere from 8 to 12 minutes, sometimes a bit longer depending on your stovetop. The goal is to reach a consistency that coats the back of a spoon. A good test is to draw a line through the curd with your finger on the back of the spoon; if the line holds without the curd running back into it immediately, it’s getting close.
Step 4: Reaching the Ideal Thickness and Lemon Zest Integration
Continue cooking and stirring, always on medium-low heat. The curd will become noticeably thicker, resembling a pourable custard or pudding. It should coat the back of a spoon very well, and when you run your finger through it, the trail should stay distinct for a few seconds. Avoid letting the mixture boil, as this can also lead to a scrambled egg texture. Once the curd has reached this thickened state, remove the saucepan from the heat immediately. Now is the perfect time to add the 1 teaspoon of grated lemon rind. Stir it in well; the zest will infuse the curd with an even more intense and fragrant lemon flavor, adding delightful little bursts of citrus.
Step 5: The Final Emulsification with Butter
After removing the curd from the heat and stirring in the lemon zest, it’s time to add the 2 tablespoons of unsalted butter. Add the butter pieces one at a time, stirring until each piece is fully melted and incorporated into the warm curd before adding the next. This process, known as emulsification, not only adds a rich, velvety texture and a beautiful sheen to the lemon curd but also helps to stabilize it. The butter contributes to the luxurious mouthfeel and rounds out the tartness of the lemon. Continue stirring until the last piece of butter is melted and the curd is uniformly smooth and glossy. At this point, the curd will still be quite soft, but it will firm up considerably as it cools. For the smoothest possible texture, you can strain the curd through a fine-mesh sieve into a clean bowl at this stage, although this is an optional step if you are careful about removing any potential bits of cooked egg.
Conclusion:
Now you have all the knowledge to master the art of making the perfect How to Make Lemon Curd! This delightfully tangy and smooth spread is incredibly versatile and surprisingly easy to whip up. We’ve covered the essential steps, from achieving that luscious texture to ensuring a vibrant citrus flavor. Don’t be afraid to experiment and make this recipe your own. It’s a true game-changer for enhancing both sweet and savory dishes.
Serving suggestions abound! Dollop this glorious How to Make Lemon Curd onto scones, toast, or pancakes for a bright breakfast treat. It’s also a fantastic filling for tarts, cakes, and macarons, or simply enjoy it by the spoonful for a zesty pick-me-up. For variations, consider adding a touch of lavender or finely grated gin extractger during the cooking process for an extra layer of complexity. You might even try a lime or blood orange version for a different citrus twist.
We encourage you to give this recipe a try. The rewarding taste and beautiful sunshine-yellow hue are well worth the minimal effort. Get ready to impress yourself and your loved ones with your homemade How to Make Lemon Curd!
Frequently Asked Questions:
How long does homemade lemon curd last?
When stored properly in an airtight container in the refrigerator, your How to Make Lemon Curd should last for about 1 to 2 weeks. Always ensure it’s cooled completely before storing and that you use clean utensils when scooping it out to maintain its freshness.
Can I make lemon curd without eggs?
While traditional How to Make Lemon Curd relies on eggs for richness and thickening, you can create a dairy-free or egg-free version using cornstarch or agar-agar as a thickener. The texture might be slightly different, but you can still achieve a delicious, tangy spread.
Easy Lemon Curd Recipe – Tart & Tangy Delight
A simple and delightful recipe for a tart and tangy homemade lemon curd, perfect for tarts, cakes, and more.
Ingredients
-
1 cup plus 2 tablespoons granulated sugar
-
1 tablespoon cornstarch
-
1/8 teaspoon salt
-
1 cup fresh lemon juice
-
3 large eggs
-
2 tablespoons unsalted butter
-
1 teaspoon grated lemon rind
Instructions
-
Step 1
In a medium saucepan, whisk together the granulated sugar, cornstarch, and salt until thoroughly combined. This ensures a smooth texture. -
Step 2
Gradually pour in the fresh lemon juice while whisking constantly. Then, slowly drizzle in the lightly whisked eggs, continuing to whisk to temper the eggs and create a uniform yellow liquid. -
Step 3
Place the saucepan over medium-low heat. Stir continuously with a whisk or spatula, scraping the bottom and sides, until the mixture thickens enough to coat the back of a spoon. -
Step 4
Continue cooking and stirring until the curd reaches a pourable custard consistency. Avoid boiling. Remove from heat immediately and stir in the grated lemon rind for added flavor. -
Step 5
Add the butter pieces one at a time, stirring until each piece is fully melted and incorporated. This emulsifies the curd, creating a rich, velvety texture and glossy finish. -
Step 6
For an extra smooth texture, strain the curd through a fine-mesh sieve into a clean bowl. The curd will firm up as it cools.
Important Information
Nutrition Facts (Per Serving)
It is important to consider this information as approximate and not to use it as definitive health advice.
Allergy Information
Please check ingredients for potential allergens and consult a health professional if in doubt.