Best White Bread From Scratch – Easy Homemade Recipe
The Best White Bread from Scratch is more than just a recipe; it’s a journey into the heart of comfort and tradition. There’s a certain magic that happens when you combine simple ingredients – flour, water, yeast, and salt – and transform them into a golden, crusty loaf with a cloud-like interior. People have been baking bread for millennia, and this particular recipe taps into that primal satisfaction. What makes this The Best White Bread from Scratch so special? It’s the unparalleled aroma that fills your kitchen as it bakes, the incredibly tender crum extractb that begs to be slathered with butter, and the sheer pride of knowing you’ve created something truly delicious with your own two hands. Forget those store-bought loaves; this homemade version offers a depth of flavor and a texture that simply cannot be replicated, making it an absolute must-try for any home baker.
Ingredients:
- 2 cups warm water (about 105-115°F or 40-46°C)
- 1/4 cup granulated sugar
- 5 cups all-purpose flour (plus more for dusting)
- 2 teaspoons active dry yeast
- 2 teaspoons salt
- 3 tablespoons unsalted butter, softened
Getting Started: Activating the Yeast
The first crucial step to achieving a wonderful loaf of white bread from scratch is to properly activate our yeast. This ensures that our bread will rise beautifully and have a light, airy texture. In a large mixing bowl, or the bowl of your stand mixer if you’re using one, combine the 2 cups of warm water and the 1/4 cup of granulated sugar. Give it a gentle stir to dissolve the sugar. Now, sprinkle the 2 teaspoons of active dry yeast over the surface of the water and sugar mixture. Don’t stir it in immediately. Let it sit undisturbed for about 5 to 10 minutes. You’ll know your yeast is alive and active when you see a foamy, creamy layer form on top. This “bloom” indicates the yeast is waking up and ready to work its magic. If you don’t see any foam after 10 minutes, your yeast might be old, or the water might have been too hot or too cold, and you’ll need to start this step again with fresh yeast and properly tempered water.
Mixing the Dough
Once your yeast has bloomed, it’s time to incorporate the rest of our dry ingredients. Add the 5 cups of all-purpose flour and the 2 teaspoons of salt to the bowl with the activated yeast mixture. If you’re using a stand mixer, attach the dough hook. Begin extract mixing on a low speed. The dough will start to come together, looking shaggy at first. Let it mix for about a minute or two until itgin extractst begins to form a cohesive mass. If you’re mixing by hand, you’ll want to use a sturdy spoon or spatula to combine everything until it’s too stiff to stir, then turn it out onto a lightly floured surface to knead.
Kneading the Dough to Perfection
This is where we develop the gluten structure that gives our bread its wonderful chew and strength. If you’re using a stand mixer, increase the speed to medium-low and let it knead for about 8 to 10 minutes. The dough should become smooth, elastic, and pull away cleanly from the sides of the bowl. It should feel slightly tacky but not stick excessively to your fingers when you touch it. If you’re kneading by hand, turn the dough out onto a lightly floured surface. Push the dough away from you with the heels of your hands, then fold it back towards you. Rotate the dough a quarter turn and repeat. Continue this process for about 10 to 15 minutes. You’re looking for that same smooth, elastic texture. Resist the urge to add too much extra flour during kneading; a little bit of tackiness is desirable for a soft crum extractb. Once kneaded, the dough should spring back slowly when you gently poke it.
The First Rise: Letting the Dough Double
Now that our dough is perfectly kneaded, it’s time for its first rise. Lightly grease a clean, large bowl with a bit of oil or cooking spray. Place the kneaded dough into the greased bowl, turning it over once to coat the entire surface with a thin layer of oil. This prevents it from drying out as it rises. Cover the bowl tightly with plastic wrap or a damp kitchen towel. Place the bowl in a warm, draft-free spot in your kitchen. This could be on top of your refrigerator, near a sunny window (but not in direct, harsh sunlight), or in a slightly warmed (but turned off) oven. Allow the dough to rise for about 1 to 1.5 hours, or until it has doubled in size. This is a critical step for developing flavor and texture, so be patient! You’ll know it’s ready when it looks puffy and feels airy to the touch.
Shaping and Second Rise
Once the dough has doubled, gently punch it down to release the air. This is a satisfying step! Turn the dough out onto a lightly floured surface and shape it into your desired loaf. For a classic sandwich loaf, gently flatten the dough into a rectangle, then roll it up tightly from one of the shorter ends, pinching the seam closed. Tuck the ends under to create a neat loaf shape. Grease a 9×5 inch loaf pan with butter or cooking spray, and place the shaped dough into the pan, seam-side down. Cover the loaf pan loosely with plastic wrap or a clean kitchen towel and let it rise again in a warm place for another 30 to 60 minutes, or until the dough has risen about an inch above the rim of the pan. While the dough is on its second rise, preheat your oven to 375°F (190°C).
Baking the Perfect Loaf
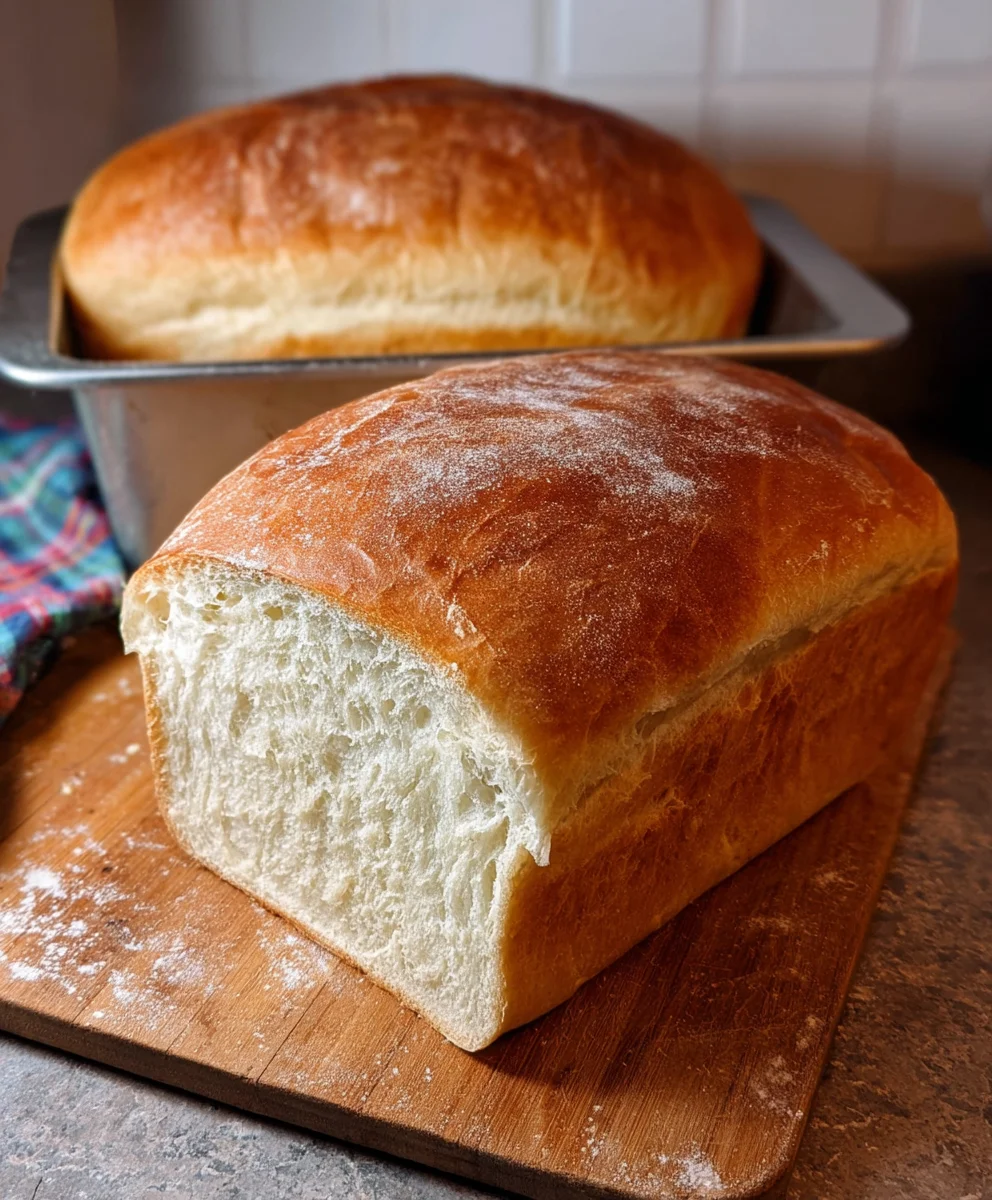
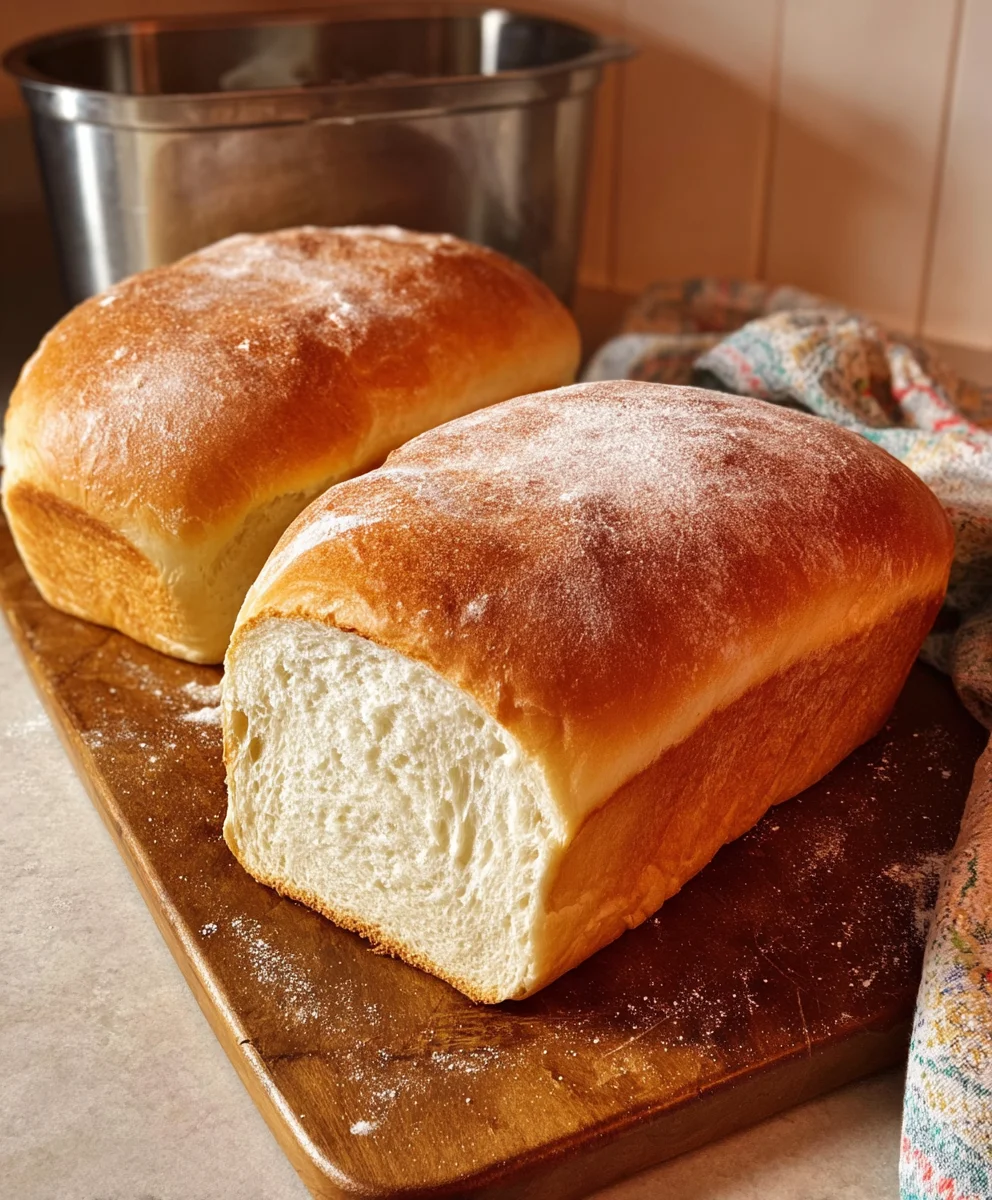
When your dough has completed its second rise, it’s time to bake! Remove the plastic wrap or towel. Place the loaf pan into the preheated oven. Bake for 30 to 40 minutes, or until the crust is a deep golden brown and the internal temperature of the bread reaches 190-200°F (88-93°C) when tested with an instant-read thermometer. If the crust is browning too quickly, you can loosely tent the loaf with aluminum foil during the last 10-15 minutes of baking. Once baked, carefully remove the loaf from the oven and immediately turn it out of the pan onto a wire rack to cool completely. Allowing it to cool on a wire rack prevents the bottom crust from becoming soggy. Resist the temptation to slice into it too soon; letting it cool fully allows the internal structure to set, resulting in the best texture. Once cooled, you can enjoy your delicious homemade white bread!
Conclusion:
And there you have it! You’ve conquered the art of making The Best White Bread from Scratch. This recipe is more than just instructions; it’s a gateway to the comforting aroma and unparalleled taste of freshly baked bread that will fill your home with warmth. The process, while requiring a little patience, is incredibly rewarding, and the resulting loaf is a testament to your culinary skills. Don’t be intimidated; with clear steps and a little practice, you’ll be pulling perfect loaves from your oven in no time.
This versatile white bread is perfect as is, toasted for breakfast with butter and jam, or as the foundation for your favorite sandwiches. For a delightful twist, consider adding a sprinkle of sesame seeds or poppy seeds to the crust before baking, or incorporate a touch of honey into the dough for a subtle sweetness. Experimentation is key, so have fun with it!
We truly hope you enjoy making and, more importantly, eating The Best White Bread from Scratch. Share this joy with your loved ones, and embrace the simple pleasure of homemade goodness.
Frequently Asked Questions:
Why isn’t my bread rising?
Several factors can contribute to a lack of rise. Ensure your yeast is fresh and active – you can test this by dissolving it in warm water (around 105-115°F or 40-46°C) with a pinch of sugar; it should become foamy within 5-10 minutes. Make sure your water temperature wasn’t too hot, which can kill the yeast, or too cold, which won’t activate it. Adequate proofing time in a warm, draft-free environment is also crucial. Cold environments will significantly slow down the yeast activity.
Can I make this bread ahead of time?
Absolutely! Once completely cooled, The Best White Bread from Scratch can be stored at room temperature in an airtight bag or container for 2-3 days. For longer storage, it freezes beautifully. Wrap it tightly in plastic wrap, then in foil or a freezer bag. It can be frozen for up to 3 months. Thaw at room temperature or gently reheat in the oven.
Best White Bread From Scratch – Easy Homemade Recipe
An easy, step-by-step recipe for soft and fluffy homemade white bread from scratch.
Ingredients
-
2 cups warm water (105-115°F)
-
1/4 cup granulated sugar
-
5 cups all-purpose flour
-
2 teaspoons active dry yeast
-
2 teaspoons salt
-
3 tablespoons unsalted butter, softened
Instructions
-
Step 1
Activate the yeast: In a large bowl, combine warm water and sugar. Sprinkle yeast over the top and let it sit for 5-10 minutes until foamy. -
Step 2
Mix the dough: Add flour and salt to the yeast mixture. Mix until a shaggy dough forms. If using a stand mixer, use the dough hook on low speed for 1-2 minutes. -
Step 3
Knead the dough: Knead on medium-low speed for 8-10 minutes (stand mixer) or for 10-15 minutes by hand until smooth and elastic. The dough should be slightly tacky. -
Step 4
First rise: Lightly grease a clean bowl. Place dough in the bowl, turning to coat. Cover and let rise in a warm place for 1 to 1.5 hours, or until doubled in size. -
Step 5
Shape and second rise: Punch down dough, shape into a loaf, and place in a greased 9×5 inch loaf pan. Cover and let rise for 30-60 minutes until it has risen about an inch above the pan rim. Preheat oven to 375°F (190°C). -
Step 6
Bake the loaf: Bake for 30-40 minutes until deep golden brown and internal temperature reaches 190-200°F (88-93°C). Cool completely on a wire rack before slicing.
Important Information
Nutrition Facts (Per Serving)
It is important to consider this information as approximate and not to use it as definitive health advice.
Allergy Information
Please check ingredients for potential allergens and consult a health professional if in doubt.