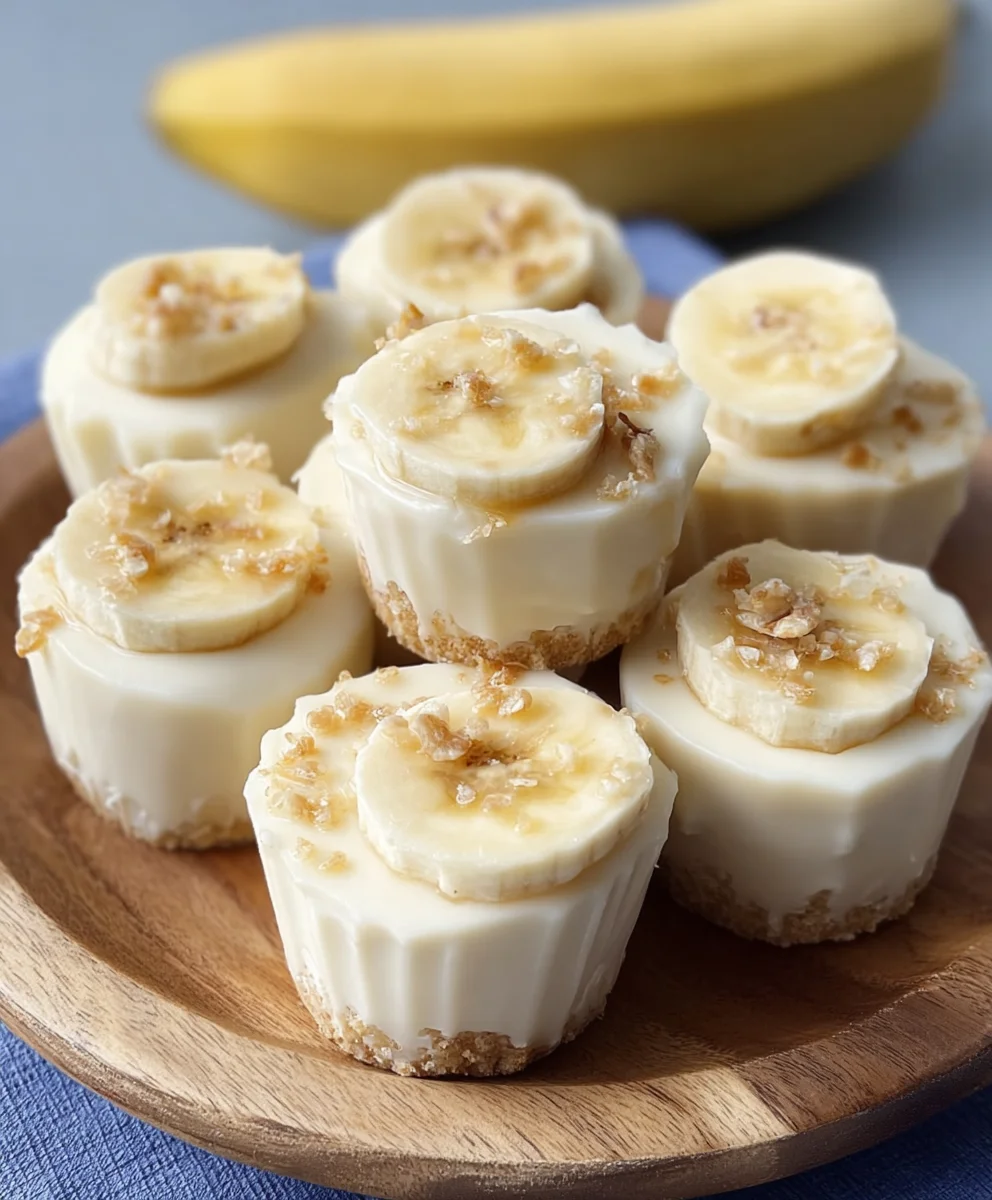
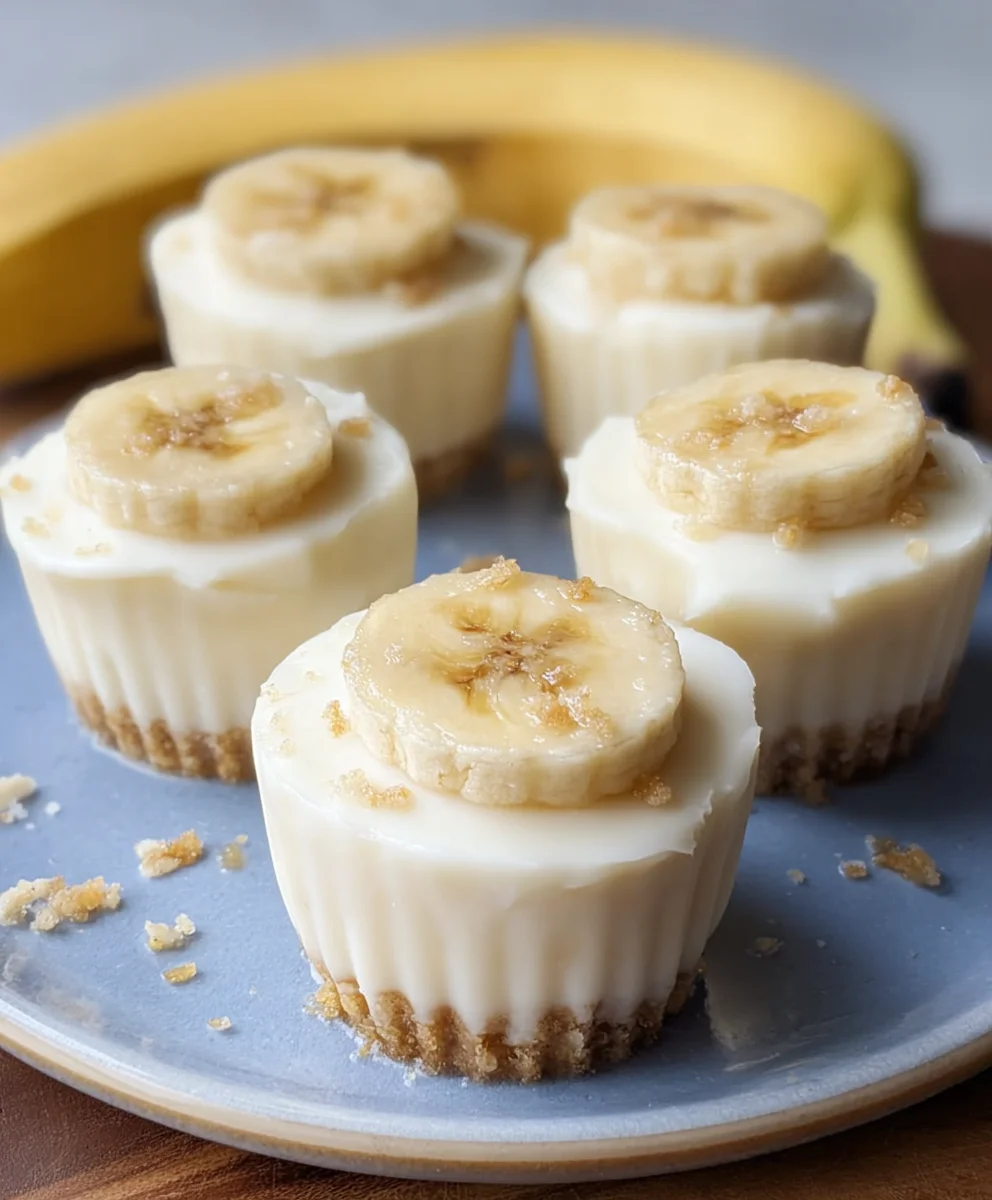
Frozen Banana Yogurt Bites- Easy Healthy Treat
Frozen Banana Yogurt Bites are the perfect antidote to those moments when you crave something sweet, refreshing, and utterly delightful without the guilt. We all know that feeling, right? That mid-afternoon slump or a late-night sweet tooth calling out for attention. These little gems deliver on all fronts, offering a satisfying texture and a burst of flavor that will have you reaching for more. What makes Frozen Banana Yogurt Bites so incredibly popular? It’s their deceptive simplicity and the sheer versatility they offer. They’re incredibly easy to make, making them a fantastic activity for kids and adults alike. Plus, the naturally sweet creaminess of the banana combined with the tangy coolness of yogurt is a match made in dessert heaven. It’s this harmonious blend that truly elevates them from a simple snack to a beloved treat, offering a cool, creamy, and guilt-free indulgence that’s unlike anything else.
Ingredients:
- 1 large ripe banana
- 150 g yogurt of your choice (natural yogurt works well for a classic taste, but Greek yogurt will provide a thicker, creamier texture, and fruit-flavored yogurts can add an extra layer of sweetness and color)
- Handful of dried banana chips (optional, for topping)
Preparing the Banana Mixture
The first step in creating these delightful Frozen Banana Yogurt Bites is to prepare the star of the show: the banana. For this recipe, it’s crucial to use a large, ripe banana. The riper the banana, the sweeter it will be, which means you won’t need to add any extra sugar to your bites. A slightly spotty banana is ideal, as it will mash more easily and have a more intense flavor. Begin extract by peeling your large ripe banana. Place it in a medium-sized bowl. Using a fork, mash the banana thoroughly until it reaches a smooth, lump-free consistency. You want it to be almost puréed. This thorough mashing ensures that the banana will incorporate seamlessly into the yogurt, creating a uniform texture for your bites. If you find it difficult to achieve a smooth consistency with just a fork, you can use a potato masher or even a food processor for an extra-smooth purée, although this is generally not necessary with a very ripe banana.
Combining with Yogurt
Once your banana is perfectly mashed, it’s time to introduce the yogurt. Measure out 150 g of your chosen yogurt. As mentioned in the ingredients, natural yogurt is a fantastic base, offering a clean, slightly tangy flavor that complements the sweetness of the banana beautifully. If you prefer a richer, more decadent bite, Greek yogurt is an excellent alternative. Its thicker consistency will result in a firmer bite that’s easier to handle. For a burst of extra flavor and visual appeal, consider using a fruit-flavored yogurt, such as strawberry or blueberry, which can enhance the overall taste profile of your frozen treats. Add the yogurt directly to the bowl with the mashed banana. Now, using your fork or a spatula, gently but thoroughly mix the banana and yogurt together. Continue to stir until both ingredients are completely combined and you have a smooth, homogenous mixture. There should be no streaks of banana or yogurt visible. Taste a small amount of the mixture at this stage. If, for some reason, your banana wasn’t quite ripe enough and you find it a little tart, you could stir in a teaspoon of honey or maple syrup here, but typically, the ripeness of the banana provides ample sweetness.
Shaping and Freezing
With your banana and yogurt mixture ready, the next step is to shape these into bite-sized treats. You’ll need a baking sheet or a tray that fits comfortably in your freezer. Line this baking sheet with parchment paper or wax paper. This is a crucial step to prevent your frozen bites from sticking to the tray, making them easy to remove once frozen. Now, you can either spoon small dollops of the mixture onto the prepared baking sheet, aiming for uniform sizes, or if you have small silicone molds (like mini muffin liners or candy molds), you can use those. Spooning is the simplest method if you don’t have molds. Aim for about one to two teaspoons of mixture per dollop, creating little mounds of sweetness. If you’re using dried banana chips for topping, this is the perfect time to add them. Gently press a few pieces of dried banana chips into the top of each dollop or mold before freezing. This adds a delightful textural contrast and an extra touch of banana flavor. Once all your bites are formed and topped (if using), carefully place the baking sheet into the freezer. Allow them to freeze undisturbed for at least 2 to 3 hours, or until they are completely firm and solid to the touch. The freezing time will depend on the size of your bites and the temperature of your freezer.
Enjoying Your Frozen Delights
After the allotted freezing time, your Frozen Banana Yogurt Bites are ready to be enjoyed. Carefully remove the baking sheet from the freezer. If you spooned them directly onto the parchment paper, gently peel the bites off the paper. If you used silicone molds, flex the mold slightly to release the frozen treats. At this point, you can serve them immediately as a refreshing snack or dessert. They are perfect for a hot day or a healthy treat any time of year. For easier storage and to prevent them from sticking together in the freezer, you can transfer the frozen bites to a freezer-safe bag or an airtight container. This will allow you to grab one or a few whenever a craving strikes. They will keep well in the freezer for up to 2-3 weeks, though their quality is best when consumed within the first week. Be aware that as they sit in the freezer, they may become harder. If this happens, simply let them sit at room temperature for a few minutes before eating to soften slightly.
Tips for Customization and Storage
These Frozen Banana Yogurt Bites are incredibly versatile and can be customized to suit your taste preferences. Feel free to experiment with different types of yogurt as mentioned earlier, or even dairy-free alternatives like coconut or almond yogurt for a vegan option. If you’re not a fan of dried banana chips, consider other toppings such as a sprinkle of cinnamon, a few mini chocolate chips, or even some finely chopped nuts for added crunch and flavor. For a more vibrant color, you could stir in a small amount of fruit purée, like raspberry or mango, into the banana-yogurt mixture before freezing. When it comes to storage, ensuring your bites are completely frozen before transferring them to a container is key. Overlapping them in a single layer in a freezer bag and then sealing it tightly will help maintain their individual shapes. If you find they are still sticking together after freezing, you can place them back on the parchment-lined baking sheet for another hour or so to ensure they are fully solid before packing them away. Enjoying these homemade frozen treats is a wonderful way to utilize ripe bananas and create a healthy, delicious snack that everyone will love.
Conclusion:
There you have it – a simple yet incredibly satisfying way to create delicious Frozen Banana Yogurt Bites! These little delights are perfect for a healthy snack, a refreshing dessert, or even a fun activity to do with kids. Their versatility is part of what makes them so wonderful. You can whip up a batch in no time, and the satisfaction of enjoying a homemade, wholesome treat is truly rewarding. Don’t hesitate to get creative with your toppings and flavor combinations!
For serving, these Frozen Banana Yogurt Bites are fantastic on their own, chilled and ready to be devoured. They also make a wonderful addition to a brunch spread or as a light dessert after a meal. If you’re looking for variations, consider adding a swirl of peanut butter to the yogurt before freezing, or topping with a sprinkle of granola for extra crunch. You can also experiment with different fruits like berries or mangoes, finely chopped, mixed into the yogurt. The possibilities are truly endless!
I encourage you to give these Frozen Banana Yogurt Bites a try. They are a testament to how simple ingredients can come together to create something truly special and healthy. Enjoy every bite!
Frequently Asked Questions:
Q: Can I make these Frozen Banana Yogurt Bites ahead of time?
Absolutely! These are designed to be made ahead. Once frozen solid, you can store them in an airtight container in the freezer for up to 2-3 weeks. This makes them a perfect grab-and-go snack option for busy days.
Q: What kind of yogurt is best for Frozen Banana Yogurt Bites?
Plain Greek yogurt is an excellent choice as it’s thick and creamy, leading to a better texture once frozen. However, you can also use regular plain yogurt or even flavored yogurts if you prefer. Just be mindful of added sugars in flavored varieties.
Q: My yogurt coating is too thin. How can I make it thicker?
If your yogurt coating is too thin, try draining some of the liquid from the yogurt before coating the banana slices. You can do this by placing yogurt in a fine-mesh sieve lined with cheesecloth over a bowl for about 30 minutes. This will result in a thicker yogurt that adheres better to the banana.
Frozen Banana Yogurt Bites
An easy and healthy frozen treat made with ripe bananas and yogurt.
Ingredients
-
1 large ripe banana
-
150 g yogurt of your choice
-
natural yogurt
-
Greek yogurt
-
fruit-flavored yogurts
-
Handful of dried banana chips (optional)
Instructions
-
Step 1
Peel and thoroughly mash a large, ripe banana in a bowl until smooth and lump-free. A very ripe banana is ideal for sweetness. -
Step 2
Add 150g of your chosen yogurt (natural, Greek, or fruit-flavored) to the mashed banana. Mix well until completely combined and smooth. -
Step 3
Line a baking sheet with parchment paper. Spoon small dollops of the banana-yogurt mixture onto the prepared sheet. -
Step 4
If using, gently press dried banana chips onto the top of each dollop. Place the baking sheet in the freezer for at least 2-3 hours, or until firm. -
Step 5
Once frozen, carefully remove the bites from the parchment paper. Serve immediately or transfer to a freezer-safe bag for storage.
Important Information
Nutrition Facts (Per Serving)
It is important to consider this information as approximate and not to use it as definitive health advice.
Allergy Information
Please check ingredients for potential allergens and consult a health professional if in doubt.